編輯:關於Android編程
具體實現方法就不多介紹了先附上源碼,相信大家都容易看的懂:
這裡為了讓這個動畫效果可被復用,於是就繼承了ImageView 去實現某些方法
package com.example.loading_drawable;

import android.content.Context;
import android.graphics.drawable.AnimationDrawable;
import android.util.AttributeSet;
import android.util.Log;
import android.view.View;
import android.view.animation.Animation;
import android.widget.ImageView;

public class MyImgView extends ImageView {
// 動畫圖層類
private AnimationDrawable bg_anim;

public MyImgView(Context context) {
super(context, null);
initView();
}

public MyImgView(Context context, AttributeSet attrs) {
super(context, attrs, 0);
}

public MyImgView(Context context, AttributeSet attrs, int defStyle) {
super(context, attrs, defStyle);

}
  //初始化
private void initView() {
setBackgroundResource(R.drawable.flash_anim);
bg_anim = (AnimationDrawable) getBackground();
Log.i("AAA", "iniView");
}

/**
* 開啟動畫效果
*/
public void startAnim() {
if (bg_anim != null) {
 bg_anim.start();
}
}

/**
* 停止動畫效果
*/
public void stopAnim() {
if (bg_anim != null && bg_anim.isRunning()) {
 bg_anim.stop();
}
}

/*
* (non-Javadoc)
*
* @see android.widget.ImageView#setVisibility(int) 當控件被顯示時就調用 開啟動畫效果,反之
*/
@Override
public void setVisibility(int visibility) {
super.setVisibility(visibility);
if (visibility == View.VISIBLE) {
 startAnim();
} else {
 stopAnim();
}
}

}
接下來就是:在res文件夾下新建 drawable文件夾,再此文件夾下新建 flash_anim.xml文件,具體如下:
<?xml version="1.0" encoding="utf-8"?>
<animation-list xmlns:android="http://schemas.android.com/apk/res/android"
android:oneshot="false">
<item android:drawable="@drawable/a01_02" android:duration="50"/>
<item android:drawable="@drawable/a01_04" android:duration="50"/>
<item android:drawable="@drawable/a01_06" android:duration="50"/>
<item android:drawable="@drawable/a01_08" android:duration="50"/>
<item android:drawable="@drawable/a01_10" android:duration="50"/>
<item android:drawable="@drawable/a01_12" android:duration="50"/>
<item android:drawable="@drawable/a01_14" android:duration="50"/>
<item android:drawable="@drawable/a01_16" android:duration="50"/>
<item android:drawable="@drawable/a01_25" android:duration="50"/>
<item android:drawable="@drawable/a01_26" android:duration="50"/>
<item android:drawable="@drawable/a01_27" android:duration="50"/>
<item android:drawable="@drawable/a01_28" android:duration="50"/>
<item android:drawable="@drawable/a01_30" android:duration="50"/>
<item android:drawable="@drawable/a01_31" android:duration="50"/>
<item android:drawable="@drawable/a01_32" android:duration="50"/>
<item android:drawable="@drawable/a01_41" android:duration="50"/>
<item android:drawable="@drawable/a01_42" android:duration="50"/>
<item android:drawable="@drawable/a01_43" android:duration="50"/>
<item android:drawable="@drawable/a01_44" android:duration="50"/>
<item android:drawable="@drawable/a01_45" android:duration="50"/>
<item android:drawable="@drawable/a01_46" android:duration="50"/>
<item android:drawable="@drawable/a01_47" android:duration="50"/>
<item android:drawable="@drawable/a01_48" android:duration="50"/>
<item android:drawable="@drawable/a01_57" android:duration="50"/>
<item android:drawable="@drawable/a01_58" android:duration="50"/>
<item android:drawable="@drawable/a01_59" android:duration="50"/>
<item android:drawable="@drawable/a01_60" android:duration="50"/>
<item android:drawable="@drawable/a01_61" android:duration="50"/>
<item android:drawable="@drawable/a01_62" android:duration="50"/>
<item android:drawable="@drawable/a01_63" android:duration="50"/>
<item android:drawable="@drawable/a01_64" android:duration="50"/>
</animation-list>
這樣就基本搞定了,接下來就要在main中調用自定義的main就可以;如下:
package com.example.loading_drawable;

import android.app.Activity;
import android.os.Bundle;
import android.view.Gravity;
import android.view.View;
import android.view.View.OnClickListener;
import android.widget.Button;
import android.widget.LinearLayout;
import android.widget.LinearLayout.LayoutParams;

/**
* @author Administrator 慕課網下拉刷新進度顯示控件
*
*/
public class MainActivity extends Activity {
@Override
protected void onCreate(Bundle savedInstanceState) {
 super.onCreate(savedInstanceState);
 LinearLayout rootLayout = new LinearLayout(this);
 rootLayout.setOrientation(LinearLayout.VERTICAL);
 rootLayout.setLayoutParams(new LinearLayout.LayoutParams(
   LinearLayout.LayoutParams.MATCH_PARENT,
   LinearLayout.LayoutParams.MATCH_PARENT));
 rootLayout.setGravity(Gravity.CENTER);

 Button btn = new Button(this);
 btn.setText("展現動畫");

 final MyImgView imgView = new MyImgView(MainActivity.this);
 imgView.setLayoutParams(new LinearLayout.LayoutParams(
   LinearLayout.LayoutParams.WRAP_CONTENT,
   LinearLayout.LayoutParams.WRAP_CONTENT));
 imgView.setVisibility(View.GONE);

 rootLayout.addView(btn);
 rootLayout.addView(imgView);

 setContentView(rootLayout);

 btn.setOnClickListener(new OnClickListener() {

  @Override
  public void onClick(View arg0) {
   imgView.setVisibility(View.VISIBLE);
  }
 });
}
}
這裡是用自定義代碼布局文件做的,布局方便,插件代碼整合,如上所述,這個動畫就完成了,只在需要的地方設置imgview為顯示,動畫就會開啟,隱藏動畫就會被關閉。
具體內容到此為止,希望大家能夠喜歡。
 Android自定義控件——自定義屬性
我們在自定義android組件的時候,除了用Java構建出組件的樣子外,有時候還需要去申明一些“屬性”提供給項目使用,那麼什麼是組件
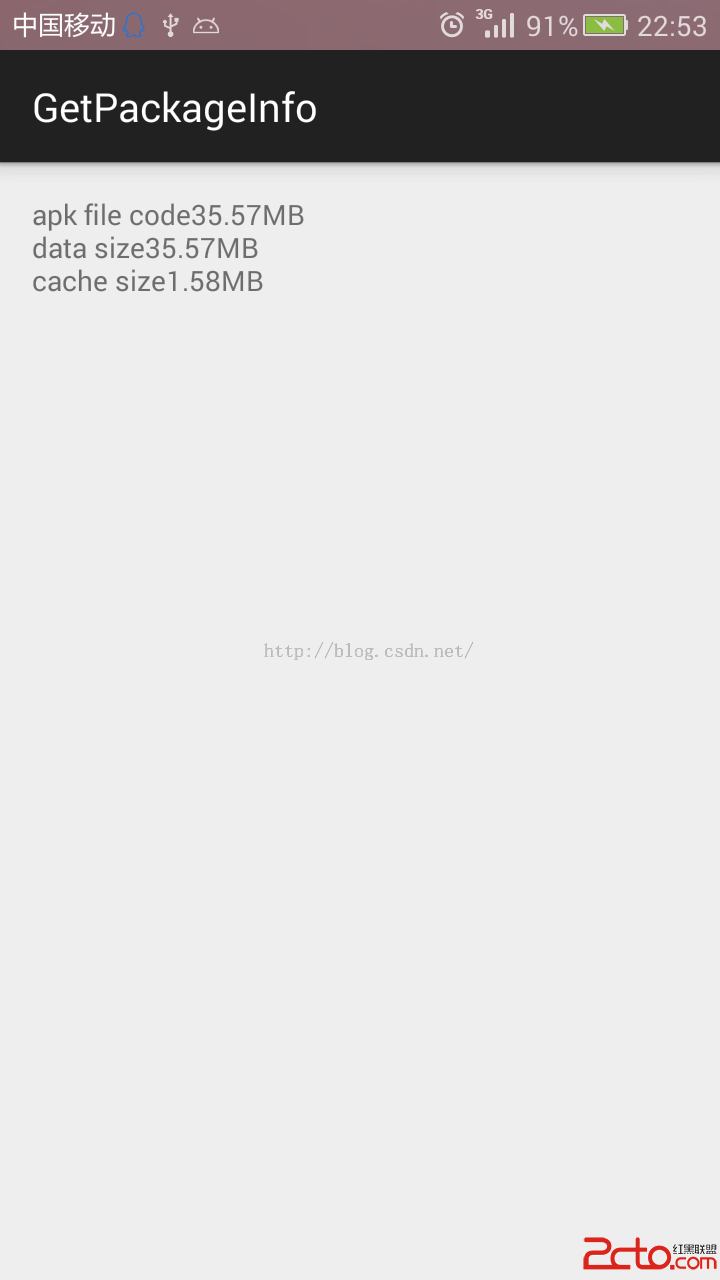 android 調用系統方法獲取應用程序信息 如緩存大小
1,android本來就有獲取應用緩存的方法,只是用起來有點麻煩。但我們的應用有時需要讓用戶知道緩存的大小,讓用戶及時清理緩存。直接上代碼,demo使用android s
 android上line-height的問題
關於line-height大家應該非常熟悉了吧,就是用來做垂直居中的,屢試不爽,基本上沒有什麼問題,但是最近一個項目,測試提了一個bug,看圖吧。從別處竊的圖,這個問題只
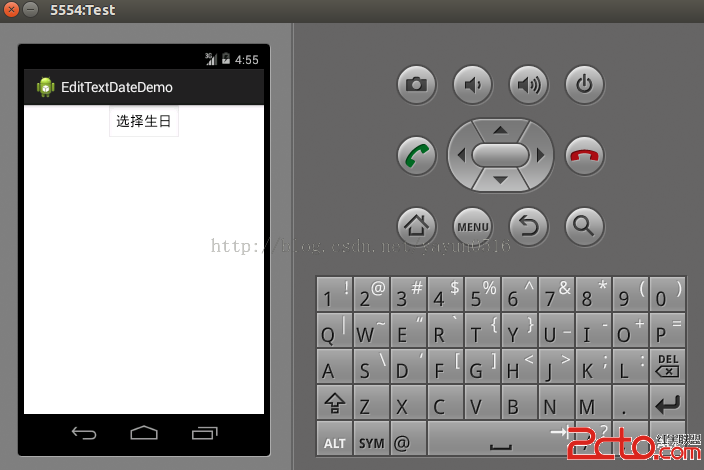 Android開發技巧二--避免在EditText中驗證日期
開發者都知道驗證表單裡的數據是令人厭煩而且容易出錯的,日期輸入框的驗證也是如此。我們可以開發出一個外觀看起來與EditText相同Button,點擊該Button後,會顯