編輯:關於Android編程
本文實例為大家講解如何輕松實現Android指南針功能,分享給大家供大家參考。具體如下:
(1)布局文件如下:
<?xml version="1.0" encoding="utf-8"?>
<LinearLayout xmlns:android="http://schemas.android.com/apk/res/android"
  android:layout_width="fill_parent"
  android:layout_height="fill_parent"
  android:gravity="center"
  android:orientation="vertical" >

  <ImageView
    android:id="@+id/imageView"
    android:layout_width="wrap_content"
    android:layout_height="wrap_content"
    android:src="@drawable/zn" />

</LinearLayout>
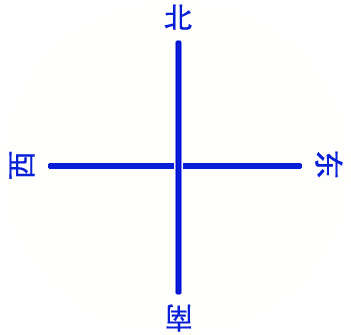
所需圖片:
(2)MainActivity.java
import android.app.Activity;
import android.content.Context;
import android.hardware.Sensor;
import android.hardware.SensorEvent;
import android.hardware.SensorEventListener;
import android.hardware.SensorManager;
import android.os.Bundle;
import android.view.animation.Animation;
import android.view.animation.RotateAnimation;
import android.widget.ImageView;

public class MainActivity extends Activity {
  private ImageView imageView;
  private SensorManager manager;
  private SensorListener listener = new SensorListener();

  @Override
  public void onCreate(Bundle savedInstanceState) {
    super.onCreate(savedInstanceState);
    setContentView(R.layout.main);

    imageView = (ImageView) this.findViewById(R.id.imageView);
    imageView.setKeepScreenOn(true);
    manager = (SensorManager) getSystemService(Context.SENSOR_SERVICE);
  }

  @Override
  protected void onResume() {
    Sensor sensor = manager.getDefaultSensor(Sensor.TYPE_ORIENTATION);
    manager.registerListener(listener, sensor,
        SensorManager.SENSOR_DELAY_GAME);
    super.onResume();
  }

  @Override
  protected void onPause() {
    manager.unregisterListener(listener);
    super.onPause();
  }

  private final class SensorListener implements SensorEventListener {
    private float predegree = 0;

    public void onSensorChanged(SensorEvent event) {
      float degree = event.values[0];// 存放了方向值 90
      RotateAnimation animation = new RotateAnimation(predegree, -degree,
          Animation.RELATIVE_TO_SELF, 0.5f,
          Animation.RELATIVE_TO_SELF, 0.5f);
      animation.setDuration(200);
      imageView.startAnimation(animation);
      predegree = -degree;
    }

    public void onAccuracyChanged(Sensor sensor, int accuracy) {
    }
  }

}
效果如下:
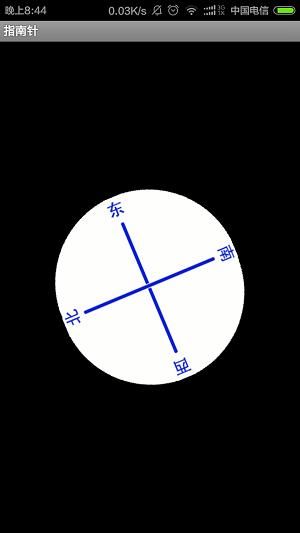
希望本文所述對大家學習Android軟件編程有所幫助。
 android_99_自定義View_側滑刪除
效果:靜態導入平滑移動到指定位置的模板代碼布局:activity_main item_list
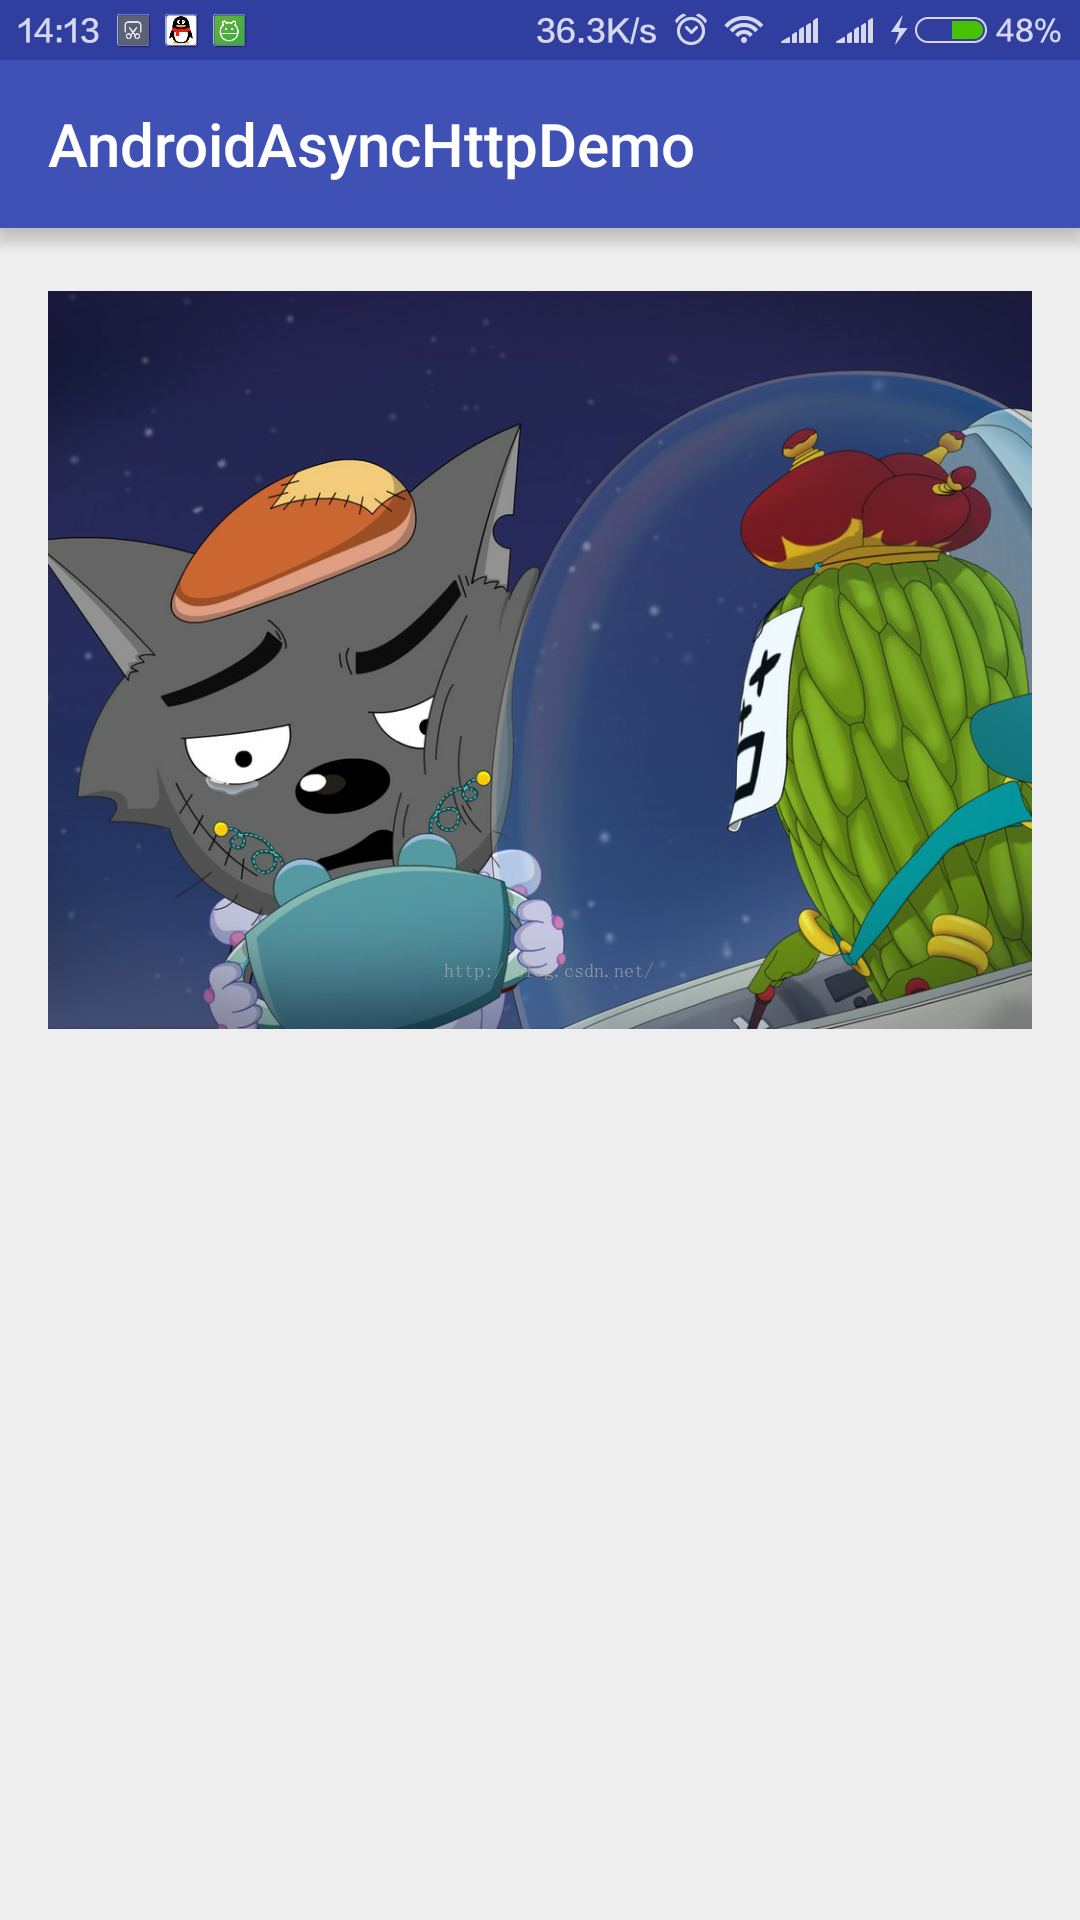 網絡請求庫之android-async-http
Android中網絡請求一般使用Apache HTTP Client或者采用HttpURLConnect,但是直接使用這兩個類庫需要寫大量的代碼才能完成網絡post和ge
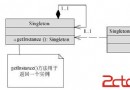 Android中的設計模式-單例模式
Android中的設計模式-單例模式單例模式算是比較常用的模式,在Java中如果想要一個JVM中只存在某個類的一個實例,就需要使用到單例模式,而只存在一個實例的需求一般是
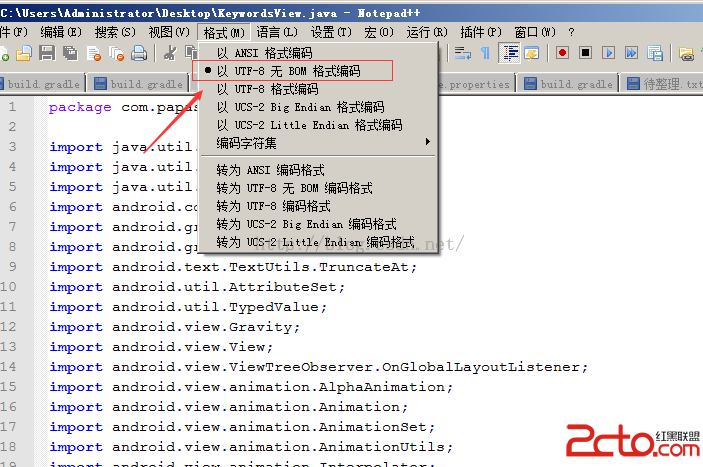 Android Studio 錯誤: 非法字符: '\ufeff' 及 Gradle不能自動查找xml自定義屬性
一、非法字符: '?'在將項目導入到Studio時提示 錯誤:非法字符: '?',編譯器沒報錯但編譯出錯,比較頭疼,後來發現原