編輯:關於Android編程
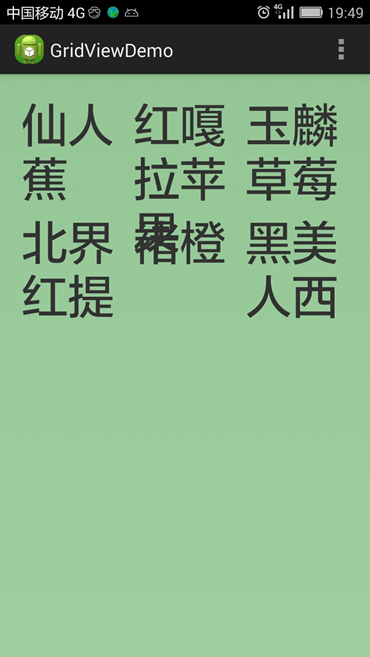
本文為大家分享一個非常簡單但又很常用的控件,跑馬燈狀態的TextView。當要顯示的文本長度太長,又不想換行時用它來顯示文本,一來可以完全的顯示出文本,二來效果也挺酷,實現起來超級簡單,所以,何樂不為。先看下效果圖:


代碼實現
TextView自帶了跑馬燈功能,只要把它的ellipsize屬性設置為marquee就可以了。但有個前提,就是TextView要處於被選中狀態才能有效果,看到這,我們就很自然的自定義一個控件,寫出以下代碼:
public class MarqueeTextView extends TextView {

 public MarqueeTextView(Context con) {
  super(con);
 }

 public MarqueeTextView(Context context, AttributeSet attrs) {
  super(context, attrs);
 }

 public MarqueeTextView(Context context, AttributeSet attrs, int defStyle) {
  super(context, attrs, defStyle);
 }

 @Override
 public boolean isFocused() {
  // TODO Auto-generated method stub
  if(getEditableText().equals(TruncateAt.MARQUEE)){
   return true;
  }
  return super.isFocused();
 }
}
重寫了isFocused方法,並進行判斷,只有設置了marqueen屬性的才保持選中狀態,否則它就跟普通TextView一樣。接下來就可以直接使用了,看下布局:
<LinearLayout xmlns:android="http://schemas.android.com/apk/res/android"
 xmlns:tools="http://schemas.android.com/tools"
 android:layout_width="match_parent"
 android:layout_height="match_parent"
 android:orientation="vertical">
 <FrameLayout
  android:id="@+id/titlebar_layout"
  android:layout_width="match_parent"
  android:layout_height="wrap_content"
  android:background="#39ac69" >
  <LinearLayout

   android:layout_width="match_parent"
   android:layout_height="50dp"
   android:background="#ffffff"
   android:gravity="center_vertical"
   android:orientation="horizontal" >

   <ImageView
    android:id="@+id/home_location_iv"
    android:layout_width="25dp"
    android:layout_height="27dp"
    android:layout_marginLeft="10dp"
    android:scaleType="fitXY"
    android:src="@drawable/icon_place" />

   <com.lxj.marqueetextview.MarqueeTextView
    android:id="@+id/home_location_tv"
    android:layout_width="0dp"
    android:layout_height="wrap_content"
    android:layout_marginLeft="10dp"
    android:layout_marginRight="10dp"
    android:layout_weight="1"
    android:ellipsize="marquee"
    android:focusable="true"
    android:focusableInTouchMode="true"
    android:gravity="center"
    android:marqueeRepeatLimit="marquee_forever"
    android:scrollHorizontally="true"
    android:singleLine="true"
    android:text="正在定位..."
    android:textColor="#39ac69"
    android:textSize="18sp" />

   <ImageView
    android:id="@+id/home_search_iv"
    android:layout_width="25dp"
    android:layout_height="27dp"
    android:layout_marginRight="10dp"
    android:scaleType="fitXY"
    android:src="@drawable/icon_place" />
  </LinearLayout>
</FrameLayout>
</LinearLayout>
要注意兩點ellipsize屬性要設置為”marquee”,行數屬性即singleLine要設置為true。到此TextView的跑馬燈效果就實現了。
希望本文對大家學習Android軟件編程有所幫助。
 android 游戲 實戰打飛機游戲 BOSS的設計 以及勝利失敗頁面(6結束)
修改子彈類:public class Bullet { //子彈圖片資源 public Bitmap bmpBullet; //子彈的坐標 pu
 Android Framework是怎麼啟動的?
Framework運行環境是怎樣的?安卓系統啟動過程其實是建立一套系統運行需要的環境。Framework運行環境如下:安卓系統中運行的第一個Dalvik虛擬機叫做zygo
 android meta-data的使用以及含義
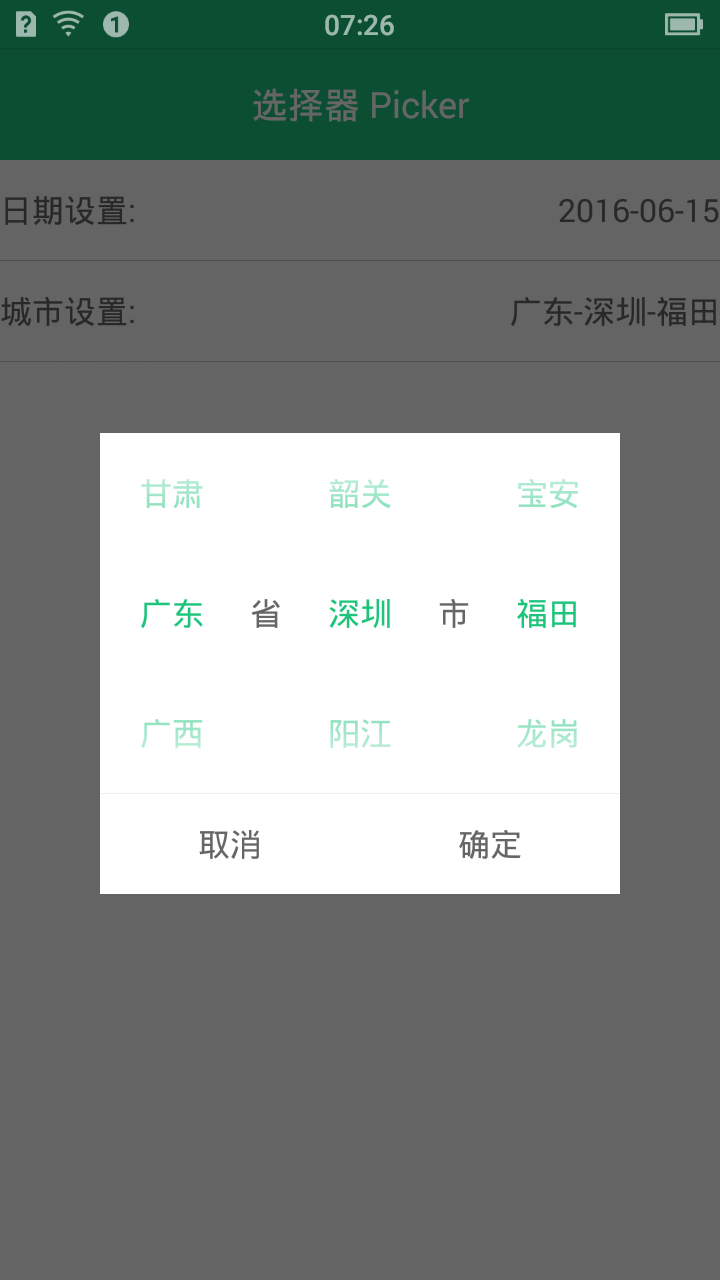 Android省市縣三級聯動
先上圖: 省市縣三級聯動,選地址經常用到用NumberPicker控件實現滑動,json數據解析使用fastjson框架使用很簡單,傳入一個String[