編輯:關於Android編程
在android的項目開發中,都會遇到後期功能拓展增強與主程序代碼變更的現實矛盾,也就是程序的靈活度。 由於linux平台的安全機制,再加上dalvik的特殊機制,各種權限壁壘,使得開發一個靈活多變的程序,變得比較困難,不像pc平台下那麼容易。
這裡實際上可以借鑒傳統軟件中擴展程序的方法: 也就是插件的實現. 如目前所有的浏覽器,比如我們使用的eclipse,以及很多優秀的軟件,都使用了此種方式. 這樣輕松實現了軟件的功能擴展,而升級功能時只用更新對應插件, 而不是需要更新整個應用,降低了程序的耦合度.
而在Android中的實現思路,即為將一個較大的APK,分離為一個主程序的APK,和其他各種較小的APK.
典型的應用為手機QQ換膚的實現方式:
QQ的皮膚是一個無界面APK應用,這個皮膚應用中的資源和主程序的資源命名一致,通過主程序和皮膚程序共享進程實現主程序對皮膚程序中資源的訪問,在程序運行時通過代碼顯示指定皮膚資源,缺點是在主程序中每個activity要增加復雜的使用哪種皮膚邏輯
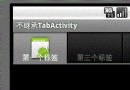
本例實現效果如下:
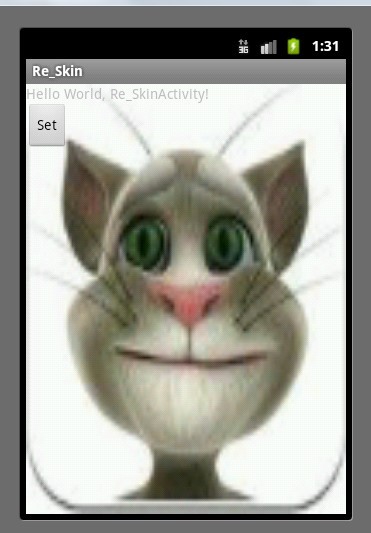

下面分析下具體思路:
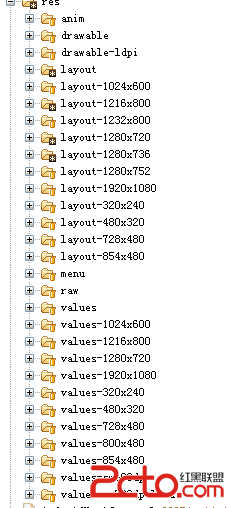
android下,默認的情況是,每個apk相互獨立的,基本上每個應用都是一個dalvik虛擬機,都有一個uid,再配合上linux本身的權限機制,使得apk互通很難直接進行。但作為一個獨立應用的集成,不管多少個apk,都可以並為一個單獨的dalvik虛擬機,直觀的反映給開發人員就是在shell下列出進程,那幾個apk同時加載後,會一個進程存在。
可以在清單文件中加入如下配置:
android:sharedUserId="com.tony.test"
android:sharedUserId是指共用一個uid,也就是,凡是這個屬性相同的工程,都會共用同一個uid,這樣,權限壁壘就消除了,dalvik也會融合為一個,可以測試一下,寫幾個工程,沒有這個屬性和有這個屬性的情況下,同時運行,在列出當前進程,就直觀的說明了。
下面還是用代碼說明,一共分為兩部分. 主程序 Re_Skin和皮膚程序Re_Skin1
首先是主應用程序代碼:
1. 清單文件AndroidManifest.xml:
<?xml version="1.0" encoding="utf-8"?>
<manifest xmlns:android="http://schemas.android.com/apk/res/android"
   package="com.tony.reskin"
   android:versionCode="1"
   android:versionName="1.0" <span >android:sharedUserId="com.tony.skin"</span>>
  <uses-sdk android:minSdkVersion="7" />

  <application android:icon="@drawable/icon" android:label="@string/app_name">
    <activity android:name="com.tony.reskin.Re_SkinActivity"
         android:label="@string/app_name">
      <intent-filter>
        <action android:name="android.intent.action.MAIN" />
        <category android:name="android.intent.category.LAUNCHER" />
      </intent-filter>
    </activity>

  </application>
</manifest>
2. 布局文件:
<?xml version="1.0" encoding="utf-8"?>
<LinearLayout xmlns:android="http://schemas.android.com/apk/res/android"
  android:orientation="vertical"
  android:layout_width="fill_parent"
  android:layout_height="fill_parent"
  android:id="@+id/layout"  >
<TextView
  android:layout_width="fill_parent"
  android:layout_height="wrap_content"
  android:text="@string/hello"
  />
<Button android:text="Set" android:id="@+id/button1" android:layout_width="wrap_content" android:layout_height="wrap_content"></Button>

</LinearLayout>
3. Re_SkinActivity;(主要的皮膚更換邏輯實現類)
package com.tony.reskin;
import android.app.Activity;
import android.content.Context;
import android.content.pm.PackageManager.NameNotFoundException;
import android.os.Bundle;
import android.os.Handler;
import android.view.View;
import android.view.View.OnClickListener;
import android.widget.Button;
import android.widget.LinearLayout;
public class Re_SkinActivity extends Activity {
private LinearLayout layout;
private Button btnSet;
<span >private Context friendContext;</span>
/** Called when the activity is first created. */
@Override
public void onCreate(Bundle savedInstanceState) {
super.onCreate(savedInstanceState);
setContentView(R.layout.main);
btnSet = (Button)findViewById(R.id.button1);
layout = (LinearLayout)findViewById(R.id.layout);
layout.setBackgroundResource(R.drawable.bg);
try {
<span >friendContext = createPackageContext("com.tony.reskin1", Context.CONTEXT_IGNORE_SECURITY);</span>
} catch (NameNotFoundException e) {
e.printStackTrace();
}
btnSet.setOnClickListener(new OnClickListener() {
@Override
public void onClick(View v) {
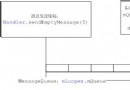
new Handler().post(new Runnable() {
@Override
public void run() {
layout.setBackgroundDrawable(<span >friendContext.getResources().getDrawable(R.drawable.bg</span>));
}
});
}
});
}
}
皮膚應用中不需要界面顯示
這個皮膚應用中的資源和主程序的資源命名一致即可.
清單文件:
<?xml version="1.0" encoding="utf-8"?>
<manifest xmlns:android="http://schemas.android.com/apk/res/android"
   package="com.tony.reskin1"
   android:versionCode="1"
   android:versionName="1.0" <span >android:sharedUserId="com.tony.skin"</span>>
  <uses-sdk android:minSdkVersion="7" />

  <application android:icon="@drawable/icon" android:label="@string/app_name">
    <activity android:name=".Re_Skin1Activity"
         android:label="@string/app_name">
      <intent-filter>
        <action android:name="android.intent.action.MAIN" />
        <category android:name="android.intent.category.LAUNCHER" />
      </intent-filter>
    </activity>

  </application>
</manifest>
 Android之AnimationDrawable簡單模擬動態圖
Drawable animation可以加載Drawable資源實現幀動畫。AnimationDrawable是實現Drawable animations的基本類。&nb
 淺談Android Content Provider的使用
Content Provider:一個組件,必須放在應用的主包或應用的子包之下;組件的配置需要在清單文件中進行配置;content provider需要在applicat
 Windows下快速搭建安卓開發環境android-studio
一、Android Studio簡單介紹2013年GoogleI/O大會首次發布了Android Studio IDE(Android平台集成開發環境)。它基於Intel
 Android——APK 在32bit/64bit平台 動態庫問題
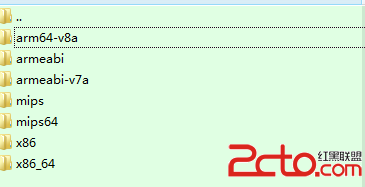
目前64bit android系統也慢慢的多了,看到也有apk聲稱支持64bit system,然後就往裡面打包搞了個arm64-v8a 目錄,放了個64bit的so,但