編輯:關於Android編程
一、定義一個XML布局文件
setting_item_view.xml
<?xml version="1.0" encoding="utf-8"?>
<RelativeLayout xmlns:android="http://schemas.android.com/apk/res/android"
  android:layout_width="fill_parent"
  android:layout_height="60dip" >

  <TextView
    android:id="@+id/tv_title"
    android:layout_width="wrap_content"
    android:layout_height="wrap_content"
    android:layout_alignParentLeft="true"
    android:layout_marginLeft="5dip"
    android:layout_marginTop="5dip"
    android:textColor="#000000"
    android:textSize="20dip" />

  <TextView
    android:id="@+id/tv_desc"
    android:layout_width="wrap_content"
    android:layout_height="wrap_content"
    android:layout_below="@+id/tv_title"
    android:layout_marginLeft="5dip"
    android:layout_marginBottom="5dip"
    android:textColor="#99000000"
    android:textSize="18dip" />

  <CheckBox
    android:clickable="false"
    android:focusable="false"
    android:id="@+id/cb_status"
    android:layout_width="wrap_content"
    android:layout_height="wrap_content"
    android:layout_alignParentRight="true"
    android:layout_centerVertical="true"
    android:layout_marginRight="20dip" />

  <View
    android:layout_width="fill_parent"
    android:layout_height="0.2dip"
    android:layout_alignParentBottom="true"
    android:layout_alignParentLeft="true"
    android:layout_marginLeft="5dip"
    android:layout_marginRight="5dip"
    android:background="#000000" />

</RelativeLayout>
二、在src/values/attrs.xml中定義屬性
<?xml version="1.0" encoding="utf-8"?>

<resources>
  <declare-styleable name="TextView">
    <attr name="title" format="string" />
    <attr name="desc_on" format="string" />
    <attr name="desc_off" format="string" />
  </declare-styleable>


</resources>
三、自定義一個view繼承自你需要的布局
iniview(Context context)初始化自定義的布局文件
根據需求自定義一些API方法
public class SettingItemView extends RelativeLayout {
  private CheckBox cb_status;
  private TextView tv_title;
  private TextView tv_desc;

  private String title;
  private String desc_on;
  private String desc_off;


  public void iniview(Context context){
    View.inflate(context, R.layout.setting_item_view, this);
    cb_status = (CheckBox)findViewById(R.id.cb_status);
    tv_title = (TextView)findViewById(R.id.tv_title);
    tv_desc = (TextView)findViewById(R.id.tv_desc);
  }

  public SettingItemView(Context context, AttributeSet attrs, int defStyle) {
    super(context, attrs, defStyle);
    iniview(context);
  }

  public SettingItemView(Context context, AttributeSet attrs) {
    super(context, attrs);
    iniview(context);
    title = attrs.getAttributeValue("http://schemas.android.com/apk/res/com.victor.mobilesafe","title");
    desc_on = attrs.getAttributeValue("http://schemas.android.com/apk/res/com.victor.mobilesafe","desc_on");
    desc_off = attrs.getAttributeValue("http://schemas.android.com/apk/res/com.victor.mobilesafe","desc_off");
    tv_title.setText(title);
    setDesc(desc_off);
  }

  public SettingItemView(Context context) {
    super(context);
    iniview(context);
  }
  public boolean isChecked(){
    return cb_status.isChecked();

  }
  public void setChecked(boolean checked){
    if (checked) {
      setDesc(desc_on);
    }else{
      setDesc(desc_off);
    }
    cb_status.setChecked(checked);

  }
  public void setDesc(String text){
    tv_desc.setText(text);
  }

}
四、在布局文件中使用該自定義組合控件
別忘記聲明自定義命名空間
xmlns:victor="http://schemas.android.com/apk/res/com.victor.mobilesafe"
<?xml version="1.0" encoding="utf-8"?>
<LinearLayout xmlns:android="http://schemas.android.com/apk/res/android"
  xmlns:victor="http://schemas.android.com/apk/res/com.victor.mobilesafe"
  android:layout_width="match_parent"
  android:layout_height="match_parent"
  android:orientation="vertical" >
 <com.victor.mobilesafe.ui.SettingItemView
    android:id="@+id/siv_update"
    android:layout_width="wrap_content"
    android:layout_height="wrap_content"
    victor:desc_off="自動更新關閉"
    victor:desc_on="自動更新開啟"
    victor:title="設置自動更新" >
  </com.victor.mobilesafe.ui.SettingItemView>
</LinearLayout>
總結:
1.自定義一個View 一般來說,繼承相對布局,或者線性布局 ViewGroup;
2.實現父類的構造方法。一般來說,需要在構造方法裡初始化自定義的布局文件;
3.根據一些需要或者需求,定義一些API方法;
4.根據需要,自定義控件的屬性,可以參照TextView屬性;
5.自定義命名空間,例如:
xmlns:victor="http://schemas.android.com/apk/res/<包名>"

xmlns:victor="http://schemas.android.com/apk/res/com.victor.mobilesafe"
6.自定義我們的屬性,在Res/values/attrs.xml
7.使用我們自定義的屬性
例如:
 itheima:title="設置自動更新"

 itheima:desc_on="設置自動更新已經開啟"

 itheima:desc_off="設置自動更新已經關閉"
8.在我們自定義控件的帶有兩個參數的構造方法裡AttributeSet attrs 取出我們的屬性值,關聯自定義布局文件對應的控件。
 Android開發之網頁浏覽器(WebView的使用)
本實例主要介紹WebView的使用,WebView的詳解可參考Android開發之WebView詳解。 本實例主要實現了:浏覽器可以打開指定網頁,可以加載asse
 Android 知識要點整理(12)----Animation(動畫)
動畫分類Android動畫有3類:幀動畫、視圖動畫、屬性動畫。幀動畫和視圖動畫又統稱為補間動畫。Android 3.0(API LEVEL 11)開始支持屬性動畫。幀動畫
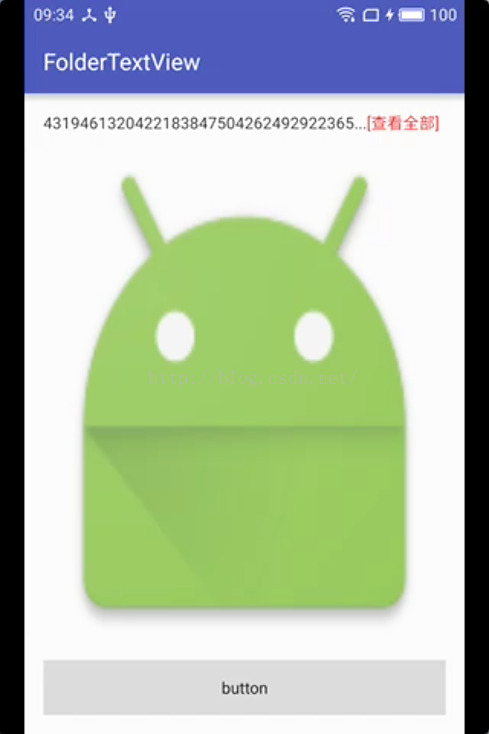 Android尾部帶“查看更多”的TextView
首先是增添了幾個屬性;其次,也是最重要的,改進了調用setText()重新設置文本時,其下方的View會發生抖動的問題,也就是onMeasure()中的那段代碼。&nbs
 Android 中查看內存的使用情況集常用adb命令
1. 在IDE中查看Log信息 當程序運行垃圾回收的時候,會打印一條Log信息,其格式如下: D/dalvikvm: , , , GC_Reason表