編輯:關於Android編程
目標效果:
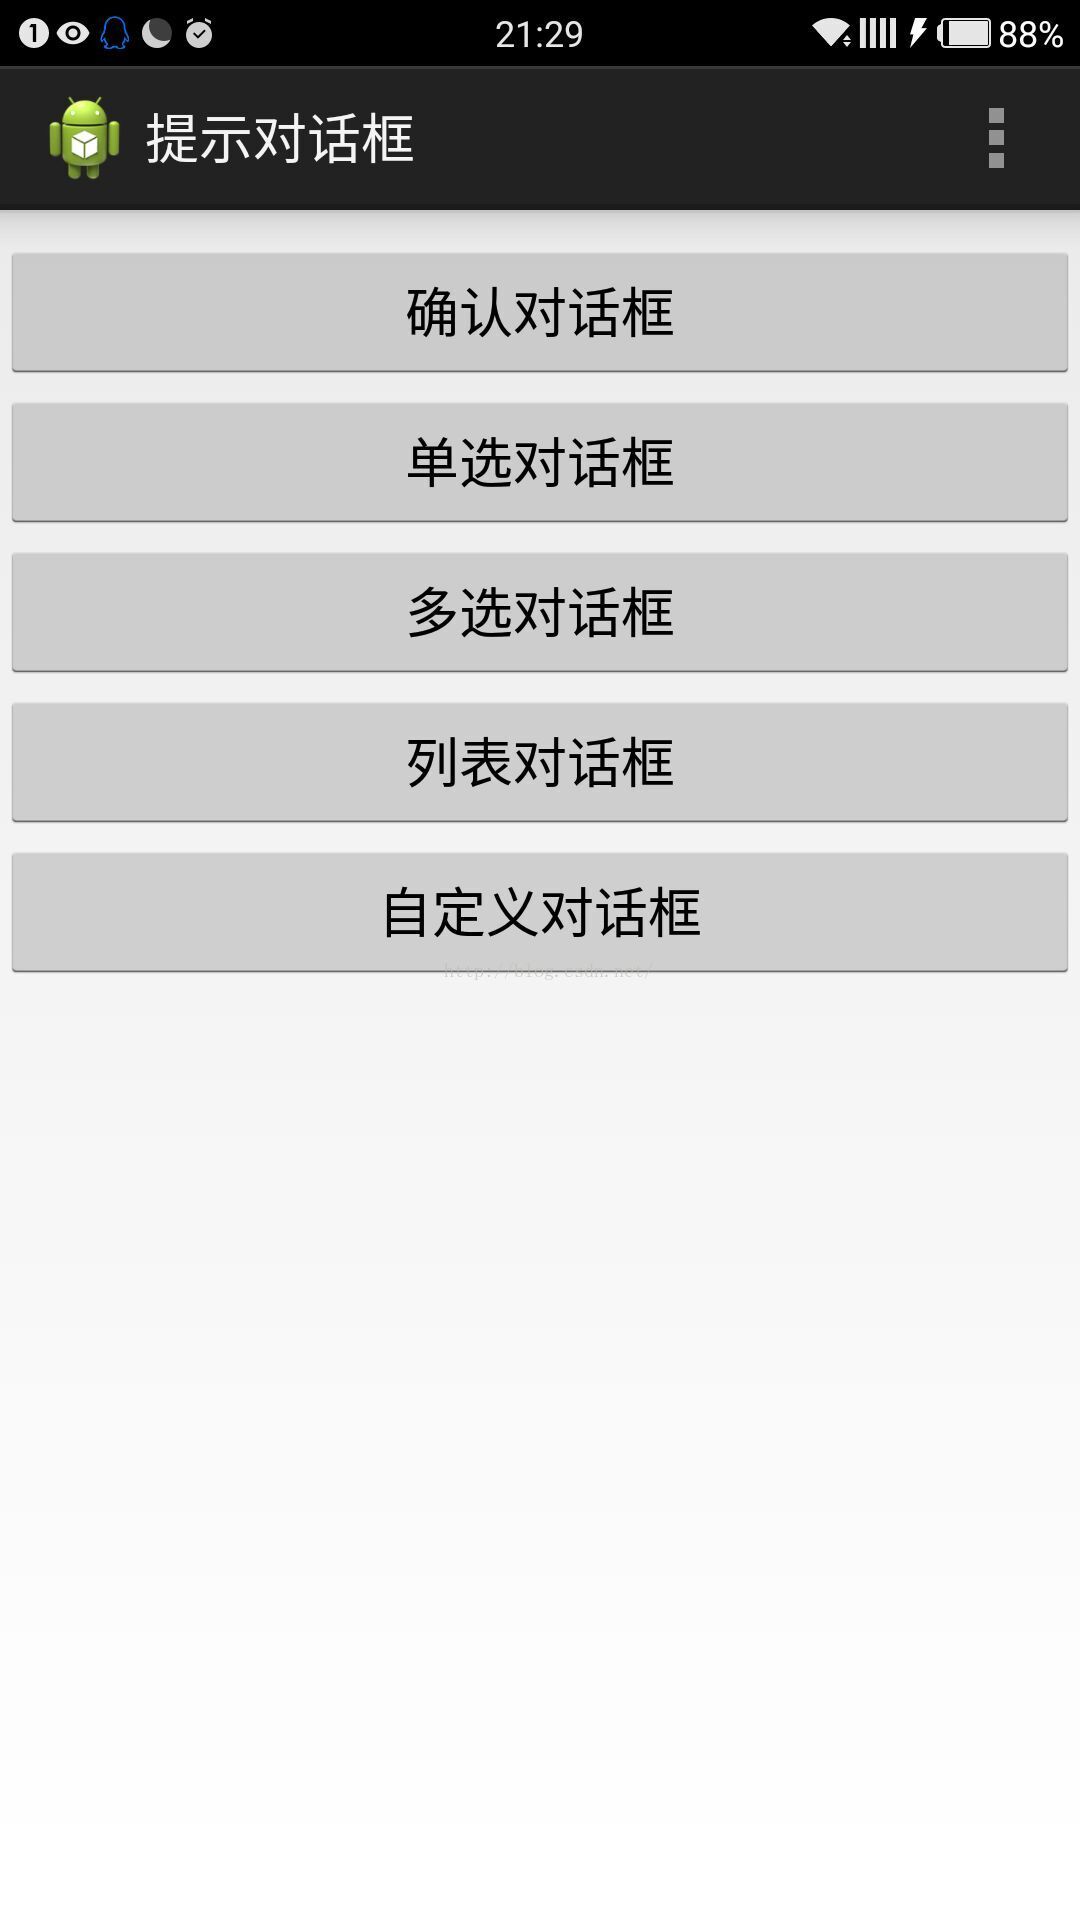
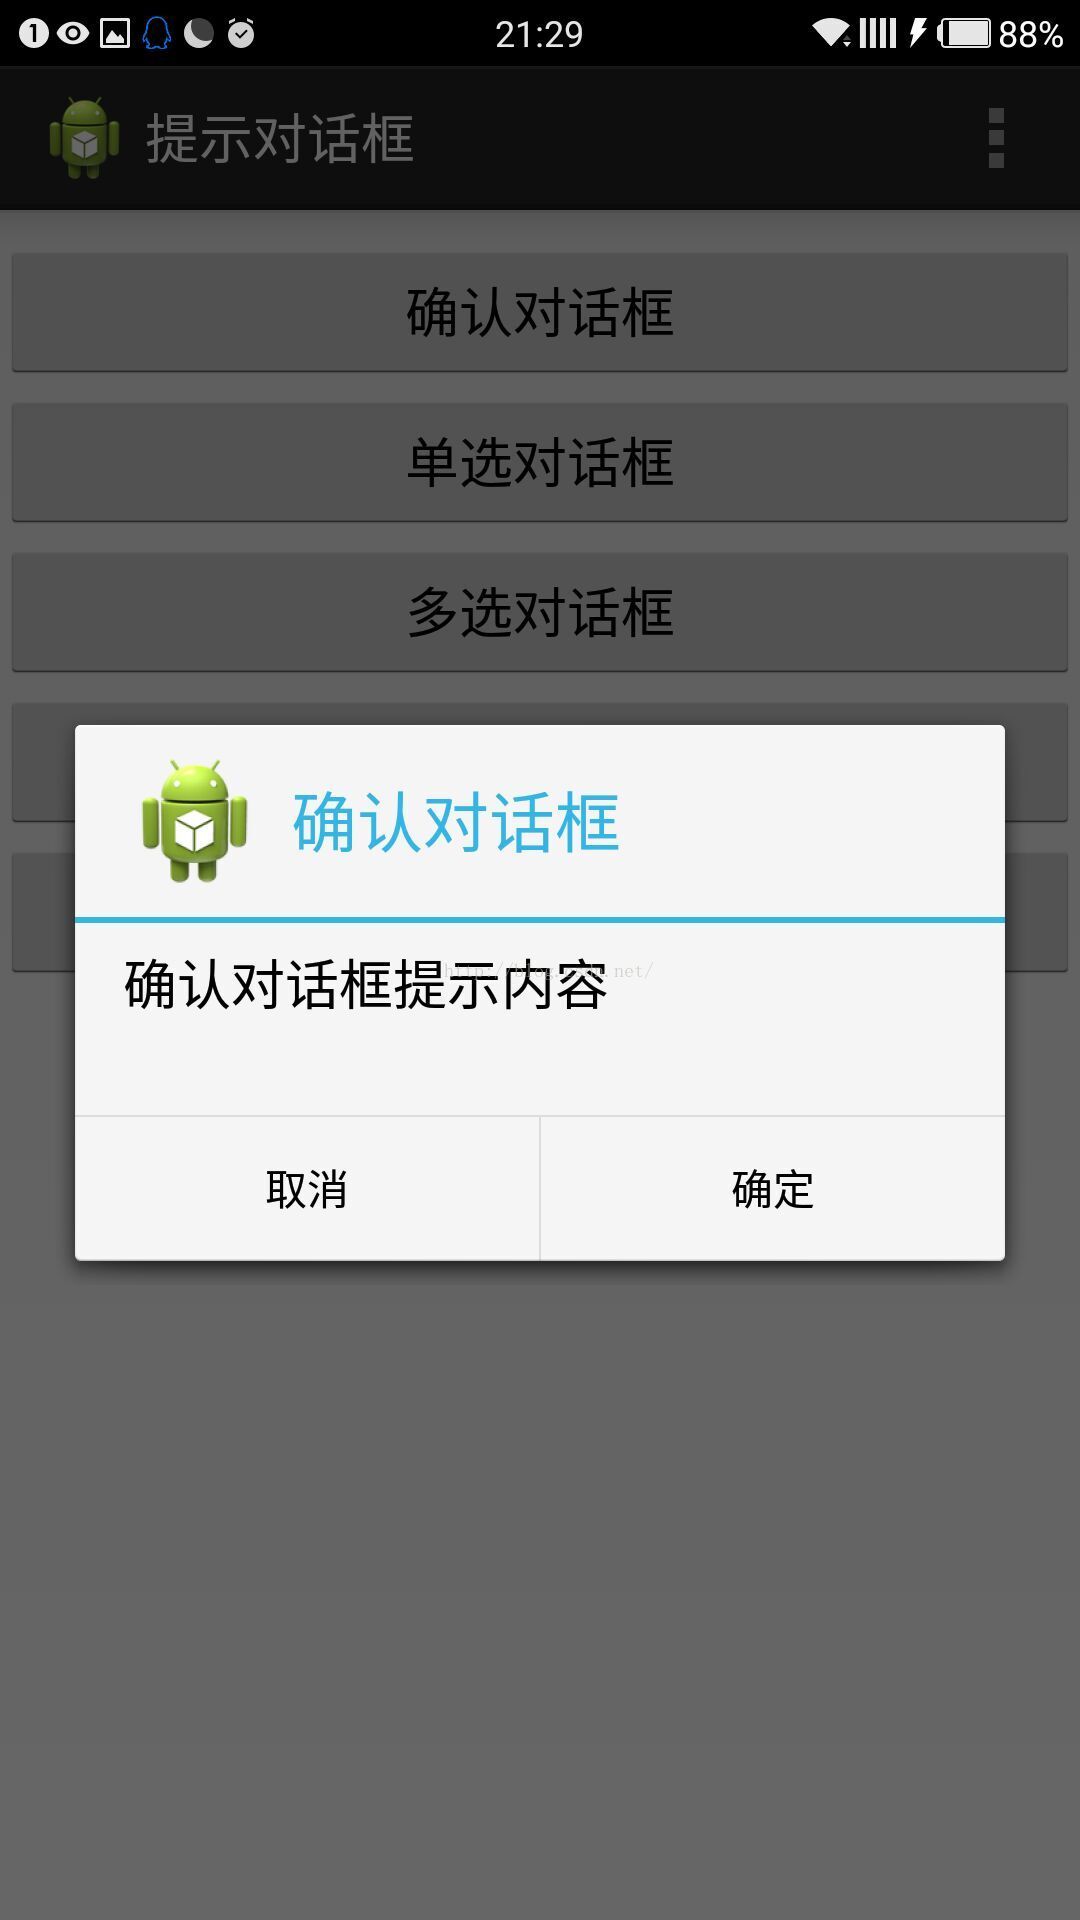
程序運行,顯示圖一的幾個按鈕,點擊按鈕分別顯示圖二到圖六的對話框,點擊對話框的某一項或者按鈕,也會顯示相應的吐司輸出。
1.activity_main.xml頁面存放五個按鈕。
activity_main.xml頁面:
<RelativeLayout xmlns:android="http://schemas.android.com/apk/res/android"
xmlns:tools="http://schemas.android.com/tools"
android:layout_width="match_parent"
android:layout_height="match_parent"
tools:context=".MainActivity" >
<Button
android:id="@+id/btnSure"
android:layout_width="match_parent"
android:layout_height="wrap_content"
android:layout_marginTop="10dp"
android:text="確認對話框"/>
<Button
android:id="@+id/btnRadio"
android:layout_width="match_parent"
android:layout_height="wrap_content"
android:layout_marginTop="60dp"
android:text="單選對話框"/>
<Button
android:id="@+id/btnCheck"
android:layout_width="match_parent"
android:layout_height="wrap_content"
android:layout_marginTop="110dp"
android:text="多選對話框"/>
<Button
android:id="@+id/btnList"
android:layout_width="match_parent"
android:layout_height="wrap_content"
android:layout_marginTop="160dp"
android:text="列表對話框"/>
<Button
android:id="@+id/btnMy"
android:layout_width="match_parent"
android:layout_height="wrap_content"
android:layout_marginTop="210dp"
android:text="自定義對話框"/>
</RelativeLayout>
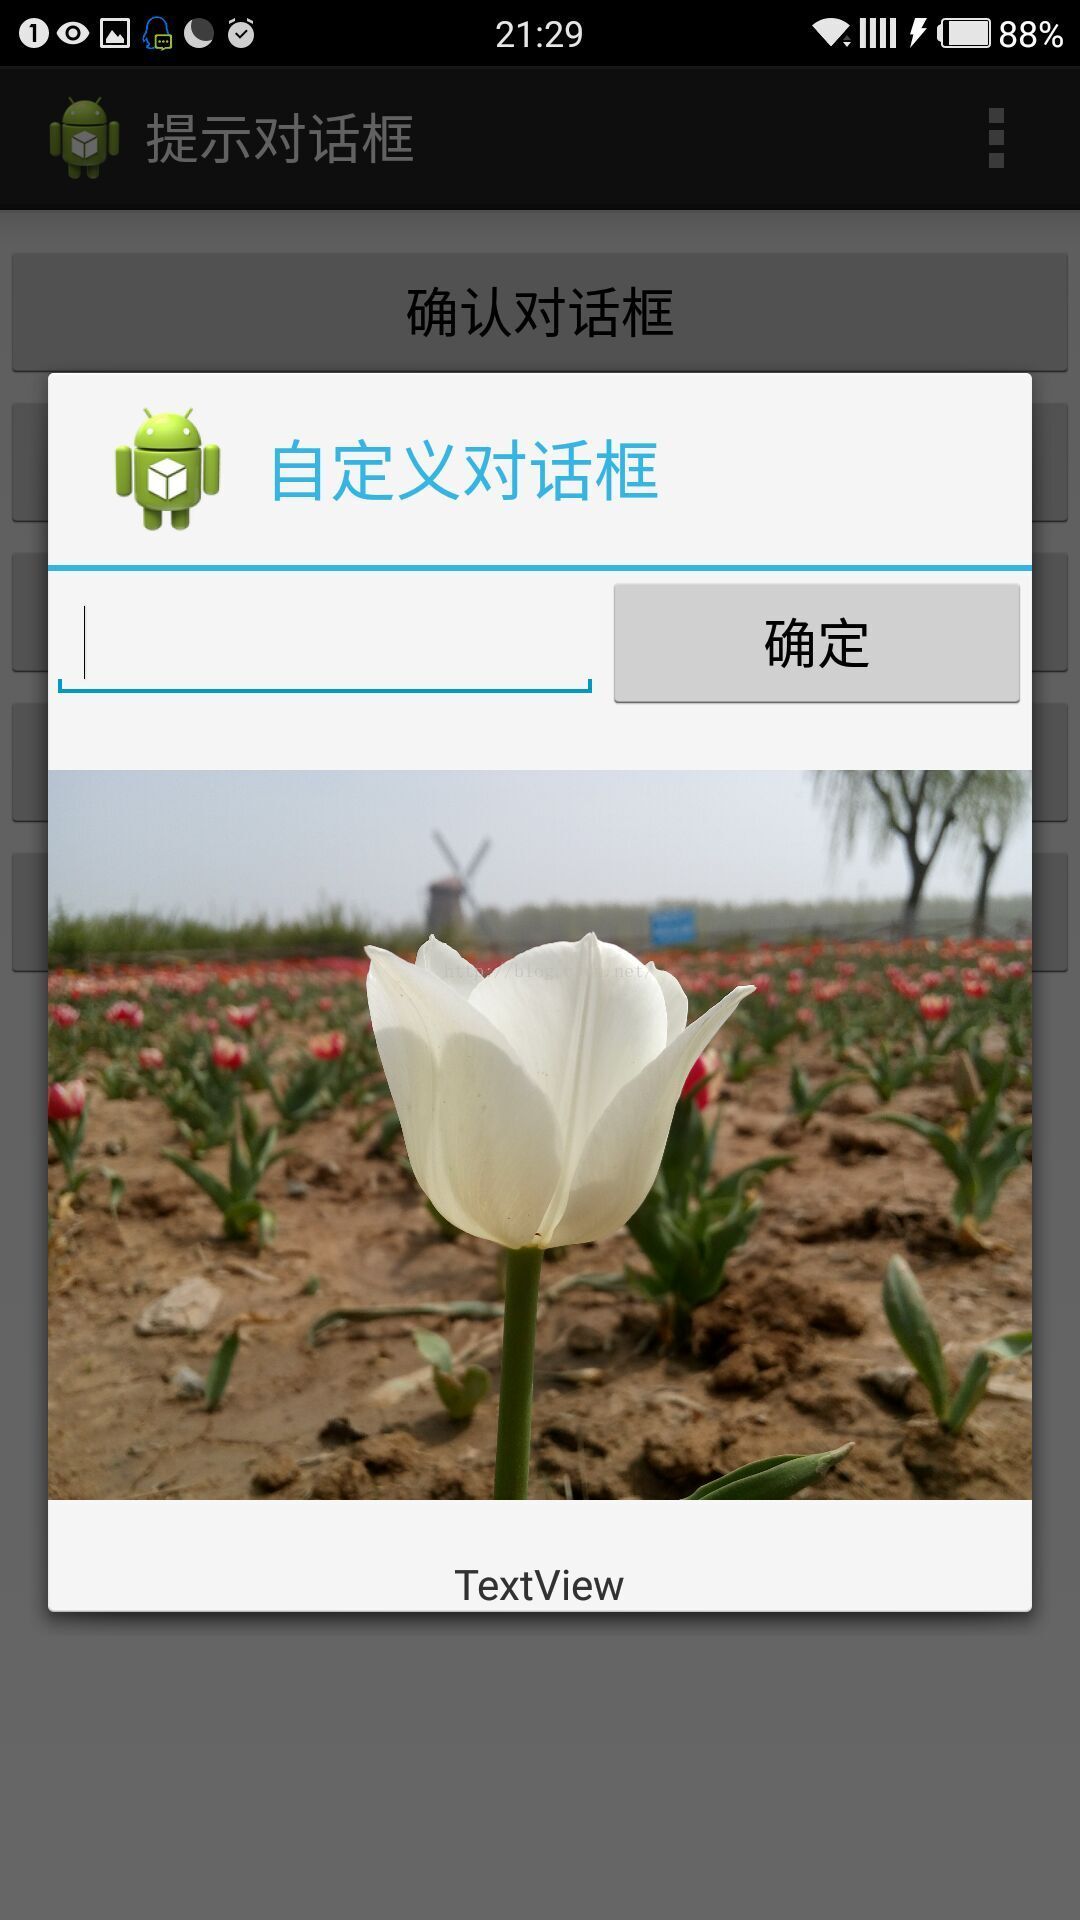
2.新建dialog.xml頁面,作為最後一個自定義對話框的布局頁面。
dialog.xml頁面:
<?xml version="1.0" encoding="utf-8"?>
<LinearLayout xmlns:android="http://schemas.android.com/apk/res/android"
android:layout_width="wrap_content"
android:layout_height="wrap_content"
android:orientation="vertical" >
<LinearLayout
android:layout_width="match_parent"
android:layout_height="wrap_content"
android:orientation="horizontal" >
<EditText
android:id="@+id/edInput"
android:layout_width="wrap_content"
android:layout_height="wrap_content"
android:layout_weight="2" >
<requestFocus />
</EditText>
<Button
android:id="@+id/btnOk"
android:layout_width="wrap_content"
android:layout_height="wrap_content"
android:layout_weight="1"
android:text="確定" />
</LinearLayout>
<ImageView
android:id="@+id/ivPicture"
android:layout_width="wrap_content"
android:layout_height="280dp"
android:src="@drawable/white" />
<TextView
android:id="@+id/textView1"
android:layout_gravity="center"
android:layout_width="wrap_content"
android:layout_height="wrap_content"
android:text="TextView" />
</LinearLayout>
3.MainActivity.java頁面處理對話框的彈出及點擊事件。
MainActivity.java頁面:
package com.example.alertdialog;
import android.os.Bundle;
import android.app.Activity;
import android.app.AlertDialog;
import android.content.DialogInterface;
import android.view.LayoutInflater;
import android.view.Menu;
import android.view.View;
import android.view.View.OnClickListener;
import android.widget.Button;
import android.widget.Toast;
public class MainActivity extends Activity implements OnClickListener {
private Button btnSure,btnRadio,btnCheck,btnList,btnMy;
private String[] sexList={"男","女"};//單選列表
private String[] likeList={"籃球","足球","打游戲","聽音樂","看電影"};//多選列表
private String[] itemList={"項目經理","策劃","測試","美工","程序員"};//列表
@Override
protected void onCreate(Bundle savedInstanceState) {
super.onCreate(savedInstanceState);
setContentView(R.layout.activity_main);
getId();//獲取控件id
click();//按鈕綁定點擊事件
}
/*獲取控件id*/
private void getId() {
btnSure = (Button) findViewById(R.id.btnSure);
btnRadio=(Button) findViewById(R.id.btnRadio);
btnCheck=(Button) findViewById(R.id.btnCheck);
btnList=(Button) findViewById(R.id.btnList);
btnMy=(Button) findViewById(R.id.btnMy);
}
/*按鈕綁定點擊事件*/
private void click() {
btnSure.setOnClickListener(this);
btnRadio.setOnClickListener(this);
btnCheck.setOnClickListener(this);
btnList.setOnClickListener(this);
btnMy.setOnClickListener(this);
}
@Override
public boolean onCreateOptionsMenu(Menu menu) {
getMenuInflater().inflate(R.menu.main, menu);
return true;
}
@Override
public void onClick(View view) {
switch (view.getId()) {
case R.id.btnSure:
showDialog1();//確認對話框
break;
case R.id.btnRadio:
showDialog2();//單選對話框
break;
case R.id.btnCheck:
showDialog3();//多選對話框
break;
case R.id.btnList:
showDialog4();
break;
case R.id.btnMy:
showDialog5();
break;
}
}
/*確認對話框*/
private void showDialog1() {
AlertDialog.Builder builder=new AlertDialog.Builder(this);
builder.setTitle("確認對話框");//設置標題
builder.setIcon(R.drawable.ic_launcher);//設置圖標
builder.setMessage("確認對話框提示內容");//設置內容
/*添加對話框中確定按鈕和點擊事件*/
builder.setPositiveButton("確定",new DialogInterface.OnClickListener() {
@Override
public void onClick(DialogInterface arg0, int arg1) {
Toast.makeText(MainActivity.this,"點擊了確定按鈕",Toast.LENGTH_SHORT).show();
}
});
/*添加對話框中取消按鈕和點擊事件*/
builder.setNegativeButton("取消",new DialogInterface.OnClickListener() {
@Override
public void onClick(DialogInterface arg0, int arg1) {
Toast.makeText(MainActivity.this,"點擊了取消按鈕",Toast.LENGTH_SHORT).show();
}
});
AlertDialog dialog=builder.create();//獲取dialog
dialog.show();//顯示對話框
}
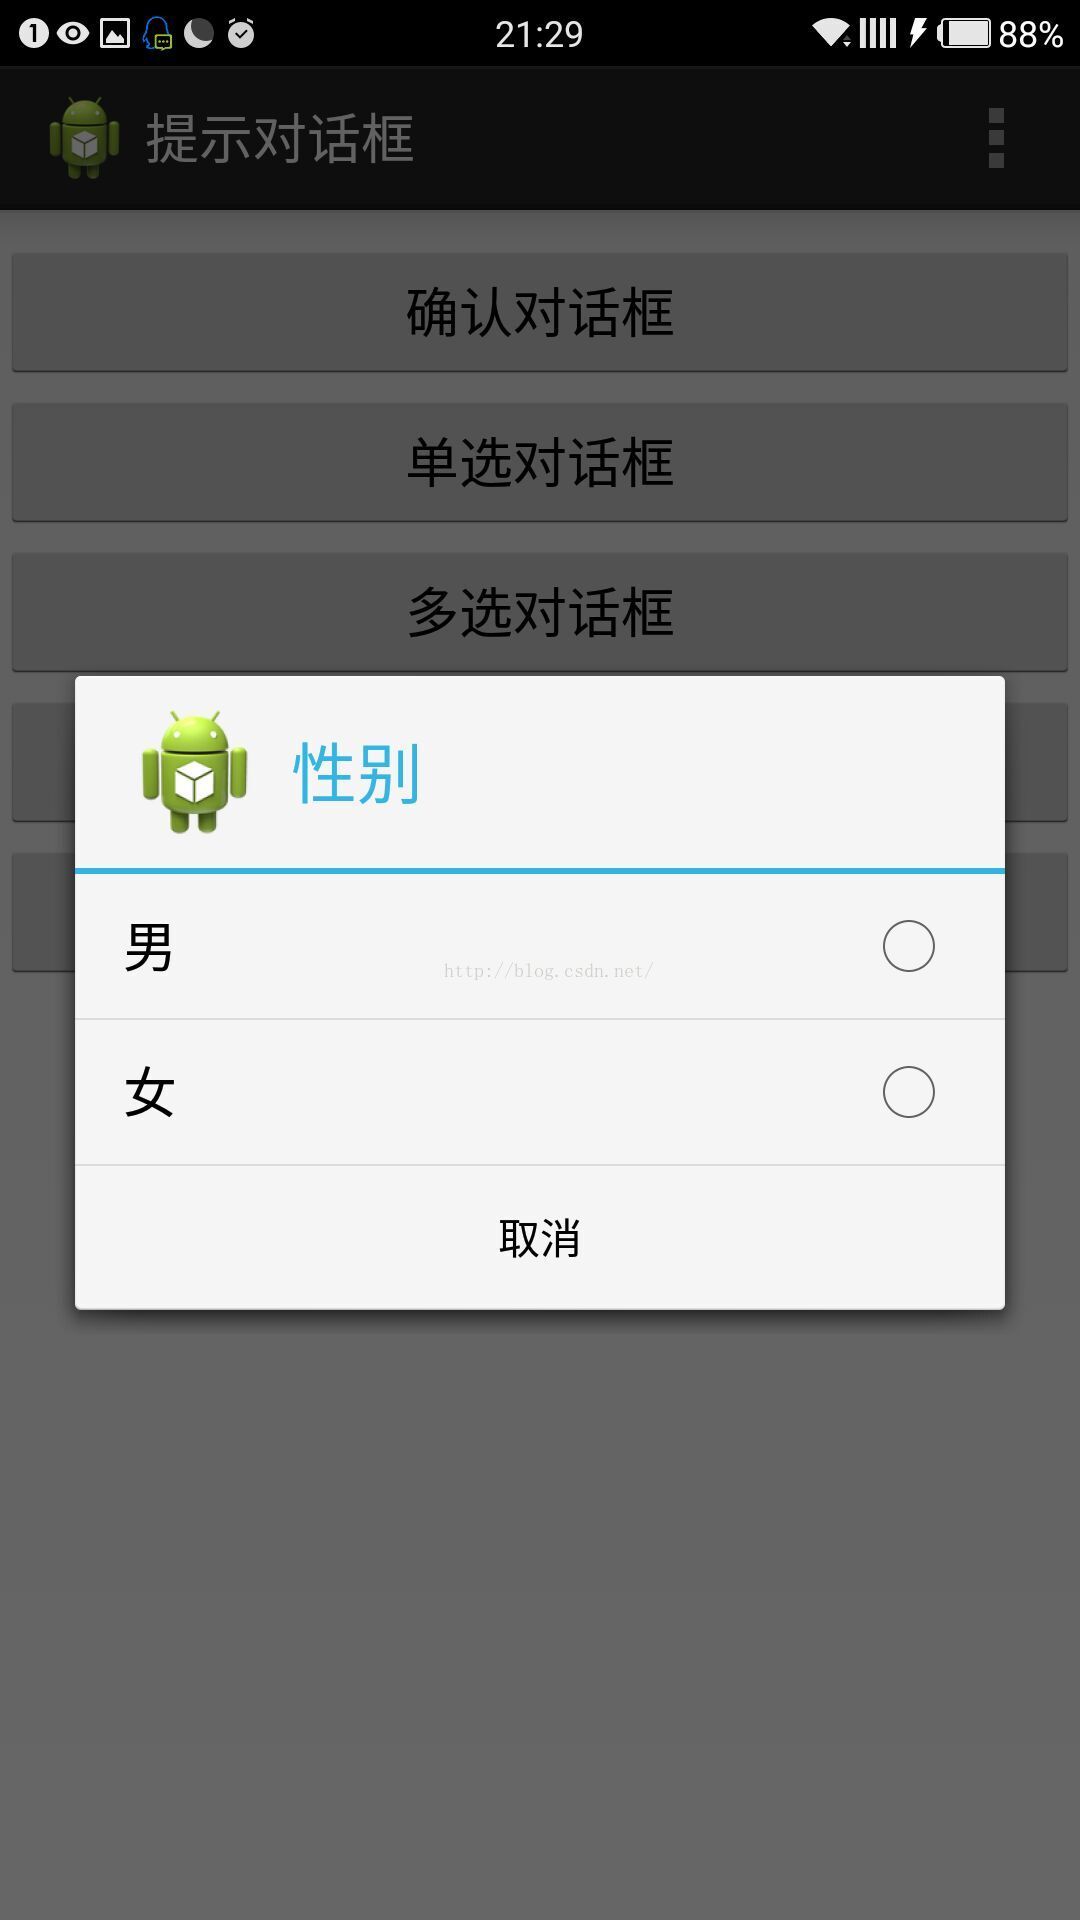
/*單選對話框*/
private void showDialog2() {
AlertDialog.Builder builder=new AlertDialog.Builder(this);
builder.setTitle("性別");//設置標題
builder.setIcon(R.drawable.ic_launcher);//設置圖標
/*參數一位單選列表文字,參數二為默認第幾個選中(-1默認不選中),參數三是創建監聽器*/
builder.setSingleChoiceItems(sexList,-1,new DialogInterface.OnClickListener() {
@Override
public void onClick(DialogInterface dialog, int which) {
String sex=sexList[which];
Toast.makeText(MainActivity.this,"這個人性別為"+sex, Toast.LENGTH_SHORT).show();
}
});
/*添加對話框中取消按鈕點擊事件*/
builder.setNegativeButton("取消",new DialogInterface.OnClickListener() {
@Override
public void onClick(DialogInterface dialog, int which) {
dialog.dismiss();//關閉對話框
}
});
AlertDialog dialog=builder.create();//獲取dialog
dialog.show();//顯示對話框
}
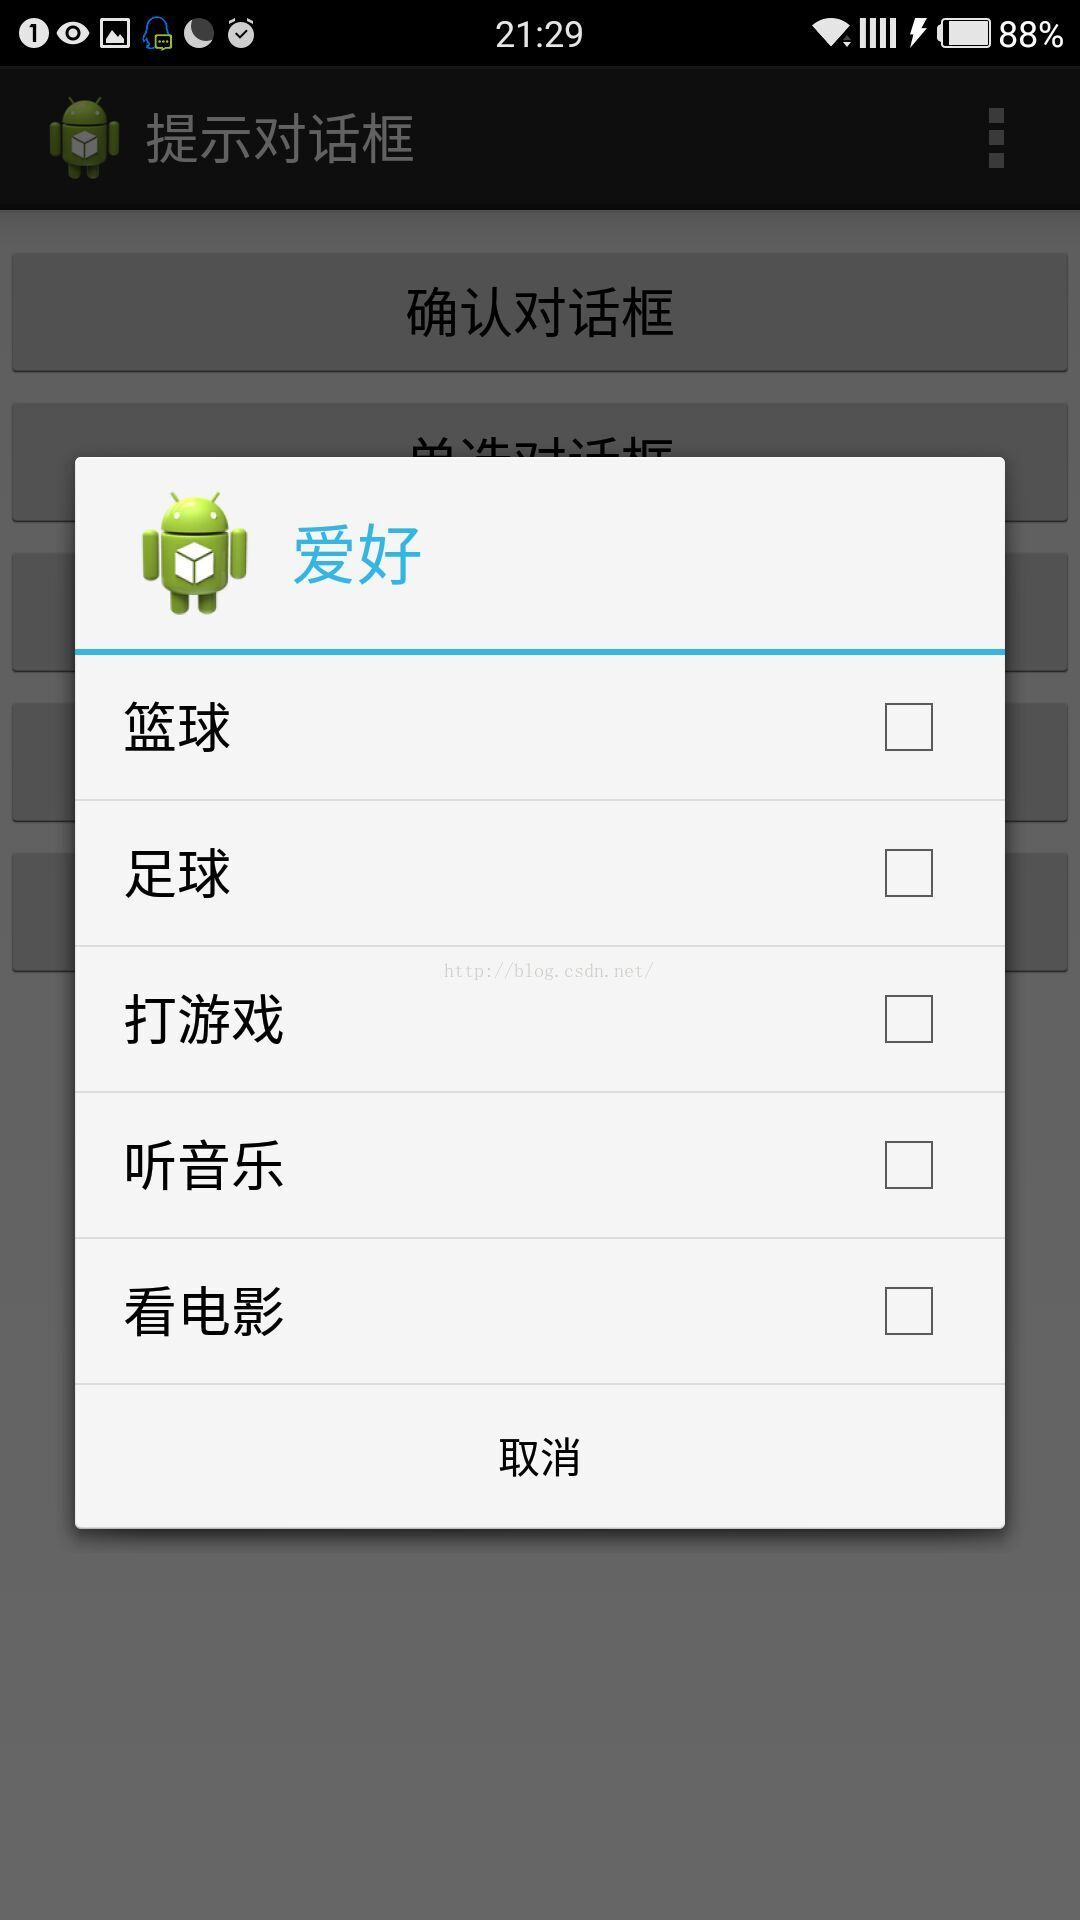
/*多選對話框*/
private void showDialog3() {
AlertDialog.Builder builder=new AlertDialog.Builder(this);
builder.setTitle("愛好");//設置標題
builder.setIcon(R.drawable.ic_launcher);//設置圖標
/*參數同單選對話框一樣,另外第二個參數默認不選中為null,而不是-1*/
builder.setMultiChoiceItems(likeList,null,new DialogInterface.OnMultiChoiceClickListener() {
@Override
public void onClick(DialogInterface dialog, int which, boolean isChecked) {
if(isChecked){
Toast.makeText(MainActivity.this,"我喜歡"+likeList[which],Toast.LENGTH_SHORT).show();
}else{
Toast.makeText(MainActivity.this,"我不喜歡"+likeList[which],Toast.LENGTH_SHORT).show();
}
}
});
/*添加對話框中取消按鈕點擊事件*/
builder.setNegativeButton("取消",new DialogInterface.OnClickListener() {
@Override
public void onClick(DialogInterface dialog, int which) {
dialog.dismiss();//關閉對話框
}
});
AlertDialog dialog=builder.create();//獲取dialog
dialog.show();//顯示對話框
}
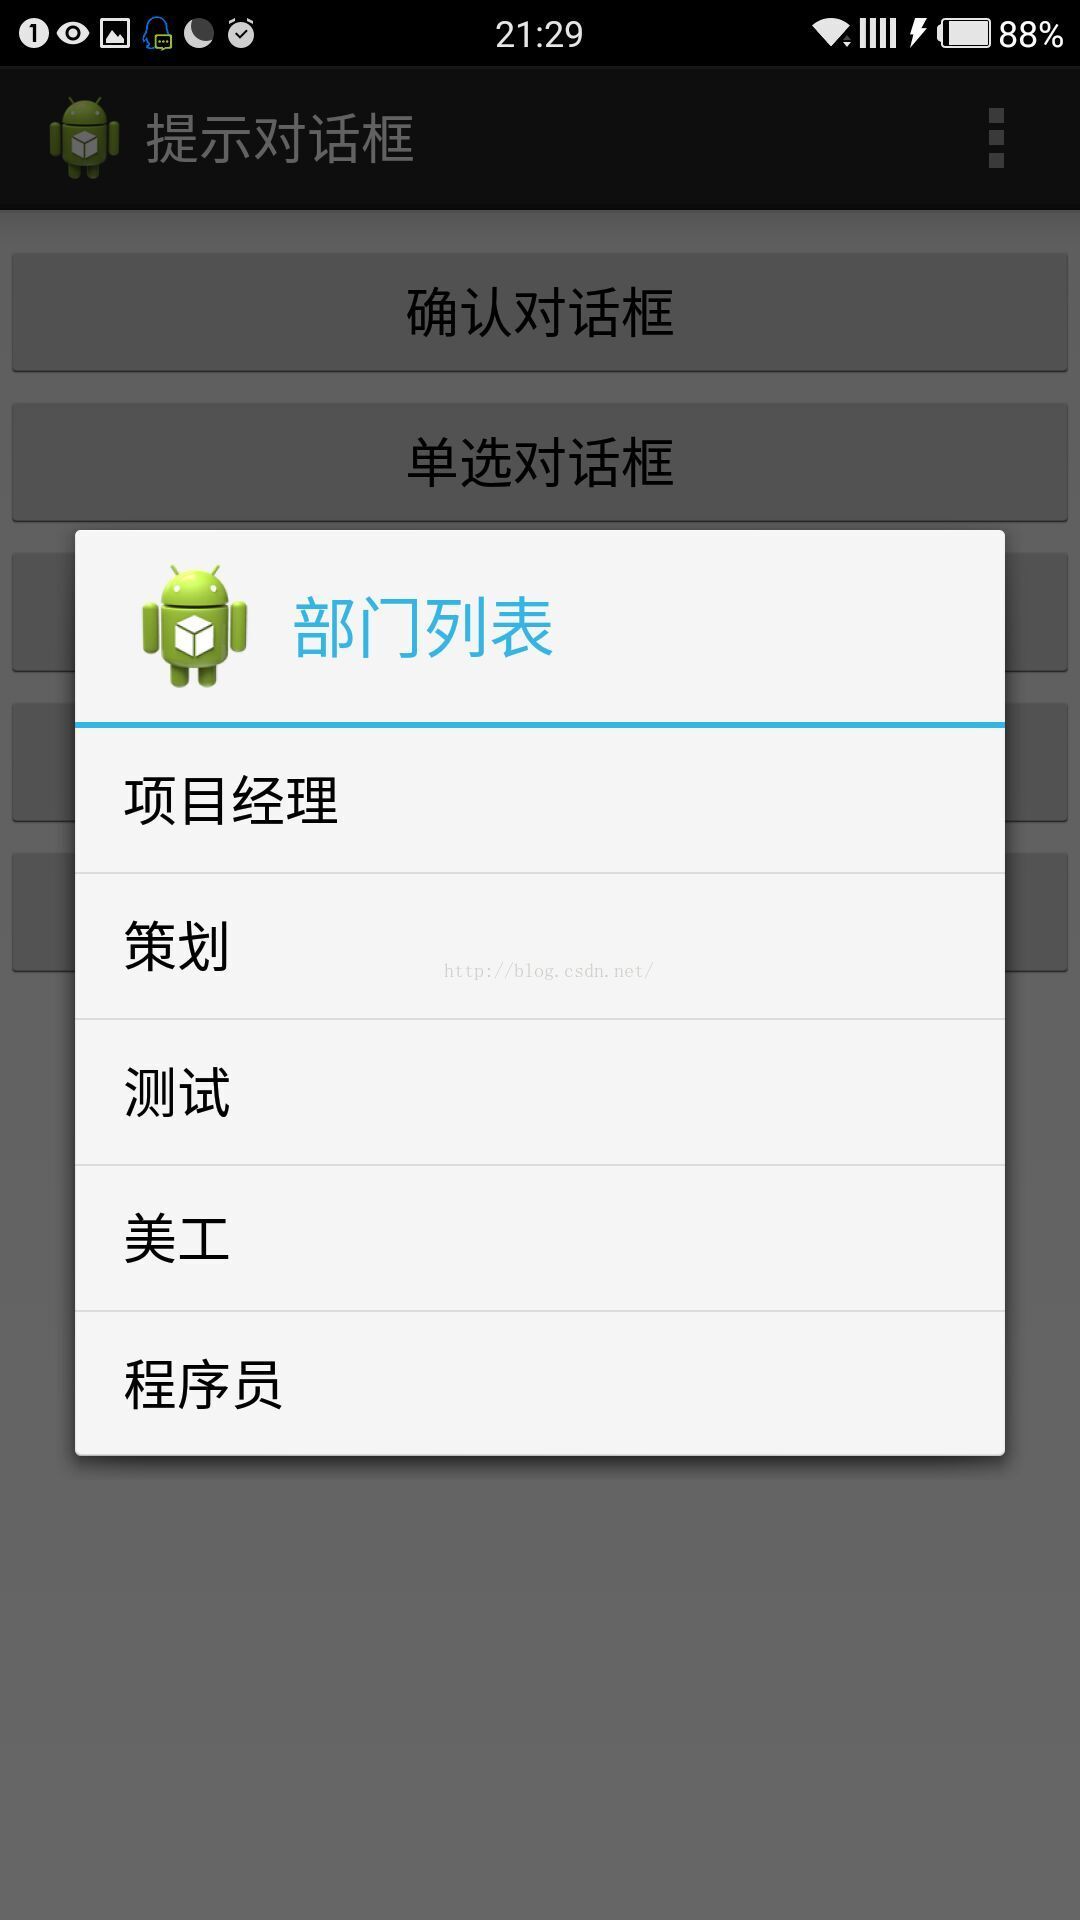
/*列表對話框*/
private void showDialog4() {
AlertDialog.Builder builder=new AlertDialog.Builder(this);
builder.setTitle("部門列表");//設置標題
builder.setIcon(R.drawable.ic_launcher);//設置圖標
builder.setItems(itemList,new DialogInterface.OnClickListener() {
@Override
public void onClick(DialogInterface dialog, int which) {
Toast.makeText(MainActivity.this,"我點擊了"+itemList[which],Toast.LENGTH_SHORT).show();
}
});
AlertDialog dialog=builder.create();//獲取dialog
dialog.show();//顯示對話框
}
/*自定義對話框*/
private void showDialog5() {
LayoutInflater inflater=LayoutInflater.from(this);
View view=inflater.inflate(R.layout.dialog,null);//獲取自定義布局
AlertDialog.Builder builder=new AlertDialog.Builder(this);
builder.setTitle("自定義對話框");//設置標題
builder.setIcon(R.drawable.ic_launcher);//設置圖標
builder.setView(view);//設置自定義樣式布局到對話框
AlertDialog dialog=builder.create();//獲取dialog
dialog.show();//顯示對話框
}
}
4.運行就出現目標效果了。
關於Android中AlertDialog各種對話框的用法就給大家介紹這麼多,希望對大家有所幫助!
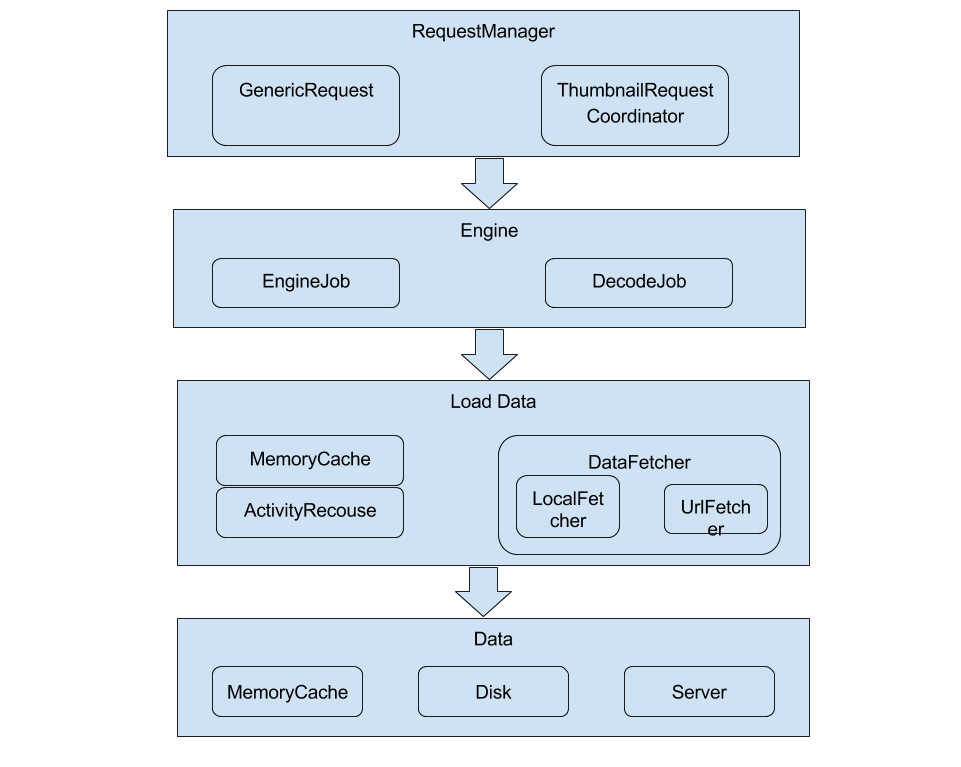 從源碼分析Android的Glide庫的圖片加載流程及特點
0.基礎知識Glide中有一部分單詞,我不知道用什麼中文可以確切的表達出含義,用英文單詞可能在行文中更加合適,還有一些詞在Glide中有特別的含義,我理解的可能也不深入,
 Android基礎入門教程——10.1 TelephonyManager(電話管理器)
本節引言: 本章節是Android基礎入門教程的最後一章,主要講解是一些零零散散的一些知識點,以及一些遺漏 知識點的補充,這些零散的知識點包括,各
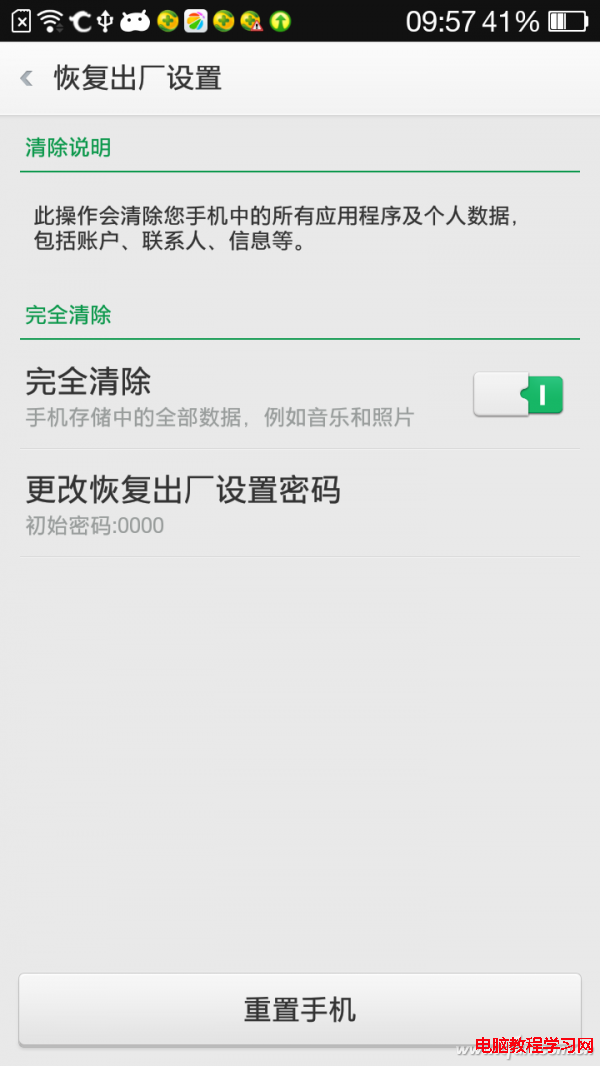 如何徹底清除Android手機的使用痕跡
手機中保存並記錄著很多我們個人數據,比如浏覽器記錄、微信賬號、聊天記錄等,這些信息如果被有心人盯上自然後後患無窮。有時候我們會將手機借給好友,或是購新機後在
 談談Android中的Divider是個什麼東東
在Android應用開發中會經常碰到一個叫divider的東西,就是兩個View之間的分割線。最近工作中注意到這個divider並分析了一下,竟然發現內有乾坤,驚為天人…