編輯:關於Android編程
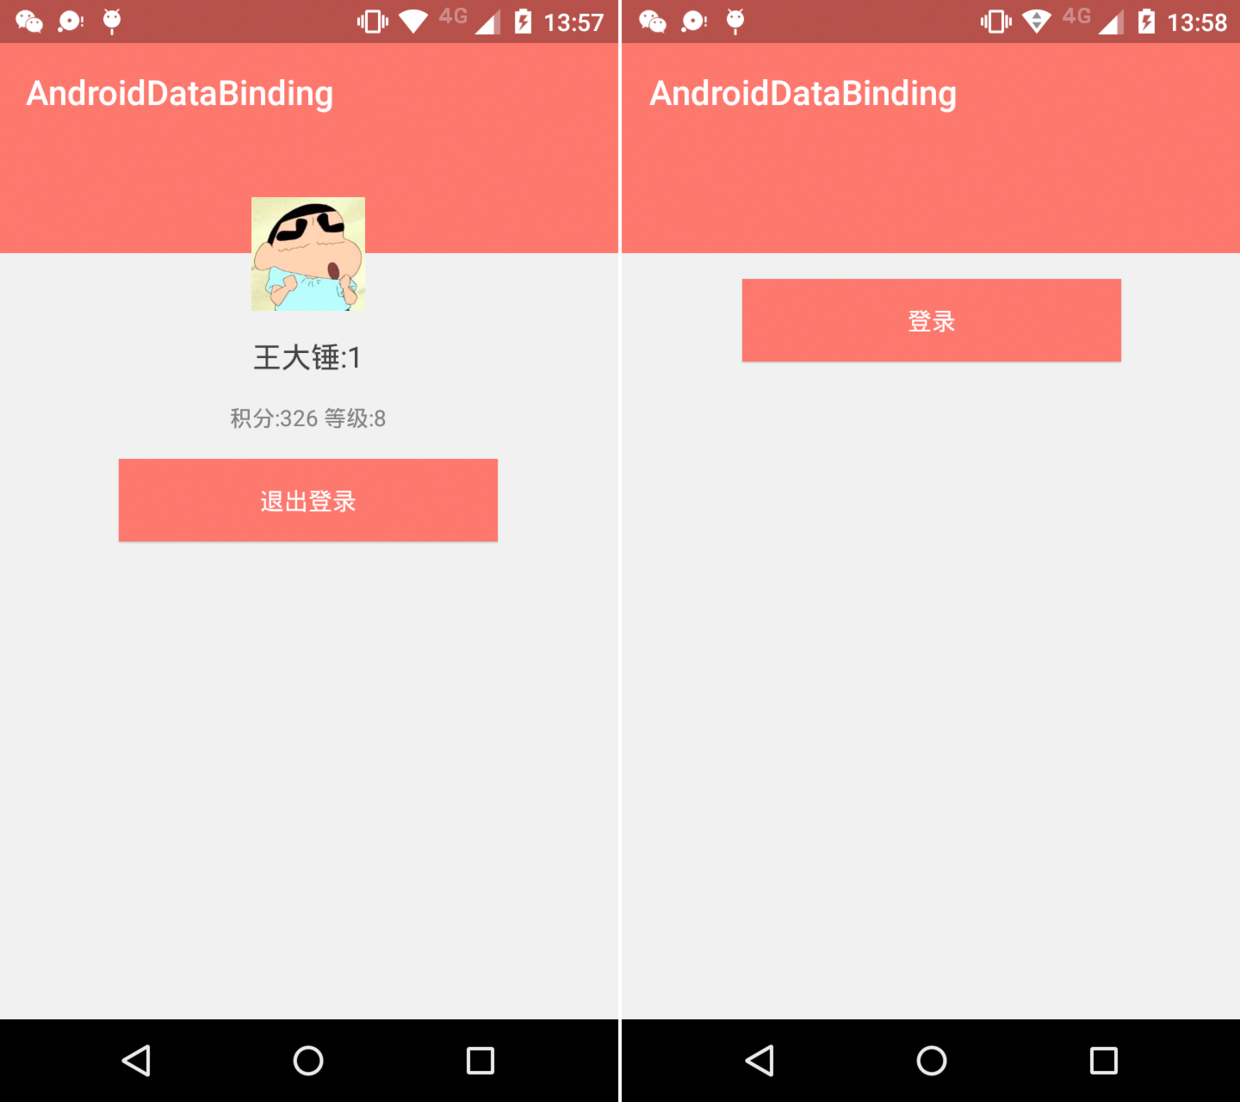
先來看看效果圖:
一、布局
<?xml version="1.0" encoding="utf-8"?>
<LinearLayout xmlns:android="http://schemas.android.com/apk/res/android"
  android:layout_width="match_parent"
  android:layout_height="wrap_content"
  android:orientation="vertical"
  android:background="#ffffff"
  android:padding="20dp" >

  <TextView
    android:layout_width="match_parent"
    android:layout_height="wrap_content"
    android:clickable="true"
    android:gravity="center"
    android:textColor="@android:color/holo_orange_dark"
    android:text="確定" />

  <TextView
    android:layout_marginTop="20dp"
    android:layout_width="match_parent"
    android:layout_height="wrap_content"
    android:layout_marginBottom="10dp"
    android:clickable="true"
    android:gravity="center"
    android:text="取消" />

</LinearLayout>
2、自定義MypopupWindow繼承PopupWindow
public class MyPopupWindow extends PopupWindow {
3、重寫構造方法與動畫樣式
在styles.xml自定義樣式,動畫
<style name="MyPopupWindow">

    <item name="android:windowEnterAnimation">@anim/pop_in</item>
    <item name="android:windowExitAnimation">@anim/pop_out</item>
  </style>
pop_in
<?xml version="1.0" encoding="utf-8"?>
<set xmlns:android="http://schemas.android.com/apk/res/android">

  <!-- 平移
  <translate
     android:duration="5000"
     android:fromXDelta="100%"

     android:toXDelta="0"/>
     -->

  <scale
    android:fromXScale="0"
    android:fromYScale="0"
    android:pivotX="50%"
    android:pivotY="50%"
    android:toXScale="0.8"
    android:toYScale="0.5"
    android:duration="200"/>

  <!--
fromXScale
fromYScale
起始時X,Y座標,

pivotX
pivotY

動畫起始位置,相對於屏幕的百分比,兩個都為50%表示動畫從屏幕中間開始

toXScale
toYScale
動畫最終縮放的倍數, 1.0為正常大小,大於1.0放大

duration
動畫持續時間


 -->

  <!--透明度-->
  <alpha
    android:duration="200"
    android:fromAlpha="0.0"

    android:toAlpha="1.0"/>


</set>
pop_out
<?xml version="1.0" encoding="utf-8"?>
<set xmlns:android="http://schemas.android.com/apk/res/android">

  <!-- <translate
    android:duration="5000"
    android:fromXDelta="0"

    android:toXDelta="100%"/>-->

  <scale
    android:fromXScale="0.8"
    android:fromYScale="0.5"
    android:pivotX="50%"
    android:pivotY="50%"
    android:toXScale="0"
    android:toYScale="0"
    android:duration="200"/>


  <alpha
    android:duration="200"
    android:fromAlpha="1.0"

    android:toAlpha="0.0"/>

</set>
4、重寫構造方法並設置點擊外部可以消失監聽
 super(context);

    this.mContext=context;
    //打氣筒
    mInflater = (LayoutInflater) context.getSystemService(Context.LAYOUT_INFLATER_SERVICE);


    //打氣

    mContentView = mInflater.inflate(R.layout.layout_dialog,null);

    //設置View
    setContentView(mContentView);


    //設置寬與高
    setWidth(WindowManager.LayoutParams.MATCH_PARENT);

    setHeight(WindowManager.LayoutParams.WRAP_CONTENT);


    /**
     * 設置進出動畫
     */
    setAnimationStyle(R.style.MyPopupWindow);


    /**
     * 設置背景只有設置了這個才可以點擊外邊和BACK消失
     */
    setBackgroundDrawable(new ColorDrawable());


    /**
     * 設置可以獲取集點
     */
    setFocusable(true);

    /**
     * 設置點擊外邊可以消失
     */
    setOutsideTouchable(true);

    /**
     *設置可以觸摸
     */
    setTouchable(true);


    /**
     * 設置點擊外部可以消失
     */

    setTouchInterceptor(new View.OnTouchListener() {
      @Override
      public boolean onTouch(View v, MotionEvent event) {

        /**
         * 判斷是不是點擊了外部
         */
        if(event.getAction()==MotionEvent.ACTION_OUTSIDE){
          return true;
        }
        //不是點擊外部
        return false;
      }
    });
5、顯示及設置窗口變暗與變亮
public void displayDialog(View view){

    MyPopupWindow myPopupWindow = new MyPopupWindow(this);

    myPopupWindow.showAsDropDown(mBtnDispaly,0,0);
    lightOff();


    /**
     * 消失時屏幕變亮
     */
    myPopupWindow.setOnDismissListener(new PopupWindow.OnDismissListener() {
      @Override
      public void onDismiss() {
        WindowManager.LayoutParams layoutParams = getWindow().getAttributes();

        layoutParams.alpha=1.0f;

        getWindow().setAttributes(layoutParams);
      }
    });
  }

  /**
   * 顯示時屏幕變暗
   */
  private void lightOff() {

    WindowManager.LayoutParams layoutParams = getWindow().getAttributes();

    layoutParams.alpha=0.3f;

    getWindow().setAttributes(layoutParams);

  }
6、完整
package liu.basedemo.view;

import android.content.Context;
import android.graphics.drawable.ColorDrawable;
import android.view.LayoutInflater;
import android.view.MotionEvent;
import android.view.View;
import android.view.WindowManager;
import android.widget.PopupWindow;

import liu.basedemo.R;


/**
 * 學習PopupWindow
 * Created by 劉楠 on 2016/8/1 0001.17:42
 */
public class MyPopupWindow extends PopupWindow {

  Context mContext;
  private LayoutInflater mInflater;
  private View mContentView;


  public MyPopupWindow(Context context) {
    super(context);

    this.mContext=context;
    //打氣筒
    mInflater = (LayoutInflater) context.getSystemService(Context.LAYOUT_INFLATER_SERVICE);


    //打氣

    mContentView = mInflater.inflate(R.layout.layout_dialog,null);

    //設置View
    setContentView(mContentView);


    //設置寬與高
    setWidth(WindowManager.LayoutParams.MATCH_PARENT);

    setHeight(WindowManager.LayoutParams.WRAP_CONTENT);


    /**
     * 設置進出動畫
     */
    setAnimationStyle(R.style.MyPopupWindow);


    /**
     * 設置背景只有設置了這個才可以點擊外邊和BACK消失
     */
    setBackgroundDrawable(new ColorDrawable());


    /**
     * 設置可以獲取集點
     */
    setFocusable(true);

    /**
     * 設置點擊外邊可以消失
     */
    setOutsideTouchable(true);

    /**
     *設置可以觸摸
     */
    setTouchable(true);


    /**
     * 設置點擊外部可以消失
     */

    setTouchInterceptor(new View.OnTouchListener() {
      @Override
      public boolean onTouch(View v, MotionEvent event) {

        /**
         * 判斷是不是點擊了外部
         */
        if(event.getAction()==MotionEvent.ACTION_OUTSIDE){
          return true;
        }
        //不是點擊外部
        return false;
      }
    });


    /**
     * 初始化View與監聽器
     */
    initView();

    initListener();
  }


  private void initView() {

  }

  private void initListener() {

  }


}
以上就是本文的全部內容,希望對大家的學習有所幫助,也希望大家多多支持本站。
 紅米note3和樂視1s哪個好 紅米note3和樂1s區別對比評測
紅米note3介紹:外觀設計紅米Note3金屬機身背面是三段式設計,上下兩端為塑料材質。配置方面紅米Note3采用5.5英寸1080P屏幕,1300萬像素後
 Andorid學習之游戲背景移動
借助Bitmap和createBitmap方法可以挖取源位圖的一塊,這樣可以在程序中通過定時器不斷的挖取源位圖中的不同塊,給游戲者一種背景在移動,即對象在向前移動的假象。
 Android開發本地及網絡Mp3音樂播放器(十一)使用Jsoup組件請求網絡,並解析音樂數據
實現功能:實現NetMusicListFragment(網絡音樂界面)實現net_music_list_layout.xml(網絡音樂界面UI)使用Jsoup組件請求網絡
 Android 使用Vitamio打造自己的萬能播放器(5)——在線播放(播放優酷視頻)
前言 為了保證每周一篇的進度,又由於Vitamio新版本沒有發布, 決定推遲本地播放的一些功能(截圖、視頻時間、尺寸等),跳過直接寫在線播放部分的章節。從V