編輯:關於Android編程
前言
在Android中經常要使用Dialog來實現一些提示以及一些特殊的效果,而且樣式也不一樣,每次都得查一大堆資料,還不一定能解決。對話框是個好東西,創建簡單有實用。當下的開發中,很多的開發者反而更喜歡使用activity來代替對話框,至少筆者的團隊中,類似於升級提示或者指示頁及其他一些交互的地方,大量的把Dialog替換成activity,好處是顯而易見的,activity具有更靈活的操作和布局,另外很重要一點是,一些容易涉及內存洩漏的代碼放在activity中執行比放在Dialog中執行要好的多,當然這是筆者自己的觀點,文中有不對的地方,歡迎大家提出指正,好讓筆者及時改正,共同學習。
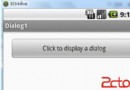
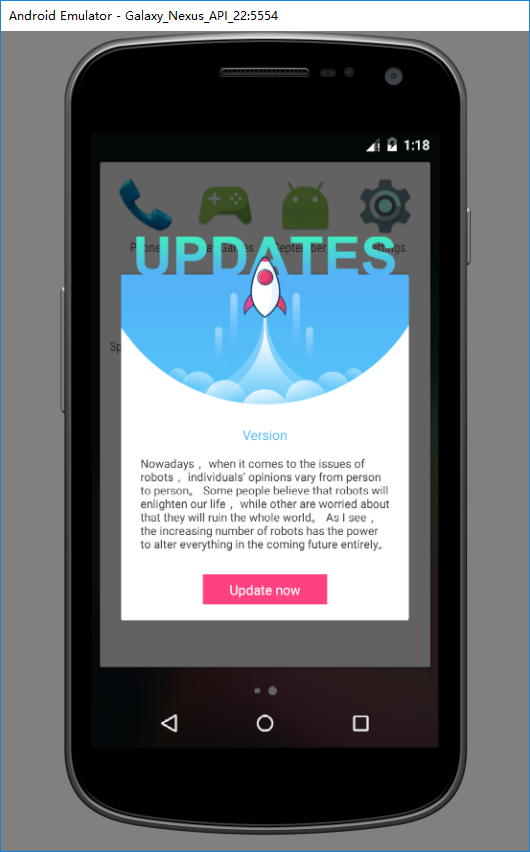
先上效果圖:
實現方法
這個對話框常常能在一些APP中遇到,首先是布局:
<?xml version="1.0" encoding="utf-8"?>
<RelativeLayout xmlns:android="http://schemas.android.com/apk/res/android"
 xmlns:tools="http://schemas.android.com/tools"
 android:id="@+id/activity_main"
 android:layout_width="300dp"
 android:layout_height="400dp"
 android:layout_gravity="center"
 android:background="@drawable/popup_bg"
 android:orientation="vertical"
 tools:context="com.yankee.september_2.MainActivity">
 <LinearLayout
  android:layout_width="match_parent"
  android:layout_height="wrap_content"
  android:layout_above="@+id/btn_update"
  android:layout_marginBottom="24dp"
  android:layout_marginLeft="20dp"
  android:layout_marginRight="20dp"
  android:orientation="vertical">
  <TextView
   android:layout_width="wrap_content"
   android:layout_height="wrap_content"
   android:layout_gravity="center_horizontal"
   android:text="Version"
   android:textColor="#53BAF8"
   android:textSize="14sp" />
  <ScrollView
   android:layout_width="match_parent"
   android:layout_height="100dp"
   android:layout_gravity="center_horizontal"
   android:layout_marginTop="12dp">
   <TextView
    android:layout_width="wrap_content"
    android:layout_height="wrap_content"
    android:text="Nowadays, when it comes to the issues of robots, individuals' opinions vary from person to person。 Some people believe that robots will enlighten our life, while other are worried about that they will ruin the whole world。 As I see, the increasing number of robots has the power to alter everything in the coming future entirely。"
    android:textColor="#404040"
    android:textSize="12sp" />
  </ScrollView>
 </LinearLayout>
 <Button
  android:id="@+id/btn_update"
  android:layout_width="130dp"
  android:layout_height="32dp"
  android:layout_alignParentBottom="true"
  android:layout_centerHorizontal="true"
  android:layout_marginBottom="16dp"
  android:background="@color/colorAccent"
  android:gravity="center"
  android:text="Update now"
  android:textColor="#FFFFFF"
  android:textSize="14sp" />
</RelativeLayout>
布局代碼中需要注意的是,這個布局的大小是寫死的,因為從代碼中可以看出,對話框的镂空效果其實是一張背景圖產生的,辛苦美術但是爽了程序員。
第二步:接著就是在manifest文件的操作了,把對應的activity的theme設置為自定義的主題即可,背景設為透明,去掉標題,注意,這個主題繼承自對話框的主題。
manifest:
<activity
 android:name=".MainActivity"
 android:screenOrientation="portrait"
 android:theme="@style/TipDialog">
</activity>
styles.xml:
<style name="TipDialog" parent="@android:style/Theme.Dialog">
 <item name="android:windowNoTitle">true</item>
 <item name="android:windowBackground">@android:color/transparent</item>
</style>
最後就沒有最後了,還有一點,就是讓當前這個activity繼承自Activity,而不是AppCompatActivity,否則會報主題的錯誤。
總結
以上就是這篇文章的全部內容了,希望本文的內容對大家的學習或者工作能帶來一定的幫助,如果有疑問大家可以留言交流。
 申請微信賬號 qq如何注冊微信賬號
玩微信的人都知道,微信無法直接使用QQ號登錄,想要使用QQ號登錄微信就需要先注冊,那麼我們如何使用qq號注冊微信帳號呢?本文就為大家詳細介紹使用申請微信賬號
 Google官方 詳解 Android 性能優化
為什麼關注性能對於一款APP,用戶首先關注的是 app的性能,而不是APP本身的屬性功能,用戶不關心你是否是搞社交,是否搞電商,是否是一款強大的美圖濾鏡app,用戶首先關
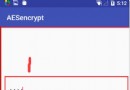 android中AES加解密的使用方法
今天在android項目中使用AES對數據進行加解密,遇到了很多問題,網上也找了很多資料,也不行。不過最後還是讓我給搞出來了,這裡把這個記錄下來,不要讓別人走我的彎路,因
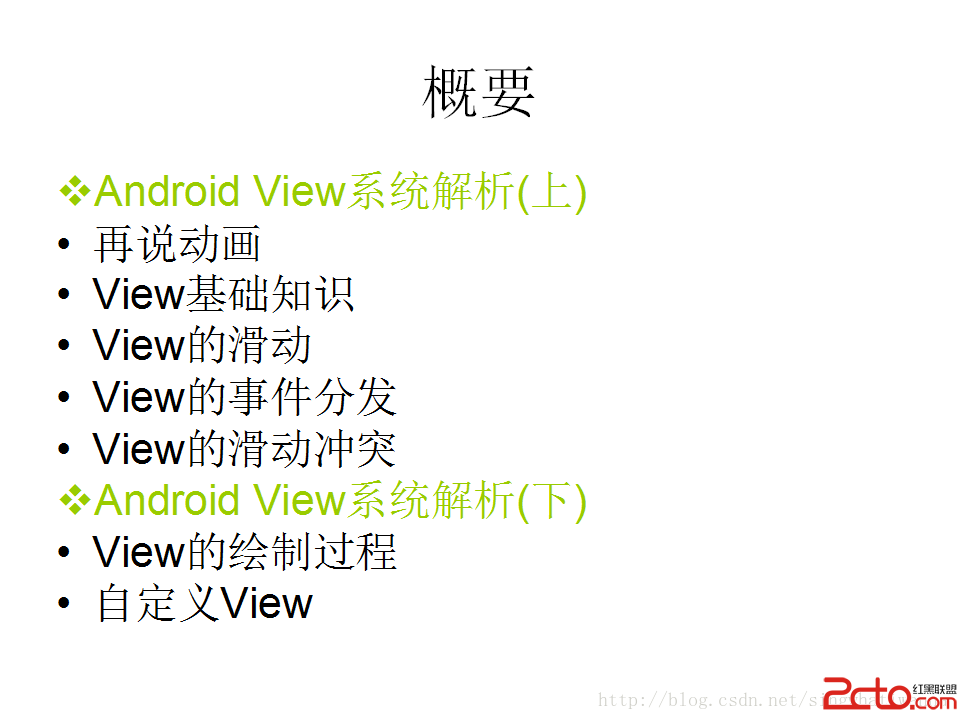 Android View系統解析(上)