編輯:關於Android編程
本文實例講述了Android編程實現WebView添加進度條的方法。分享給大家供大家參考,具體如下:
標准的XML界面
<?xml version="1.0" encoding="utf-8"?>
<LinearLayout xmlns:android="http://schemas.android.com/apk/res/android"
 android:layout_width="match_parent"
 android:layout_height="match_parent"
 android:orientation="vertical" >
 <ProgressBar
  android:id="@+id/pb"

  android:layout_width="fill_parent"
  android:layout_height="8dip"
  android:indeterminateOnly="false"
  android:max="100"
  android:progressDrawable="@drawable/progress_bar_states" >
 </ProgressBar>
 <WebView
  android:id="@+id/webview"
  android:layout_width="match_parent"
  android:layout_height="match_parent" />
</LinearLayout>
上面聲明了兩個控件,一個是progressBar 一個是 webview,progressbar用來顯示webview控件的加載進度的
值得注意的是我們重寫的progressdrawable這個屬性,把原來難看的加載條,稍稍美化了一些,下面就是xml代碼:
<layer-list xmlns:android="http://schemas.android.com/apk/res/android">
 <item android:id="@android:id/background">
  <shape>
   <gradient
     android:startColor="#ff0000"
     android:centerColor="#ffa600"
     android:endColor="#ff5500"
   />
  </shape>
 </item>
 <item android:id="@android:id/secondaryProgress">
  <clip>
   <shape>
    <gradient
      android:startColor="#234"
      android:centerColor="#234"
      android:endColor="#a24"
    />
   </shape>
  </clip>
 </item>
 <item android:id="@android:id/progress">
  <clip>
   <shape>
    <gradient
     android:startColor="#33000001"
     android:centerColor="#40000000"
     android:endColor="#44000000"
    />
   </shape>
  </clip>
 </item>
</layer-list>
下面是Activity的java代碼:
ProgressBar pb;
@Override
protected void onCreate(Bundle savedInstanceState) {
 super.onCreate(savedInstanceState);
 setContentView(R.layout.xxx);
 pb = (ProgressBar) findViewById(R.id.pb);
 pb.setMax(100);
 WebView webView = (WebView) findViewById(R.id.webview);
 webView.getSettings().setJavaScriptEnabled(true);
 webView.getSettings().setSupportZoom(true);
 webView.getSettings().setBuiltInZoomControls(true);
 webView.setWebChromeClient(new WebViewClient() );
 webView.loadUrl("http://www.x.com");
}
private class WebViewClient extends WebChromeClient {
 @Override
 public void onProgressChanged(WebView view, int newProgress) {
  pb.setProgress(newProgress);
  if(newProgress==100){
   pb.setVisibility(View.GONE);
  }
  super.onProgressChanged(view, newProgress);
 }
}
關鍵地方是重寫了一個webchromeclient中的onprogressChange方法,這樣我們就能控制progress的進度啦,是不是很方便的,京東也是這麼干的哦,快去試一試吧
更多關於Android相關內容感興趣的讀者可查看本站專題:《Android視圖View技巧總結》、《Android開發動畫技巧匯總》、《Android編程之activity操作技巧總結》、《Android布局layout技巧總結》、《Android開發入門與進階教程》、《Android資源操作技巧匯總》及《Android控件用法總結》
希望本文所述對大家Android程序設計有所幫助。
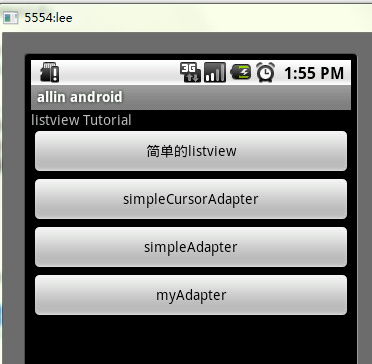 Android ListView詳解
ListView 控件可使用四種不同視圖顯示項目。通過此控件,可將項目組成帶有或不帶有列標頭的列,並顯示伴隨的圖標和文本。 可使用 ListView 控件將稱作 List
 Android 高清加載巨圖方案 拒絕壓縮圖片
一、概述距離上一篇博客有段時間沒更新了,主要是最近有些私事導致的,那麼就先來一篇簡單一點的博客脈動回來。對於加載圖片,大家都不陌生,一般為了盡可能避免OOM都
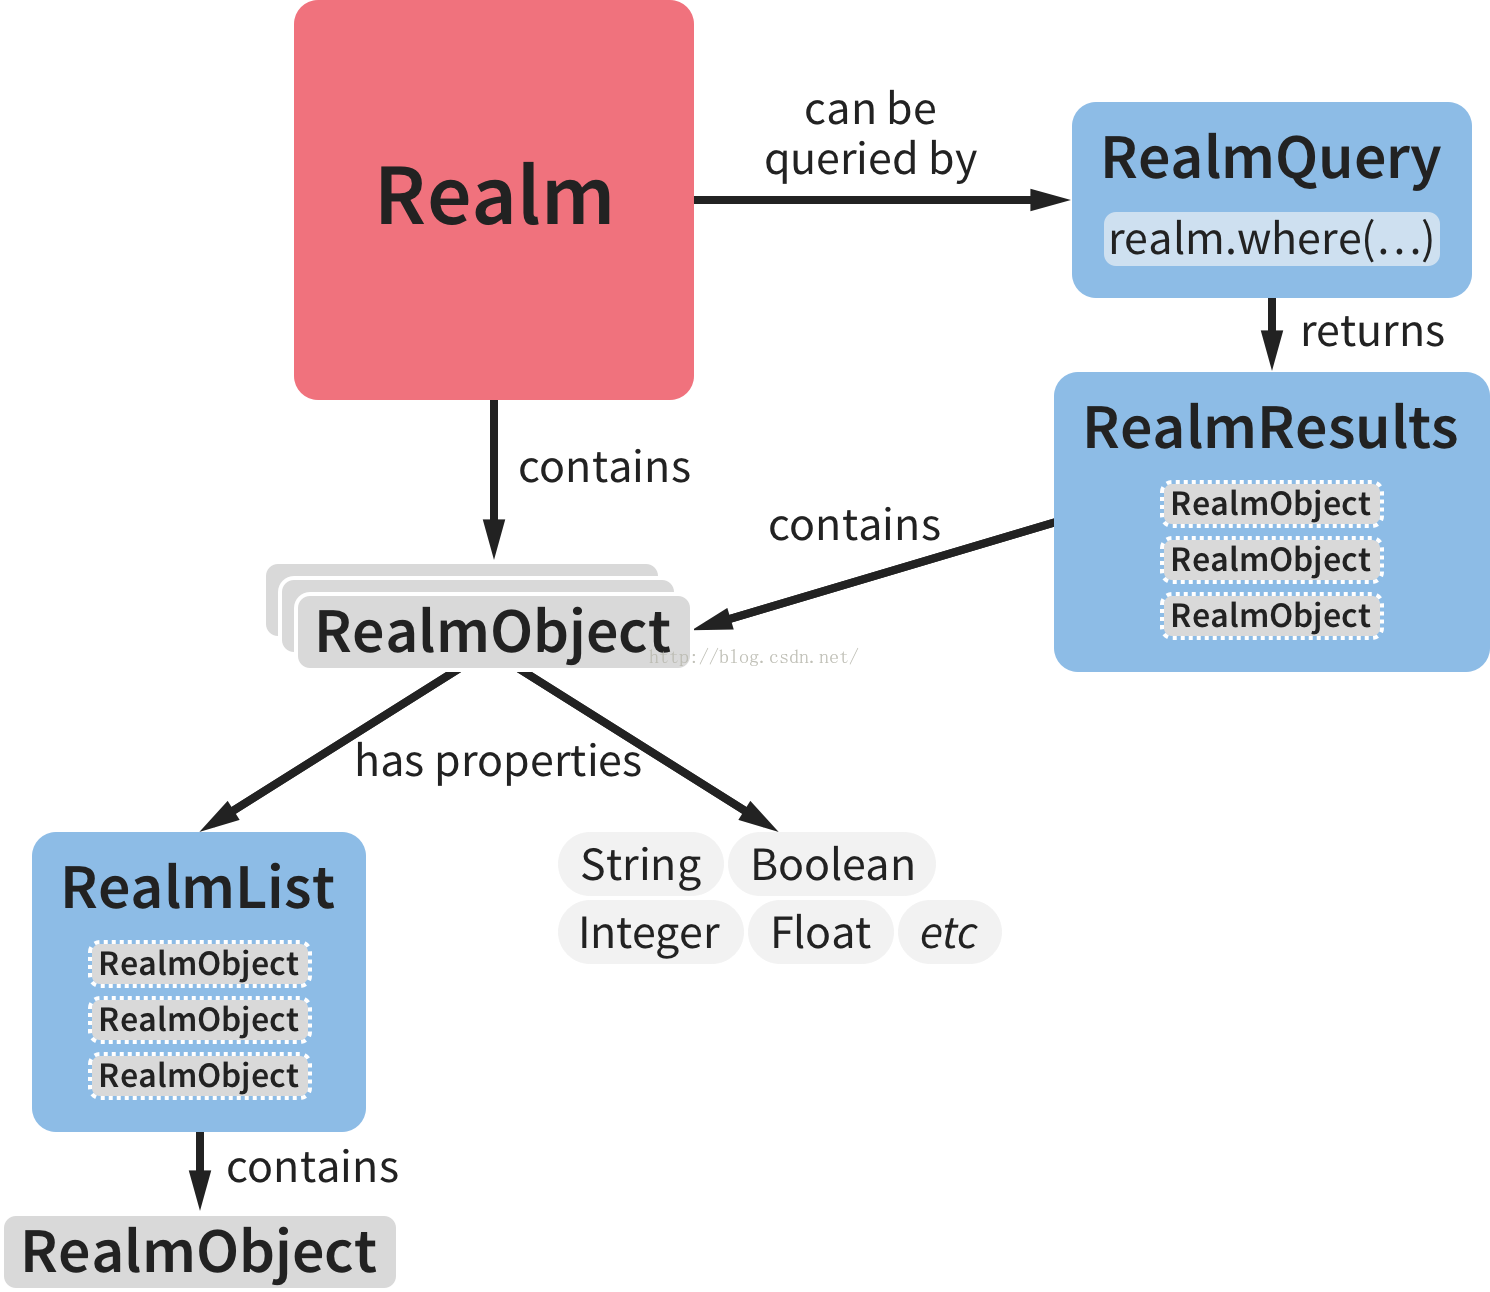 Android數據庫Realm實踐
Android開發中常用的數據庫有5個:1.OrmLiteOrmLite 不是 Android 平台專用的ORM框架,它是Java ORM。支持JDBC連接,Spring
 Android 獲取手機信息實例詳解
Android 獲取手機信息應用信息:包名、版本號、版本名,手機是否有Root權限手機信息:手機屏幕寬和高、當前可用內存大小、總內存大小、IMEI號、IESI號、手機型號