編輯:Android開發實例
前言
本章內容是android.view.ContextMenu,版本為Android 2.3 r1,翻譯來自"Kun",再次感謝"Kun" !
正文
一、結構
public interface ContextMenu implements Menu
android.view.ContextMenu
二、概述
擴展自Menu的上下文菜單提供了修改上下文菜單頭(header)的功能。(譯者注:當一個視圖注冊了上下文菜單時,執行一個在該對象上長按(2秒)的動作,將出現一個具有相關功能的浮動菜單。)
上下文菜單不支持菜單項的快捷方式和圖標。
當執行長按上下文菜單時,大多數情況會調用registerForContextMenu(View) 函數和重寫執行onCreateContextMenu(ContextMenu, View, ContextMenu.ContextMenuInfo)函數。(譯者注:因為要創建一個上下文菜單,你必須重寫這個活動的上下文回調函數onCreateContextMenu() 並且 通過registerForContextMenu(View) 為其注冊上下文菜單。)
三、內部類
interface ContextMenu.ContextMenuInfo
獲得更多關於創建上下文菜單的信息。( 譯者注:例如:AdapterViews 使用這個類可以精確選擇adapter的位置來啟動上下文菜單。)
四、公共方法
public abstract void clearHeader ()
清除上下文菜單頭的信息。(譯者注:包括圖片和文字信息
Menu.clearHeader(); 後
)
public abstract ContextMenu setHeaderIcon (Drawable icon)
為上下文菜單頭設置圖標
參數
icon 你要使用的Drawable
返回值
調用你設置修改的上下文菜單
public abstract ContextMenu setHeaderIcon (int iconRes)
設置上下文菜單頭圖標為指定的資源id
參數
iconRes 你要使用的圖標資源的目錄
(譯者注:把圖標放入res/drawable/ 目錄下,R文件會自動生成對應項。設置方法如menu.setHeaderIcon(R.drawable.webtext)
這個上下文菜單頭是沒有設置圖標的
這個上下文菜單頭是設置了圖標的
)
返回值
調用你設置修改過的上下文菜單
public abstract ContextMenu setHeaderTitle (int titleRes)
通過資源標識符為上下文菜單頭的標題欄設置文字。(譯者注:需要在res/string中先設置一段你需要的文字,如:<string name="titletest">這是一段測試文字</string>
然後通過R文件索引到這段文字,menu.setHeaderTitle(R.string.titletest))
參數
titleRes 所需文字資源的索引
返回值
調用你設置修改過的上下文菜單
public abstract ContextMenu setHeaderTitle (CharSequence title)
設置上下文菜單的標題,顯示在標題欄
參數
title 標題要顯示的文字
返回值
調用你設置修改過的上下文菜單
public abstract ContextMenu setHeaderView (View view)
設置View 到上下文菜單頭上。將替代上下文菜單頭的圖標和標題(或者替代你之前設置的headerView)
參數
view 上下文菜單頭要使用的 View
返回值
調用你設置修改過的上下文菜單內容
五、補充
代碼示例:
Test_Contextmenu.java
public class Test_Contextmenu extends Activity {main.xml
<?xml version="1.0" encoding="utf-8"?>strings.xml
<?xml version="1.0" encoding="utf-8"?>
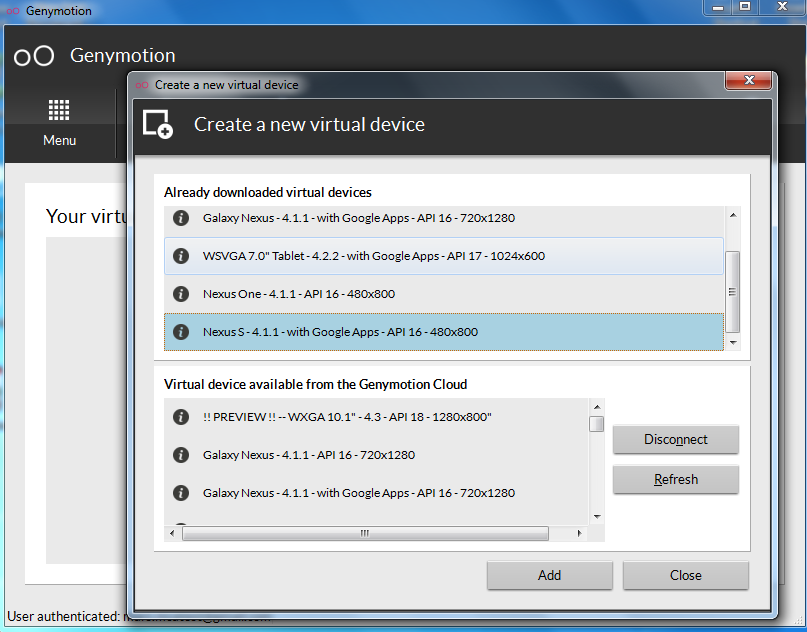 Android開發必備:秒殺真機超快模擬器Genymotion介紹
第一,這貨速度太快,第二,模仿真機環境,第三,秒殺任何Android模擬器包括真機,不多說上圖,我忒忙! 官網: http://www.genymotion.co
 Android圖片效果
Android的允許通過添加不同種類的處理圖像效果。可以輕松地應用圖像處理技術來增加某些種類的圖像效果。這些影響可能是亮度,黑暗中,灰度轉換等Android提供了Bitm
 Android MediaPlayer(多媒體播放)
Android提供了許多方法來控制播放的音頻/視頻文件和流。其中該方法是通過一類稱為MediaPlayer。Android是提供MediaPlayer類訪問內置的媒體播放
 Android本地化
Android應用程序可以在許多不同地區的許多設備上運行。為了使應用程序更具交互性,應用程序應該處理以適合應用程序將要使用的語言環境方面的文字,數字,文件等。在本章中,我