編輯:Android開發實例
在上一篇文章中,我和大家一起實現了類似於Android系統聯系人的分組導航和擠壓動畫功能,本篇文章我將帶領大家在上篇文章的代碼基礎上改進,加入快速滾動功能。
如果還沒有看過我上一篇文章,請抓緊去閱讀一下 http://www.fengfly.com/plus/view-215093-1.html。
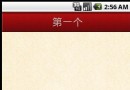
其實ListView本身是有一個快速滾動屬性的,可以通過在XML中設置android:fastScrollEnabled="true"來啟用。包括以前老版本的Android聯系人中都是使用這種方式來進行快速滾動的。效果如下圖所示:
不過這種快速滾動方式比較丑陋,到後來很多手機廠商在定制自己ROM的時候都將默認快速滾動改成了類似iPhone上A-Z字母表快速滾動的方式。這裡我們怎麼能落後於時代的潮流呢!我們的快速滾動也要使用A-Z字母表的方式!
下面就來開始實現,首先打開上次的ContactsDemo工程,修改activity_main.xml布局文件。由於我們要在界面上加入字母表,因此我們需要一個Button,將這個Button的背景設為一張A-Z排序的圖片,然後居右對齊。另外還需要一個TextView,用於在彈出式分組布局上顯示當前的分組,默認是gone掉的,只有手指在字母表上滑動時才讓它顯示出來。修改後的布局文件代碼如下:
- <RelativeLayout xmlns:android="http://schemas.android.com/apk/res/android"
- xmlns:tools="http://schemas.android.com/tools"
- android:layout_width="match_parent"
- android:layout_height="match_parent"
- android:orientation="vertical" >
- <ListView
- android:id="@+id/contacts_list_view"
- android:layout_width="fill_parent"
- android:layout_height="wrap_content"
- android:layout_alignParentTop="true"
- android:scrollbars="none"
- android:fadingEdge="none" >
- </ListView>
- <LinearLayout
- android:id="@+id/title_layout"
- android:layout_width="fill_parent"
- android:layout_height="18dip"
- android:layout_alignParentTop="true"
- android:background="#303030" >
- <TextView
- android:id="@+id/title"
- android:layout_width="wrap_content"
- android:layout_height="wrap_content"
- android:layout_gravity="center_horizontal"
- android:layout_marginLeft="10dip"
- android:textColor="#ffffff"
- android:textSize="13sp" />
- </LinearLayout>
- <Button
- android:id="@+id/alphabetButton"
- android:layout_width="wrap_content"
- android:layout_height="fill_parent"
- android:layout_alignParentRight="true"
- android:background="@drawable/a_z"
- />
- <RelativeLayout
- android:id="@+id/section_toast_layout"
- android:layout_width="70dip"
- android:layout_height="70dip"
- android:layout_centerInParent="true"
- android:background="@drawable/section_toast"
- android:visibility="gone"
- >
- <TextView
- android:id="@+id/section_toast_text"
- android:layout_width="wrap_content"
- android:layout_height="wrap_content"
- android:layout_centerInParent="true"
- android:textColor="#fff"
- android:textSize="30sp"
- />
- </RelativeLayout>
- </RelativeLayout>
然後打開MainActivity進行修改,毫無疑問,我們需要對字母表按鈕的touch事件進行監聽,於是在MainActivity中新增如下代碼:
- private void setAlpabetListener() {
- alphabetButton.setOnTouchListener(new OnTouchListener() {
- @Override
- public boolean onTouch(View v, MotionEvent event) {
- float alphabetHeight = alphabetButton.getHeight();
- float y = event.getY();
- int sectionPosition = (int) ((y / alphabetHeight) / (1f / 27f));
- if (sectionPosition < 0) {
- sectionPosition = 0;
- } else if (sectionPosition > 26) {
- sectionPosition = 26;
- }
- String sectionLetter = String.valueOf(alphabet.charAt(sectionPosition));
- int position = indexer.getPositionForSection(sectionPosition);
- switch (event.getAction()) {
- case MotionEvent.ACTION_DOWN:
- alphabetButton.setBackgroundResource(R.drawable.a_z_click);
- sectionToastLayout.setVisibility(View.VISIBLE);
- sectionToastText.setText(sectionLetter);
- contactsListView.setSelection(position);
- break;
- case MotionEvent.ACTION_MOVE:
- sectionToastText.setText(sectionLetter);
- contactsListView.setSelection(position);
- break;
- default:
- alphabetButton.setBackgroundResource(R.drawable.a_z);
- sectionToastLayout.setVisibility(View.GONE);
- }
- return true;
- }
- });
- }
可以看到,在這個方法中我們注冊了字母表按鈕的onTouch事件,然後在onTouch方法裡做了一些邏輯判斷和處理,下面我來一一詳細說明。首先通過字母表按鈕的getHeight方法獲取到字母表的總高度,然後用event.getY方法獲取到目前手指在字母表上的縱坐標,用縱坐標除以總高度就可以得到一個用小數表示的當前手指所在位置(0表在#端,1表示在Z端)。由於我們的字母表中一共有27個字符,再用剛剛算出的小數再除以1/27就可以得到一個0到27范圍內的浮點數,之後再把這個浮點數向下取整,就可以算出我們當前按在哪個字母上了。然後再對event的action進行判斷,如果是ACTION_DOWN或ACTION_MOVE,就在彈出式分組上顯示當前手指所按的字母,並調用ListView的setSelection方法把列表滾動到相應的分組。如果是其它的action,就將彈出式分組布局隱藏。
MainActivity的完整代碼如下:
- public class MainActivity extends Activity {
- /**
- * 分組的布局
- */
- private LinearLayout titleLayout;
- /**
- * 彈出式分組的布局
- */
- private RelativeLayout sectionToastLayout;
- /**
- * 右側可滑動字母表
- */
- private Button alphabetButton;
- /**
- * 分組上顯示的字母
- */
- private TextView title;
- /**
- * 彈出式分組上的文字
- */
- private TextView sectionToastText;
- /**
- * 聯系人ListView
- */
- private ListView contactsListView;
- /**
- * 聯系人列表適配器
- */
- private ContactAdapter adapter;
- /**
- * 用於進行字母表分組
- */
- private AlphabetIndexer indexer;
- /**
- * 存儲所有手機中的聯系人
- */
- private List<Contact> contacts = new ArrayList<Contact>();
- /**
- * 定義字母表的排序規則
- */
- private String alphabet = "#ABCDEFGHIJKLMNOPQRSTUVWXYZ";
- /**
- * 上次第一個可見元素,用於滾動時記錄標識。
- */
- private int lastFirstVisibleItem = -1;
- @Override
- protected void onCreate(Bundle savedInstanceState) {
- super.onCreate(savedInstanceState);
- setContentView(R.layout.activity_main);
- adapter = new ContactAdapter(this, R.layout.contact_item, contacts);
- titleLayout = (LinearLayout) findViewById(R.id.title_layout);
- sectionToastLayout = (RelativeLayout) findViewById(R.id.section_toast_layout);
- title = (TextView) findViewById(R.id.title);
- sectionToastText = (TextView) findViewById(R.id.section_toast_text);
- alphabetButton = (Button) findViewById(R.id.alphabetButton);
- contactsListView = (ListView) findViewById(R.id.contacts_list_view);
- Uri uri = ContactsContract.CommonDataKinds.Phone.CONTENT_URI;
- Cursor cursor = getContentResolver().query(uri,
- new String[] { "display_name", "sort_key" }, null, null, "sort_key");
- if (cursor.moveToFirst()) {
- do {
- String name = cursor.getString(0);
- String sortKey = getSortKey(cursor.getString(1));
- Contact contact = new Contact();
- contact.setName(name);
- contact.setSortKey(sortKey);
- contacts.add(contact);
- } while (cursor.moveToNext());
- }
- startManagingCursor(cursor);
- indexer = new AlphabetIndexer(cursor, 1, alphabet);
- adapter.setIndexer(indexer);
- if (contacts.size() > 0) {
- setupContactsListView();
- setAlpabetListener();
- }
- }
- /**
- * 為聯系人ListView設置監聽事件,根據當前的滑動狀態來改變分組的顯示位置,從而實現擠壓動畫的效果。
- */
- private void setupContactsListView() {
- contactsListView.setAdapter(adapter);
- contactsListView.setOnScrollListener(new OnScrollListener() {
- @Override
- public void onScrollStateChanged(AbsListView view, int scrollState) {
- }
- @Override
- public void onScroll(AbsListView view, int firstVisibleItem, int visibleItemCount,
- int totalItemCount) {
- int section = indexer.getSectionForPosition(firstVisibleItem);
- int nextSecPosition = indexer.getPositionForSection(section + 1);
- if (firstVisibleItem != lastFirstVisibleItem) {
- MarginLayoutParams params = (MarginLayoutParams) titleLayout.getLayoutParams();
- params.topMargin = 0;
- titleLayout.setLayoutParams(params);
- title.setText(String.valueOf(alphabet.charAt(section)));
- }
- if (nextSecPosition == firstVisibleItem + 1) {
- View childView = view.getChildAt(0);
- if (childView != null) {
- int titleHeight = titleLayout.getHeight();
- int bottom = childView.getBottom();
- MarginLayoutParams params = (MarginLayoutParams) titleLayout
- .getLayoutParams();
- if (bottom < titleHeight) {
- float pushedDistance = bottom - titleHeight;
- params.topMargin = (int) pushedDistance;
- titleLayout.setLayoutParams(params);
- } else {
- if (params.topMargin != 0) {
- params.topMargin = 0;
- titleLayout.setLayoutParams(params);
- }
- }
- }
- }
- lastFirstVisibleItem = firstVisibleItem;
- }
- });
- }
- /**
- * 設置字母表上的觸摸事件,根據當前觸摸的位置結合字母表的高度,計算出當前觸摸在哪個字母上。
- * 當手指按在字母表上時,展示彈出式分組。手指離開字母表時,將彈出式分組隱藏。
- */
- private void setAlpabetListener() {
- alphabetButton.setOnTouchListener(new OnTouchListener() {
- @Override
- public boolean onTouch(View v, MotionEvent event) {
- float alphabetHeight = alphabetButton.getHeight();
- float y = event.getY();
- int sectionPosition = (int) ((y / alphabetHeight) / (1f / 27f));
- if (sectionPosition < 0) {
- sectionPosition = 0;
- } else if (sectionPosition > 26) {
- sectionPosition = 26;
- }
- String sectionLetter = String.valueOf(alphabet.charAt(sectionPosition));
- int position = indexer.getPositionForSection(sectionPosition);
- switch (event.getAction()) {
- case MotionEvent.ACTION_DOWN:
- alphabetButton.setBackgroundResource(R.drawable.a_z_click);
- sectionToastLayout.setVisibility(View.VISIBLE);
- sectionToastText.setText(sectionLetter);
- contactsListView.setSelection(position);
- break;
- case MotionEvent.ACTION_MOVE:
- sectionToastText.setText(sectionLetter);
- contactsListView.setSelection(position);
- break;
- default:
- alphabetButton.setBackgroundResource(R.drawable.a_z);
- sectionToastLayout.setVisibility(View.GONE);
- }
- return true;
- }
- });
- }
- /**
- * 獲取sort key的首個字符,如果是英文字母就直接返回,否則返回#。
- *
- * @param sortKeyString
- * 數據庫中讀取出的sort key
- * @return 英文字母或者#
- */
- private String getSortKey(String sortKeyString) {
- alphabetButton.getHeight();
- String key = sortKeyString.substring(0, 1).toUpperCase();
- if (key.matches("[A-Z]")) {
- return key;
- }
- return "#";
- }
- }
好了,就改動了以上兩處,其它文件都保持不變,讓我們來運行一下看看效果:
非常不錯!當你的手指在右側字母表上滑動時,聯系人的列表也跟著相應的變動,並在屏幕中央顯示一個當前的分組。
現在讓我們回數一下,分組導航、擠壓動畫、字母表快速滾動,Android系統聯系人全特效都實現了!
源碼下載,請點擊這裡
 Android MediaPlayer(多媒體播放)
Android提供了許多方法來控制播放的音頻/視頻文件和流。其中該方法是通過一類稱為MediaPlayer。Android是提供MediaPlayer類訪問內置的媒體播放
 Android JSON解析器
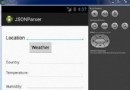
JSON代表JavaScript對象符號。它是一個獨立的數據交換格式,是XML的最佳替代品。本章介紹了如何解析JSON文件,並從中提取所需的信息。Android提供了四個
 android中使用SharedPreferences進行數據存儲的操作方法
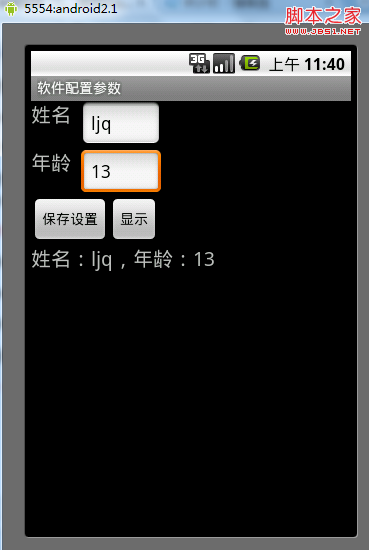
很多時候我們開發的軟件需要向用戶提供軟件參數設置功能,例如我們常用的QQ,用戶可以設置是否允許陌生人添加自己為好友。對於軟件配置參數的保存,如果是window軟件
 android實現獲取正在運行的應用程序
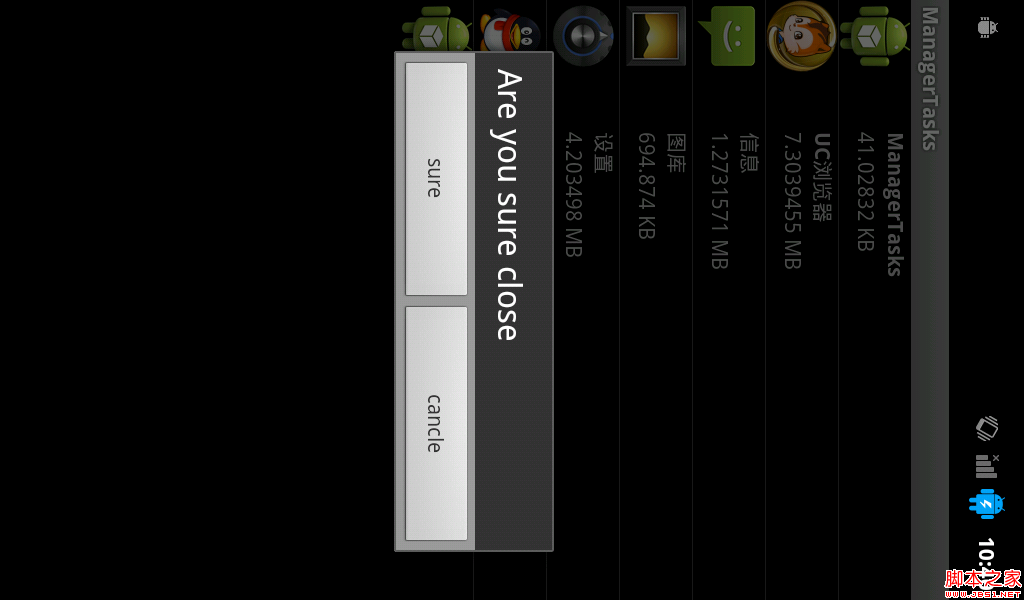
因為在framework中想添加這個功能,所以寫了個appliction來實現一下獲取正在運行的應用程序: 還是先看圖吧: 這個app主要是簡單的實現了獲取非系統