編輯:關於android開發
最近要使用播放器做一個簡單的視頻播放功能,開始學習VideoView,在橫豎屏切換的時候碰到了點麻煩,不過在查閱資料後總算是解決了。在寫VideoView播放視頻時候定義控制的代碼全寫在Actvity裡了,寫完一看我靠代碼好亂,於是就寫了個自定義的播放器控件,支持指定大小,可以橫豎屏切換,手動左右滑動快進快退。好了,下面開始。
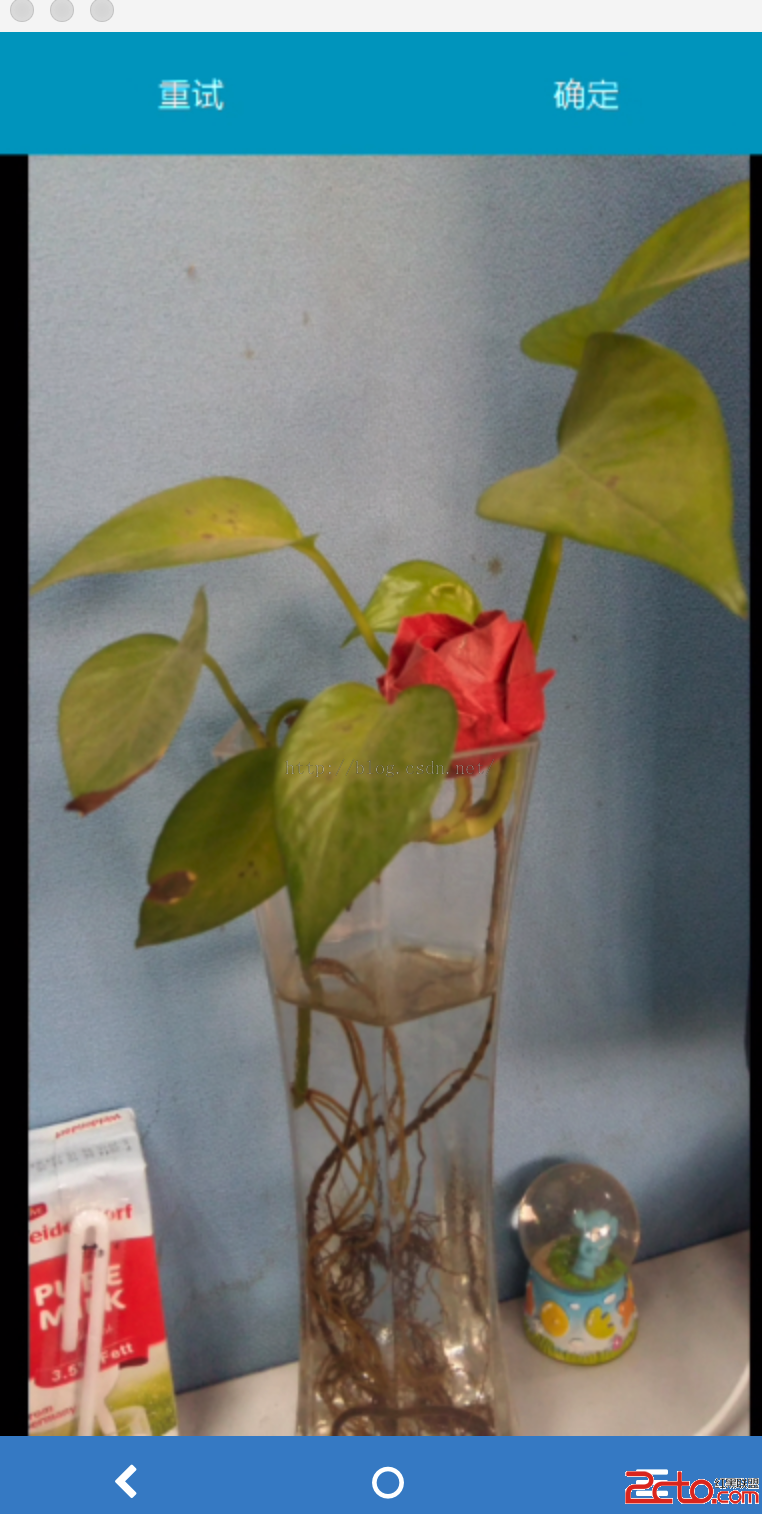
效果圖有點卡,我也不知道為啥。。。。。
這個是我們實現視頻播放最主要的控件,詳細的介紹大家百度就去看,這裡介紹幾個常用的方法。
用於播放視頻文件。 VideoView 類可以從不同的來源(例如資源文件或內容提供器) 讀取圖像,計算和維護視頻的畫面尺寸以使其適用於任何布局管理器, 並提供一些諸如縮放、著色之類的顯示選項。
獲得所播放視頻的總時間
獲得當前的位置,我們可以用來設置播放時間的顯示
獲得當前的位置,我們可以用來設置播放時間的顯示
暫停播放
設置播放位置,我們用來總快進的時候就能用到
注冊在媒體文件播放完畢時調用的回調函數。
注冊在設置或播放過程中發生錯誤時調用的回調函數。如果未指定回調函數, 或回調函數返回false,會彈一個dialog提示用戶不能播放
注冊在媒體文件加載完畢,可以播放時調用的回調函數。
設置播放的視頻源,也可以用setVideoPath指定本地文件
開始播放
設置VideoView的分辨率,如果我們的VideoView在開始播放的時候是豎屏的,當橫屏的時候我們改變了VideoView的布局大小,就需要這個方法重新設置它的分辨率,否則你會發現改變了之後VideoView內部的視頻部分還是原來的大小,這點要注意。
說是自定義,其實無非就是把這些VideoView和用來顯示的其它控件結合在一起,然後在內部處理它的事件交互,我們要做的就是以下幾步:1、寫好整個空間的布局。2、在自定義控件的內部獲取到整個控件內部的各個小控件,並且為它們設置一些初始化事件。3、根據你自己的邏輯和想實現的效果在裡面寫自己的事件處理,需要在和外部進行交互就提供方法和接口咯。最後就是使用測試效果了。好了,我們就跟著這裡說的4步去實現吧!
想要的效果就是在底部放一個狀態欄顯示時間等信息,播放進度,進入全屏,中間放一個快進快退的狀態,布局代碼如下:
<?xml version="1.0" encoding="utf-8"?>
<FrameLayout
    xmlns:android="http://schemas.android.com/apk/res/android"
    android:id="@+id/viewBox"
    android:layout_width="match_parent"
    android:layout_height="wrap_content"
    android:descendantFocusability="beforeDescendants">
    <com.qiangyu.test.commonvideoview.MyVideoView
        android:id="@+id/videoView"
        android:layout_width="match_parent"
        android:layout_height="match_parent"/>

     //底部狀態欄
    <LinearLayout android:layout_width="match_parent"
        android:layout_height="wrap_content"
        android:orientation="horizontal"
        android:background="#CC282828"
        android:padding="3dip"
        android:id="@+id/videoControllerLayout"
        android:gravity="center"
        android:layout_gravity="bottom">
        <LinearLayout android:layout_width="wrap_content"
            android:layout_height="match_parent"
            android:gravity="center"
            android:id="@+id/videoPauseBtn"
            android:paddingRight="10dip"
            android:paddingLeft="10dp">
            <ImageView android:layout_width="22dp"
                android:layout_height="22dp"
                android:id="@+id/videoPauseImg" />
        </LinearLayout>
        <LinearLayout android:layout_width="fill_parent"
            android:layout_height="wrap_content"
            android:layout_weight="1"
            android:orientation="horizontal"
            android:paddingRight="0dip">

            <SeekBar android:layout_width="fill_parent"
                android:id="@+id/videoSeekBar"
                android:layout_weight="1"

                android:layout_height="wrap_content"/>
            <TextView android:layout_width="wrap_content"
                android:layout_height="fill_parent"
                android:gravity="center"
                android:text="00:00"
                android:textSize="12dp"
                android:id="@+id/videoCurTime"
                android:textColor="#FFF"
                />
            <TextView
                android:layout_width="wrap_content"
                android:layout_height="match_parent"
                android:gravity="center"
                android:textSize="12dp"
                android:textColor="#FFF"
                android:text="/"/>
            <TextView android:layout_width="wrap_content"
                android:layout_height="fill_parent"
                android:gravity="center"
                android:text="00:00"
                android:textSize="12dp"
                android:id="@+id/videoTotalTime"
                android:textColor="#FFF"
                android:layout_marginRight="10dp"
                />
        </LinearLayout>
        <LinearLayout
            android:id="@+id/screen_status_btn"
            android:layout_width="wrap_content"
            android:layout_height="match_parent"
            android:gravity="center">
            <ImageView
                android:id="@+id/screen_status_img"
                android:layout_width="wrap_content"
                android:layout_height="wrap_content"
                android:src="@mipmap/iconfont_enter_32"/>
        </LinearLayout>
    </LinearLayout>

    //VideoVIEW中間的開始按鈕和進度條以及快進快退的提示
    <ProgressBar android:layout_width="wrap_content"
        android:layout_height="wrap_content"
        android:layout_gravity="center"
        android:id="@+id/progressBar"
        />
    <ImageView android:layout_width="30dip"
        android:layout_height="30dip"
        android:id="@+id/videoPlayImg"
        android:layout_gravity="center"
        android:src="@mipmap/video_box_play"/>
    <LinearLayout
        android:id="@+id/touch_view"
        android:layout_width="wrap_content"
        android:layout_height="wrap_content"
        android:orientation="vertical"
        android:layout_gravity="center"
        android:visibility="invisible"
        android:paddingLeft="15dp"
        android:paddingRight="15dp"
        android:paddingTop="5dp"
        android:paddingBottom="5dp"
        android:background="#000">
        <ImageView android:layout_width="fill_parent"
            android:layout_height="fill_parent"
            android:layout_weight="1"
            android:id="@+id/touchStatusImg"/>
        <TextView
            android:id="@+id/touch_time"
            android:layout_width="wrap_content"
            android:text="25:00/59:00"
            android:textSize="12sp"
            android:textColor="#fff"
            android:layout_height="wrap_content"/>
    </LinearLayout>
</FrameLayout>
上面的布局很簡單,VideoView用了自定義是因為當布局改變的時候,要讓VideoView重新獲取布局位置,在裡面設置它的分辨率為全屏.VideoView的代碼如下
public class MyVideoView extends VideoView {

    public MyVideoView(Context context, AttributeSet attrs, int defStyle) {
        super(context, attrs, defStyle);
    }

    public MyVideoView(Context context, AttributeSet attrs) {
        super(context, attrs);
    }

    public MyVideoView(Context context) {
        super(context);
    }

    @Override
    protected void onMeasure(int widthMeasureSpec, int heightMeasureSpec) {

        int width = getDefaultSize(0, widthMeasureSpec);
        int height = getDefaultSize(0, heightMeasureSpec);
        this.getHolder().setFixedSize(width,height);//設置分辨率
        setMeasuredDimension(width, height);
    }

}
好,布局寫好了我來第二步,獲取內部控件初始化事件
onFinishInflate方法在xml解析完畢的時候會回調該方法,一般在做組合控件的時候最常用
@Override
    protected void onFinishInflate() {
        super.onFinishInflate();
        initView();
    }

private void initView() {
        View view = LayoutInflater.from(context).inflate(R.layout.common_video_view,null);
        viewBox = (FrameLayout) view.findViewById(R.id.viewBox);
        videoView = (MyVideoView) view.findViewById(R.id.videoView);
        videoPauseBtn = (LinearLayout) view.findViewById(R.id.videoPauseBtn);
        screenSwitchBtn = (LinearLayout) view.findViewById(R.id.screen_status_btn);
        videoControllerLayout = (LinearLayout) view.findViewById(R.id.videoControllerLayout);
        touchStatusView = (LinearLayout) view.findViewById(R.id.touch_view);
        touchStatusImg = (ImageView) view.findViewById(R.id.touchStatusImg);
        touchStatusTime = (TextView) view.findViewById(R.id.touch_time);
        videoCurTimeText = (TextView) view.findViewById(R.id.videoCurTime);
        videoTotalTimeText = (TextView) view.findViewById(R.id.videoTotalTime);
        videoSeekBar = (SeekBar) view.findViewById(R.id.videoSeekBar);
        videoPlayImg = (ImageView) view.findViewById(R.id.videoPlayImg);
        videoPlayImg.setVisibility(GONE);
        videoPauseImg = (ImageView) view.findViewById(R.id.videoPauseImg);
        progressBar = (ProgressBar) view.findViewById(R.id.progressBar);

        videoPauseBtn.setOnClickListener(this);
        videoSeekBar.setOnSeekBarChangeListener(this);
        videoPauseBtn.setOnClickListener(this);
        videoView.setOnPreparedListener(this);
        videoView.setOnCompletionListener(this);
        screenSwitchBtn.setOnClickListener(this);
        videoPlayImg.setOnClickListener(this);
        //注冊在設置或播放過程中發生錯誤時調用的回調函數。如果未指定回調函數,或回調函數返回false,VideoView 會通知用戶發生了錯誤。
        videoView.setOnErrorListener(this);
        viewBox.setOnTouchListener(this);
        viewBox.setOnClickListener(this);
        addView(view);
    }
很簡單的做了代碼初始化和videoView的播放事件的注冊,這裡的事件待會要處理的有viewBox.setOnTouchListener(this)注冊的onTouch事件,我們要在裡面寫左右滑動快進快退的效果,videoSeekBar.setOnSeekBarChangeListener(this);處理拖動seekbar快進快退。
viewBox.setOnTouchListener(this);
@Override
    public boolean onTouch(View v, MotionEvent event) {
        switch (event.getAction()){
            case MotionEvent.ACTION_DOWN:
                //沒播放的時候不處理
                if (!videoView.isPlaying()){
                    return false;
                }
                float downX =  event.getRawX();
                touchLastX = downX;
                Log.d("FilmDetailActivity", "downX" + downX);
                //保存當前播放的位置用與做事件顯示
                this.position = videoView.getCurrentPosition();
                break;
            case MotionEvent.ACTION_MOVE:
                //沒播放的時候不處理
                if (!videoView.isPlaying()){
                    return false;
                }
                float currentX =  event.getRawX();
                float deltaX = currentX - touchLastX;
                float deltaXAbs  =  Math.abs(deltaX);
                if (deltaXAbs>1){//正向移動,快進
                    if (touchStatusView.getVisibility()!=View.VISIBLE){
                        touchStatusView.setVisibility(View.VISIBLE);
                        //顯示快進的時間view
                    }
                    touchLastX = currentX;
                    Log.d("FilmDetailActivity","deltaX"+deltaX);
                    if (deltaX > 1) {
                        position += touchStep;
                        if (position > duration) {
                            position = duration;
                        }
                        touchPosition = position;
                        touchStatusImg.setImageResource(R.mipmap.ic_fast_forward_white_24dp);
                        int[] time = getMinuteAndSecond(position);
                        touchStatusTime.setText(String.format("%02d:%02d/%s", time[0], time[1],formatTotalTime));
                    } else if (deltaX < -1) {//快退
                        position -= touchStep;
                        if (position < 0) {
                            position = 0;
                        }
                        touchPosition = position;
                        touchStatusImg.setImageResource(R.mipmap.ic_fast_rewind_white_24dp);
                        int[] time = getMinuteAndSecond(position);
                        touchStatusTime.setText(String.format("%02d:%02d/%s", time[0], time[1],formatTotalTime));
                        //mVideoView.seekTo(position);
                    }
                }
                break;
            case MotionEvent.ACTION_UP:
                if (touchPosition!=-1){
                    videoView.seekTo(touchPosition);
//放開手指的時候快進或快退到滑動決定的時間位置                    touchStatusView.setVisibility(View.GONE);
                    touchPosition = -1;
                    if (videoControllerShow){
                        return true;
                    }
                }
                break;
        }
        return false;
}@Override
public void onProgressChanged(SeekBar seekBar, int progress, boolean fromUser) {
int[] time = getMinuteAndSecond(progress);
videoCurTimeText.setText(String.format("%02d:%02d", time[0], time[1]));
//設置底部時間顯示
}
@Override
public void onStartTrackingTouch(SeekBar seekBar) {
videoView.pause();
}
@Override
public void onStopTrackingTouch(SeekBar seekBar) {
videoView.seekTo(videoSeekBar.getProgress());
videoView.start();
videoPlayImg.setVisibility(View.INVISIBLE);
videoPauseImg.setImageResource(R.mipmap.icon_video_pause);
//拖動之後到指定的時間位置
}@Override
public void onPrepared(MediaPlayer mp) {
duration = videoView.getDuration();
int[] time = getMinuteAndSecond(duration);
videoTotalTimeText.setText(String.format("%02d:%02d", time[0], time[1]));
formatTotalTime = String.format("%02d:%02d", time[0], time[1]);
videoSeekBar.setMax(duration);
progressBar.setVisibility(View.GONE);
mp.start();
videoPauseBtn.setEnabled(true);
videoSeekBar.setEnabled(true);
videoPauseImg.setImageResource(R.mipmap.icon_video_pause);
timer.schedule(timerTask, 0, 1000);
//初始化總時間等一些界面顯示,同時用timer定時去修改時間進度textView
}
@Override
public void onCompletion(MediaPlayer mp) {
videoView.seekTo(0);
videoSeekBar.setProgress(0);
videoPauseImg.setImageResource(R.mipmap.icon_video_play);
videoPlayImg.setVisibility(View.VISIBLE);
}還有一些其它的點擊時間就不放了,都是暫停,播放,點擊顯示隱藏底部狀態欄,全屏切換等的事件。到了這裡我們的事件處理完畢啦,接下來就要我們視頻怎麼播放呢?為了播放我們為外部提供一個方法
//開始播放
public void start(String url){
        videoPauseBtn.setEnabled(false);
        videoSeekBar.setEnabled(false);
        videoView.setVideoURI(Uri.parse(url));
        videoView.start();
    }


//進入全屏時候調用
public void setFullScreen(){
        touchStatusImg.setImageResource(R.mipmap.iconfont_exit);
        this.setLayoutParams(new LinearLayout.LayoutParams(ViewGroup.LayoutParams.MATCH_PARENT, ViewGroup.LayoutParams.MATCH_PARENT));
        videoView.requestLayout();
    }

//退出全屏時候調用
    public void setNormalScreen(){
        touchStatusImg.setImageResource(R.mipmap.iconfont_enter_32);
        this.setLayoutParams(new LinearLayout.LayoutParams(ViewGroup.LayoutParams.MATCH_PARENT,400));
        videoView.requestLayout();
    }
上面提供的setFullScreen()和setNormalScreen()需要在Activity的 onConfigurationChanged(Configuration newConfig)橫豎屏發生改變的 回調方法裡面調用,還需要注意的是我這裡寫的是LinearLayout的LayoutParams,所以我們自定義的view的父空間要是LinearLayout,當然你也可以修改。
我們只需要在獲得空間調用start方法,然後在onConfigurationChanged方法裡調用setFullScreen和setNormalScreen就可以了,
布局
<?xml version="1.0" encoding="utf-8"?>
<LinearLayout xmlns:android="http://schemas.android.com/apk/res/android"
    xmlns:app="http://schemas.android.com/apk/res-auto"
    xmlns:tools="http://schemas.android.com/tools"
    android:layout_width="match_parent"
    android:layout_height="match_parent"
    android:orientation="vertical"
    app:layout_behavior="@string/appbar_scrolling_view_behavior"
    tools:context="com.qiangyu.test.commonvideoview.MainActivity">

    <android.support.v7.widget.Toolbar
        android:id="@+id/toolbar"
        android:layout_width="match_parent"
        android:layout_height="?attr/actionBarSize"
        android:background="?attr/colorPrimary"
        app:popupTheme="@style/AppTheme.PopupOverlay"/>

    <com.qiangyu.test.commonvideoview.CommonVideoView
        android:id="@+id/common_videoView"
        android:layout_width="match_parent"
        android:layout_height="300dp" />
</LinearLayout>
activity代碼
public class MainActivity extends AppCompatActivity {

    CommonVideoView videoView;

    @Override
    protected void onCreate(Bundle savedInstanceState) {
        super.onCreate(savedInstanceState);
        setContentView(R.layout.content_main);
        Toolbar toolbar = (Toolbar) findViewById(R.id.toolbar);
        setSupportActionBar(toolbar);
        videoView = (CommonVideoView) findViewById(R.id.common_videoView);
        videoView.start("你的服務器視頻地址");
    }


    @Override public void onConfigurationChanged(Configuration newConfig) {
        super.onConfigurationChanged(newConfig);
        if (newConfig.orientation == Configuration.ORIENTATION_LANDSCAPE) {
            videoView.setFullScreen();
        }else {
            videoView.setNormalScreen();
        }
    }
}
最後為了防止你的Activity在橫豎屏切換的時候重新創建別忘記在AndroidManifest.xml文件裡面配置
android:configChanges=”orientation|screenSize|screenLayout”, 如果你這裡有疑惑可以參考我的文章–>深入了解Activity-生命周期
<activity
            android:name=".MainActivity"
            android:label="@string/app_name"
            android:theme="@style/AppTheme.NoActionBar"
            android:configChanges="orientation|screenSize|screenLayout">
            <intent-filter>
                <action android:name="android.intent.action.MAIN" />

                <category android:name="android.intent.category.LAUNCHER" />
            </intent-filter>
        </activity>
好了,整個控件到這裡就完成了,源碼下載請戳它—>歡迎戳我
如果你覺得有對你有幫助,請動動手給個贊吧,有問題記得反饋給我哦!
 Android開發學習之路--Camera之初體驗
Android開發學習之路--Camera之初體驗 顧名思義Camera就是拍照和錄像的功能,像微信裡面,我們想拍照傳一下照片,就可以通過camera來拍照,然後存儲
 Android學習指南之二十二:實例講解AIDL和遠程Service調用
本講的內容,理解起來很難,也許你看了很多資料也看不明白,但是用起來缺簡單的要命
 Android開發6:Service的使用(簡單音樂播放器的實現),androidservice
Android開發6:Service的使用(簡單音樂播放器的實現),androidservice前言 啦啦啦~各位好久不見啦~博主最近比較忙,而且最近一次實驗也是剛剛
 使文字出現波紋效果--第三方開源--Titanic,波紋--titanic
使文字出現波紋效果--第三方開源--Titanic,波紋--titanic 下載地址:https://github.com/RomainPiel/Titan