編輯:關於android開發

這裡用了
 compile 'com.jakewharton:butterknife:7.0.1'
compile 'org.greenrobot:eventbus:3.0.0'
MainActivity布局
<?xml version="1.0" encoding="utf-8"?>
<LinearLayout
    xmlns:android="http://schemas.android.com/apk/res/android"
    xmlns:tools="http://schemas.android.com/tools"
    android:layout_width="match_parent"
    android:layout_height="match_parent"
    android:orientation="vertical"
    tools:context="liu.radiobuttonandfragment.MainActivity">


    <FrameLayout
        android:id="@+id/content"
        android:layout_width="match_parent"
        android:layout_height="match_parent"
        android:layout_weight="1">

    </FrameLayout>

    <LinearLayout

        android:layout_width="match_parent"
        android:layout_height="wrap_content"
        android:background="@mipmap/nav_footer_white"
        android:gravity="center"

        android:orientation="horizontal">


        <RadioGroup
            android:id="@+id/rgTools"
            android:layout_width="match_parent"
            android:layout_height="match_parent"


            android:gravity="center"
            android:orientation="horizontal">


            <RadioButton
                android:id="@+id/rbHome"
                android:layout_width="0dp"
                android:layout_height="match_parent"
                android:layout_gravity="right"
                android:layout_weight="1"
                android:button="@null"
                android:checked="true"
                android:drawableTop="@drawable/selector_main_btn_home"
                android:gravity="center"
                android:paddingLeft="0dp"
                android:text="首頁"/>

            <RadioButton
                android:id="@+id/rbShop"
                android:layout_width="0dp"
                android:layout_height="match_parent"
                android:layout_weight="1"
                android:button="@null"
                android:checked="false"
                android:drawableTop="@drawable/selector_main_btn_shopcart"
                android:gravity="center"
                android:text="購物車"/>

            <RadioButton
                android:checked="false"
                android:id="@+id/rbMessage"
                android:layout_width="0dp"
                android:layout_height="match_parent"
                android:layout_weight="1"
                android:button="@null"
                android:drawableTop="@drawable/selector_main_btn_message"
                android:gravity="center"
                android:text="消息"/>

            <RadioButton
                android:checked="false"
                android:id="@+id/rbMine"
                android:layout_width="0dp"
                android:layout_height="match_parent"
                android:layout_gravity="center"
                android:layout_weight="1"
                android:button="@null"
                android:drawableTop="@drawable/selector_main_btn_mine"
                android:gravity="center"
                android:text="我的"/>

        </RadioGroup>

    </LinearLayout>


</LinearLayout>
主要代碼
 private void initFragment() {
        //首頁
        HomeFragment homeFragment =new HomeFragment();
        //購物車
        ShopcartFragment shopcartFragment =new ShopcartFragment();

        //消息
        MessageFragment messageFragment =new MessageFragment();
        //個人中心

        MineFragment mineFragment =new MineFragment();

        //添加到數組
        mFragments = new Fragment[]{homeFragment,shopcartFragment,messageFragment,mineFragment};

        //開啟事務

        FragmentTransaction ft =
                getSupportFragmentManager().beginTransaction();

        //添加首頁
        ft.add(R.id.content,homeFragment).commit();

        //默認設置為第0個
        setIndexSelected(0);


    }


    private void setIndexSelected(int index) {

        if(mIndex==index){
            return;
        }
        FragmentManager    fragmentManager = getSupportFragmentManager();
        FragmentTransaction ft              = fragmentManager.beginTransaction();


        //隱藏
        ft.hide(mFragments[mIndex]);
        //判斷是否添加
        if(!mFragments[index].isAdded()){
            ft.add(R.id.content,mFragments[index]).show(mFragments[index]);
        }else {
            ft.show(mFragments[index]);
        }

        ft.commit();
        //再次賦值
        mIndex=index;

    }

    @OnClick({R.id.rbHome, R.id.rbShop, R.id.rbMessage, R.id.rbMine})
    public void onClick(View view) {
        switch (view.getId()) {
            case R.id.rbHome:
                setIndexSelected(0);
                break;
            case R.id.rbShop:
                setIndexSelected(1);
                break;
            case R.id.rbMessage:
                setIndexSelected(2);
                break;
            case R.id.rbMine:
                setIndexSelected(3);
                break;
        }

    }
源碼:
https://github.com/ln0491/RadioButtonAndFragment
 Android 采用get方式提交數據到服務器,androidget
Android 采用get方式提交數據到服務器,androidget首先搭建模擬web 服務器,新建動態web項目,servlet代碼如下: package com.w
 新聞客戶端應用項目源碼,客戶端項目源碼
新聞客戶端應用項目源碼,客戶端項目源碼 基於百度數據,一個非常好用的新聞客戶端。 <ignore_js_op> 源
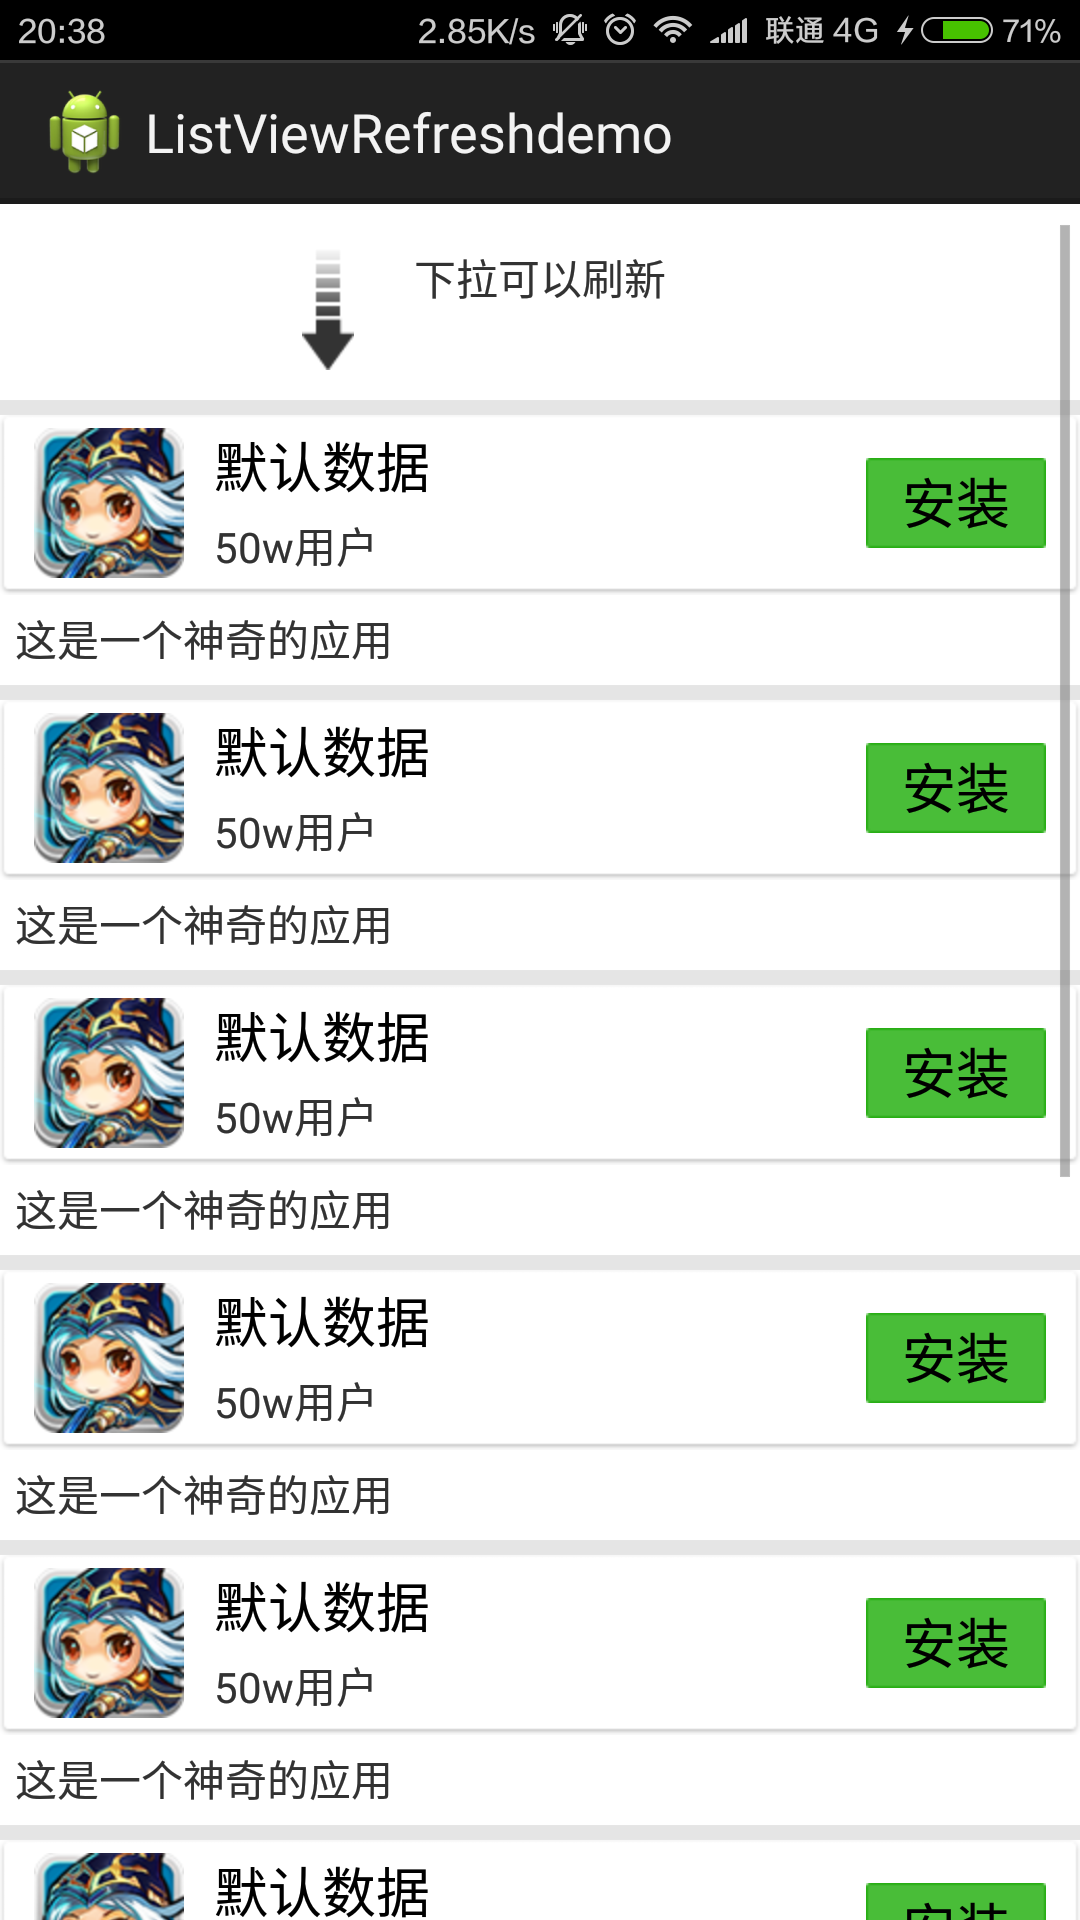 Android--ListView下拉刷新,android--listview
Android--ListView下拉刷新,android--listview整理了下以前寫的小項目,ListView的下拉刷新,雖然小但還是想紀念下。。適合新手看,大神
 Drawable資源的初步使用
Drawable資源的初步使用 剛開始接觸到Android的時候,看到類似下面的一個Button: 當時感覺這樣的button有點像Material Design風