編輯:關於android開發
四大組件中的三大組件(Activity、Service、Receiver)都是支持在Intent中傳遞Bundle數據的,由於Bundle實現了Parcelable接口,所以它可以方便地在不同的進程之間傳輸。當然,傳輸的數據必須能夠被序列化,比如基本類型、實現了Parcelable接口的對象、實現了Serializable接口的對象以及一些Android支持的特殊對象,具體內容可以看Bundle這個類,就可以看到所有它支持的類型。Bundle不支持的類型無法通過它在進程間傳遞數據。
Intent intent1 = new Intent(MainActivity.this, ThirdActivity.class);
Bundle bundle = new Bundle();
bundle.putCharSequence("name", "zhangmiao");
bundle.putInt("age", 20);
intent1.putExtras(bundle);
startActivity(intent1);
Intent intent = getIntent();
Bundle bundle = intent.getExtras();
String name = bundle.getString("name");
int age = bundle.getInt("age");
<activity
   ...
   android:process=":remote" />
<?xml version="1.0" encoding="utf-8"?>
<LinearLayout
    xmlns:android="http://schemas.android.com/apk/res/android"
    xmlns:tools="http://schemas.android.com/tools"
    android:layout_width="match_parent"
    android:layout_height="match_parent"
    android:fitsSystemWindows="true"
    tools:context="com.zhangmiao.ipcdemo.MainActivity"
    android:orientation="vertical"
    >
    <TextView
        android:layout_width="wrap_content"
        android:layout_height="wrap_content"
        android:layout_gravity="center_horizontal"
        android:text="Bundler">
    </TextView>

    <Button
        android:id="@+id/bundler_button"
        android:layout_width="wrap_content"
        android:layout_height="wrap_content"
        android:text="send message">
    </Button>

</LinearLayout>
<?xml version="1.0" encoding="utf-8"?>
<LinearLayout xmlns:android="http://schemas.android.com/apk/res/android"
    android:layout_width="match_parent"
    android:layout_height="match_parent"
    android:orientation="vertical">

    <TextView
        android:layout_width="wrap_content"
        android:layout_height="wrap_content"
        android:layout_gravity="center_horizontal"
        android:text="at activity Third" />

    <TextView
        android:id="@+id/textView1"
        android:layout_width="wrap_content"
        android:layout_height="wrap_content"
        android:text="Activity Third" />

</LinearLayout>
package com.zhangmiao.ipcdemo;

import android.app.Activity;
import android.content.Intent;
import android.os.Bundle;
import android.widget.TextView;

/**
 * Created by zhangmiao on 2016/12/27.
 */
public class ThirdActivity extends Activity {

    @Override
    protected void onCreate(Bundle savedInstanceState) {
        super.onCreate(savedInstanceState);
        setContentView(R.layout.activity_third);
        Intent intent = getIntent();
        Bundle bundle = intent.getExtras();
        String name = bundle.getString("name");
        int age = bundle.getInt("age");
        TextView textView = (TextView) findViewById(R.id.textView1);
        textView.setText("name:" + name + ",age:" + age);
    }
}
package com.zhangmiao.ipcdemo;

import android.content.ComponentName;
import android.content.Context;
import android.content.Intent;
import android.content.ServiceConnection;
import android.os.Bundle;
import android.os.Handler;
import android.os.IBinder;
import android.os.Message;
import android.os.Messenger;
import android.os.RemoteException;
import android.support.v7.app.AppCompatActivity;
import android.util.Log;
import android.view.View;
import android.widget.Button;
import android.widget.TextView;


import java.io.File;
import java.io.FileOutputStream;
import java.io.IOException;
import java.io.ObjectOutputStream;
import java.io.Serializable;

public class MainActivity extends AppCompatActivity {

    private static final String TAG = "MainActivity";

    @Override
    protected void onCreate(Bundle savedInstanceState) {
        super.onCreate(savedInstanceState);
        setContentView(R.layout.activity_main);

        Button button = (Button) findViewById(R.id.bundler_button);
        button.setOnClickListener(new View.OnClickListener() {
            @Override
            public void onClick(View v) {
                Intent intent1 = new Intent(MainActivity.this, ThirdActivity.class);
                Bundle bundle = new Bundle();
                bundle.putCharSequence("name", "zhangmiao");
                bundle.putInt("age", 20);
                intent1.putExtras(bundle);
                startActivity(intent1);
            }
        });
    }
}
<?xml version="1.0" encoding="utf-8"?>
<manifest xmlns:android="http://schemas.android.com/apk/res/android"
    package="com.zhangmiao.ipcdemo">

    <uses-permission android:name="android.permission.WRITE_EXTERNAL_STORAGE" />

    <application
        android:allowBackup="true"
        android:icon="@mipmap/ic_launcher"
        android:label="@string/app_name"
        android:supportsRtl="true"
        android:theme="@style/AppTheme">
        <activity
            android:name=".MainActivity"
            android:label="@string/app_name"
            android:launchMode="standard"
            android:theme="@style/AppTheme.NoActionBar">
            <intent-filter>
                <action android:name="android.intent.action.MAIN" />
                <category android:name="android.intent.category.LAUNCHER" />
            </intent-filter>
        </activity>
        <activity
            android:name=".ThirdActivity"
            android:configChanges="screenLayout"
            android:label="@string/app_name"
            android:process=":remote" />
    </application>
</manifest>
完整代碼下載地址:https://github.com/ZhangMiao147/IPCDemo
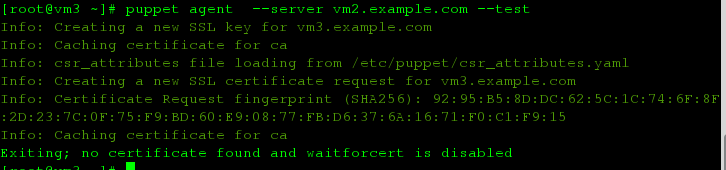 Redhat下puppet集中配置管理
Redhat下puppet集中配置管理一 puppet簡介puppet 是一個配置管理工具, 典型的, puppet 是一個 C/S 結構, 當然,這裡的 C 可以有很多
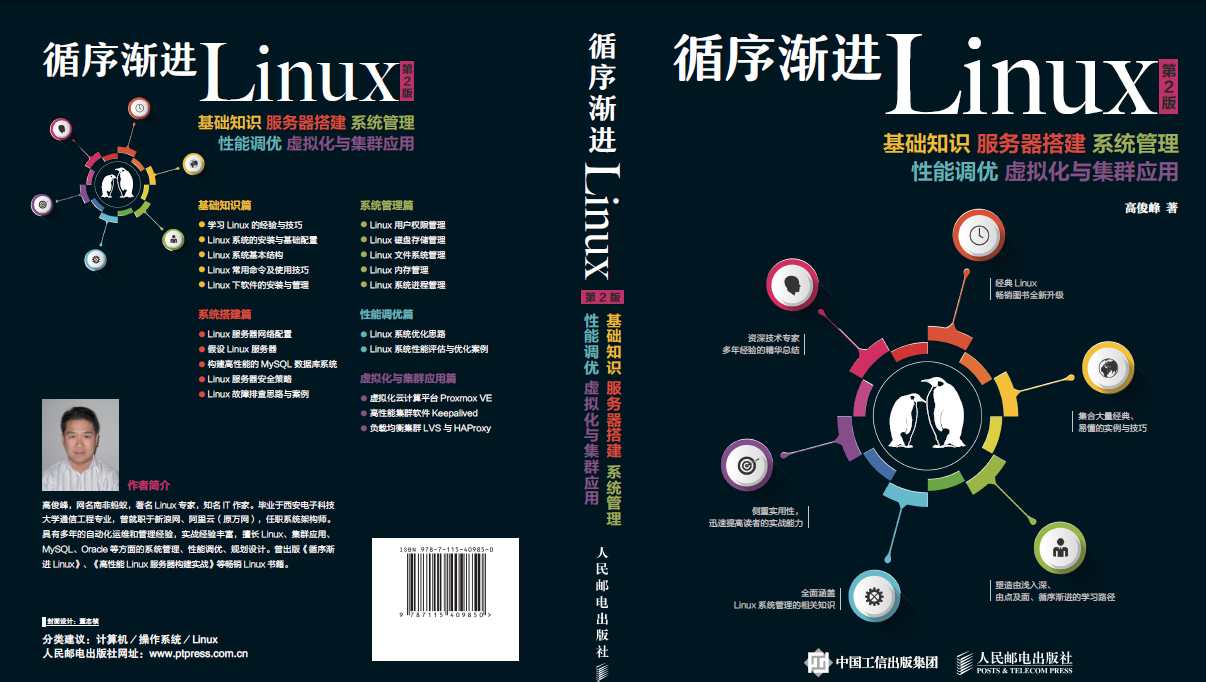 《循序漸進Linux》第二版即將出版發行(附封面)
《循序漸進Linux》第二版即將出版發行(附封面)從《循序漸進Linux》第一版發布,到現在已經近6年了,6年的時間,技術發生了很大的變化,Linux系統的內核版本從2.
 酷歐天氣(CoolWeather)應用源碼,coolweather
酷歐天氣(CoolWeather)應用源碼,coolweather<ignore_js_op> 181420yank2y45klayhaan.jpg&nb
 Android中使用GridView和ImageViewSwitcher實現電子相冊簡單功能,gridviewimageview
Android中使用GridView和ImageViewSwitcher實現電子相冊簡單功能,gridviewimageview我們在手機上查看相冊時,首先看到的是網格狀