編輯:高級開發
1.控件布局:以Linearlayout為根布局,一個TextVIEw,一個ImageButton。
XML代碼 收藏代碼
1. < ?XML version="1.0" encoding="utf-8"?>
2. < LinearLayout XMLns:android="http://schemas.android.com/apk/res/android"
3. android:layout_width="fill_parent" android:layout_height="fill_parent"
4. android:gravity="center_vertical">
5. < TextVIEw android:layout_height="wrap_content" android:id="@+id/text1"
6. android:layout_width="wrap_content">< /TextVIEw>
7. < ImageButton android:layout_width="wrap_content"
8. android:layout_height="wrap_content" android:id="@+id/btn1">< /ImageButton>
9. < /LinearLayout>
< ?XML version="1.0" encoding="utf-8"?>
< LinearLayout XMLns:android="http://schemas.android.com/apk/res/android"
android:layout_width="fill_parent" android:layout_height="fill_parent"
android:gravity="center_vertical">
< TextVIEw android:layout_height="wrap_content" android:id="@+id/text1"
android:layout_width="wrap_content">< /TextVIEw>
< ImageButton android:layout_width="wrap_content"
android:layout_height="wrap_content" android:id="@+id/btn1">< /ImageButton>
< /LinearLayout>
2.自定義控件代碼,從LinearLayout繼承:
Java代碼 收藏代碼
1. public class ImageBtnWithText extends LinearLayout {
2.
3. public ImageBtnWithText(Context context) {
4. this(context, null);
5. }
6.
7. public ImageBtnWithText(Context context, AttributeSet attrs) {
8. super(context, attrs);
9. LayoutInflater.from(context).inflate(R.layout.imagebtn_with_text, this, true);
點擊下載:下載源碼
接上頁
10. }
11. }
public class ImageBtnWithText extends LinearLayout {
public ImageBtnWithText(Context context) {
this(context, null);
}
public ImageBtnWithText(Context context, AttributeSet attrs) {
super(context, attrs);
LayoutInflater.from(context).inflate(R.layout.imagebtn_with_text, this, true);
}
}
在構造函數中將XML中定義的布局解析出來。
3.在主界面布局XML中使用自定義控件:
XML代碼 收藏代碼
1. < com.demo.widget2.ImageBtnWithText
2. android:id="@+id/widget"
3. android:layout_width="fill_parent"
4. android:layout_height="fill_parent" />
< com.demo.widget2.ImageBtnWithText
android:id="@+id/widget"
android:layout_width="fill_parent"
android:layout_height="fill_parent" />
即使用完整的自定義控件類路徑:com.demo.widget2.ImageBtnWithText定義一個元素。
運行可以看到控件已經能夠被加載到界面上。
4.給按鈕設置圖片和文本
如果圖片是固定不變的,那麼直接在控件布局中設置ImageButton的src屬性即可。
4.1通過Java代碼設置,在控件代碼中提供函數接口:
Java代碼 收藏代碼
1. public void setButtonImageResource(int resId) {
2. mBtn.setImageResource(resId);
3. }
4.
5. public void setTextVIEwText(String text) {
6. mTv.setText(text);
7. }
public void setButtonImageResource(int resId) {
mBtn.setImageResource(resId);
}
public void setTextVIEwText(String text) {
mTv.setText(text);
}
然後再在主界面的onCreate()通過函數調用設置即可。
4.2通過XML設置屬性
4.2.1首先定義Xml可以設置的屬性集合,在values下創建attrs.XML,文件名可隨意,一般都叫attrs.XML
XML代碼 收藏代碼
1. < ?XML version="1.0" encoding="utf-8"?>
點擊下載:下載源碼
接上頁
2. < resources>
3. < declare-styleable name="ImageBtnWithText">
4. < attr name="android:text"/>
5. < attr name="android:src"/>
6. < /declare-styleable>
7. < /resources
< ?XML version="1.0" encoding="utf-8"?>
< resources>
< declare-styleable name="ImageBtnWithText">
< attr name="android:text"/>
< attr name="android:src"/>
< /declare-styleable>
< /resources
屬性集合名字:ImageBtnWithText,自己可根據實際來定義;
集合中包含的屬性列表,每行一個屬性。
4.2.2修改自定義控件實現代碼,以獲取XML中定義的屬性
Java代碼 收藏代碼
1. TypedArray a = context.obtainStyledAttributes(attrs, R.styleable.ImageBtnWithText);
2. CharSequence text = a.getText(R.styleable.ImageBtnWithText_android_text);
3. if(text != null) mTv.setText(text);
4. Drawable drawable = a.getDrawable(R.styleable.ImageBtnWithText_android_src);
5. if(drawable != null) mBtn.setImageDrawable(drawable);
6. a.recycle()
TypedArray a = context.obtainStyledAttributes(attrs, R.styleable.ImageBtnWithText);
CharSequence text = a.getText(R.styleable.ImageBtnWithText_android_text);
if(text != null) mTv.setText(text);
Drawable drawable = a.getDrawable(R.styleable.ImageBtnWithText_android_src);
if(drawable != null) mBtn.setImageDrawable(drawable);
a.recycle()
首先通過context.obtainStyledAttributes獲得所有屬性數組;
然後通過TypedArray類的getXXXX()系列接口獲得相應的值。
4.2.3在主界面布局中設置自定義控件的屬
android:text="ABC" android:src="@drawable/icon
4.3自定義名稱屬性:
在4.2中使用的屬性名是android系統命名空間的,都以android開頭,比如android:text等。
點擊下載:下載源碼
接上頁
實際開發中會自定義一些屬性名,這些屬性名仍然定義在4.2.1提到的attrs.XML中:
4.3.1定義屬性名
XML代碼 收藏代碼
1. < attr name="appendText" format="string"/>
< attr name="appendText" format="string"/>
和直接使用系統的attr不同的是要增加一個format屬性,說明此屬性是什麼格式的。format可選項可參見注1
4.3.2使用自定義屬性
XML代碼 收藏代碼
1. < ?XML version="1.0" encoding="utf-8"?>
2. < LinearLayout XMLns:android="http://schemas.android.com/apk/res/android"
3. XMLns:myspace="http://schemas.android.com/apk/res/com.demo.customwidget"
4. android:orIEntation="vertical" android:layout_width="fill_parent"
5. android:layout_height="fill_parent">
6. < com.demo.widget2.ImageBtnWithText
7. android:text="ABC" android:src="@drawable/icon" android:id="@+id/widget"
8. android:layout_width="fill_parent" android:layout_gravity="center"
9. android:layout_height="fill_parent" myspace:appendText="123456">
10. < /com.demo.widget2.ImageBtnWithText>
11. < /LinearLayout>
< ?XML version="1.0" encoding="utf-8"?>
< LinearLayout XMLns:android="http://schemas.android.com/apk/res/android"
XMLns:myspace="http://schemas.android.com/apk/res/com.demo.customwidget"
android:orIEntation="vertical" android:layout_width="fill_parent"
android:layout_height="fill_parent">
< com.demo.widget2.ImageBtnWithText
android:text="ABC" android:src="@drawable/icon" android:id="@+id/widget"
android:layout_width="fill_parent" android:layout_gravity="center"
android:layout_height="fill_parent" myspace:appendText="123456">
< /com.demo.widget2.ImageBtnWithText>
< /LinearLayout>
直接在主布局文件中使用此屬性appendText="abc"是不會設置生效的,而是要在主布局xml中定義一個XML命名空間:
點擊下載:下載源碼
接上頁
XMLns:myspace="http://schemas.android.com/apk/res/com.demo.customwidget"
命名空間的名字可以自己隨便定義,此處為myspace,即XMLns:myspace;
後面的地址則有限制,其開始必須為:"http://schemas.android.com/apk/res/",後面則是包名com.demo.customwidget,
此處的包名與androidManifest.XML中< manifest>節點的屬性package="com.demo.customwidget"一致,不是自定義控件Java代碼所在的包,當然簡單的程序自定義控件Java代碼也一般在此包內。
注1:
注1:format可選項
"reference" //引用
"color" //顏色
"boolean" //布爾值
"dimension" //尺寸值
"float" //浮點值
"integer" //整型值
"string" //字符串
"fraction" //百分數,比如200%
枚舉值,格式如下:
< attr name="orIEntation">
< enum name="horizontal" value="0" />
< enum name="vertical" value="1" />
< /attr>
XML中使用時:
android:orIEntation = "vertical"
標志位,位或運算,格式如下:
< attr name="WindowsoftInputMode">
< flag name = "stateUnspecifIEd" value = "0" />
< flag name = "stateUnchanged" value = "1" />
< flag name = "stateHidden" value = "2" />
< flag name = "stateAlwaysHidden" value = "3" />
< flag name = "stateVisible" value = "4" />
< flag name = "stateAlwaysVisible" value = "5" />
< flag name = "adjustUnspecifIEd" value = "0x00" />
< flag name = "adjustResize" value = "0x10" />
< flag name = "adjustPan" value = "0x20" />
< flag name = "adjustNothing" value = "0x30" />
< /attr>
XML中使用時:
android:WindowsoftInputMode = "stateUnspecifIEd | stateUnchanged | stateHidden">
另外屬性定義時可以指定多種類型值,比如:
< attr name = "background" format = "reference|color" />
XML中使用時:
android:background = "@drawable/圖片ID|#00FF00"
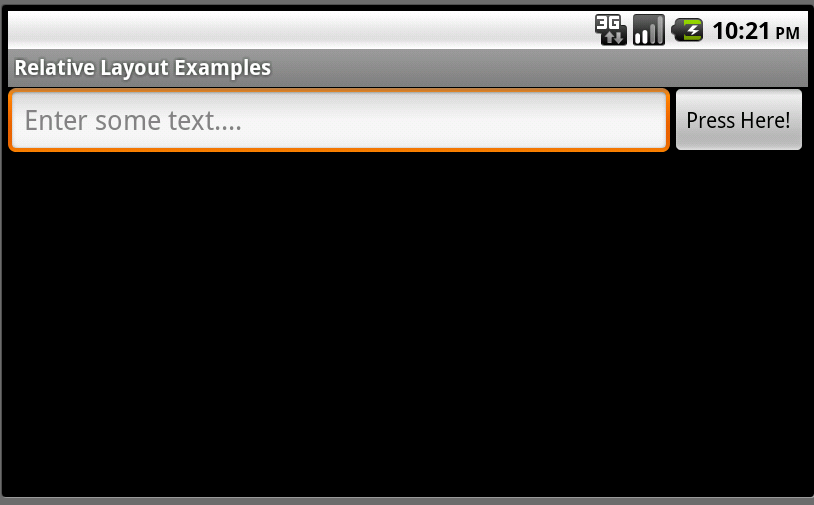 Android用戶界面設計:相對布局(1)
理解布局對於良好的android程序設計非常重要。在這個教程裡,你將學到相對布局的所有知識,相對布局用於將用戶界面控件或小工具相對於其它控件或它們的父級布局組織在屏幕上
 詳細說明Android手機服務特征
android 包括了一個核心庫,該核心庫提供了Java編程語言核心庫的大多數功能,android手機服務是一種全新的系統,它與Linux的距離,比Mac OS與Lin
 Android系統平台可以占據IT市場?
android系統平台吸引OEM和運營商的一大特點就是OHA聯盟的許可協議,谷歌借助建立標准化、開放式的移動電話軟件平台,在移動產業內形成一個開放式的生態系統。而且不存
 Android 源代碼結構(6)
t frameworks,將會把android.git.kernel.org站點上的base文件夾下的所有文件和文件夾下載本地的frameworks文件夾中; 4、在