編輯:Android開發教程
首先介紹一下如果將Guice 和RoboGuice 的庫添加到項目中。
下載RoboGuice和guice-2.0-no_aop.jar(not guice-3.0),或者下載
創建一個新Android項目,比如GuiceDemo,目標平台Android1.5以上。
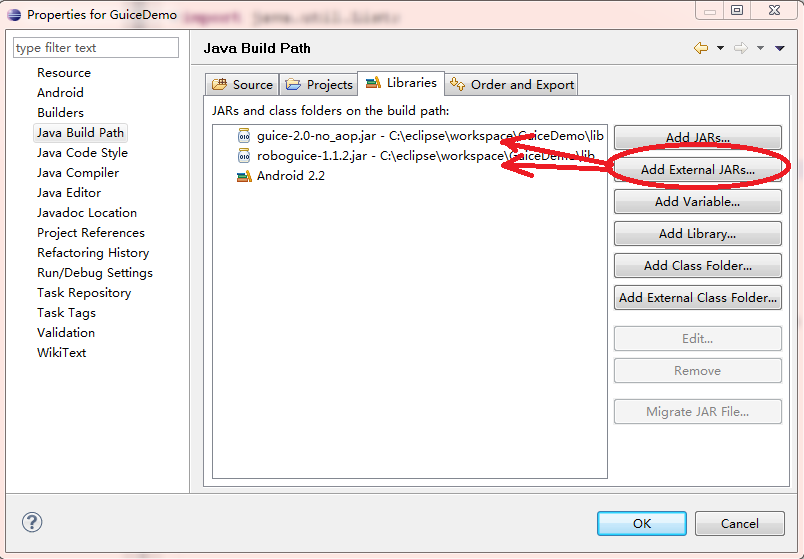
一般可以在該項目下添加一個lib目錄,將兩個jar文件拷到lib目錄下,然後 通過: Project > Properties > Java Build Path > Libraries > Add External JARs
添加了對應guice 和roboguice庫的引用之後,就可以開始編寫第一個使用 roboguice 的例子。
使用roboguice 的步驟:
1. 創建一個 RoboApplication 的子類GuiceApplication,GuiceApplication為Appliacation 的子類,因此需要修改AndroidManifest.xml,將Application 的name 指向這個類 。可以參見Android簡明開發教程九:創建應用程序框架
<application android:name=”GuiceApplication”
android:icon=”@drawable/icon” android:label=”@string/app_name”>
<activity android:name=”.GuiceDemo”
android:label=”@string/app_name” >
<intent-filter>
< action android:name=” android.intent.action.MAIN” />
<category android:name=” android.intent.category.LAUNCHER” />
< /intent- filter>
< /activity>
</application>
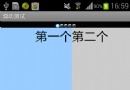
2. 在 這個簡單的例子中,它使用的Layout 定義如下:
<?xml version=” 1.0″ encoding=”utf-8″?>
< LinearLayout xmlns:android=” http://schemas.android.com/apk/res/android”
android:orientation=” vertical”
android:layout_width=”fill_parent”
android:layout_height=”fill_parent”
>
<TextView
android:id=”@+id/hello”
android:layout_width=”fill_parent”
android:layout_height=” wrap_content”
android:text=”@string/hello”
/>
< /LinearLayout>
我們定義了一個TextView ,它的id為hello.
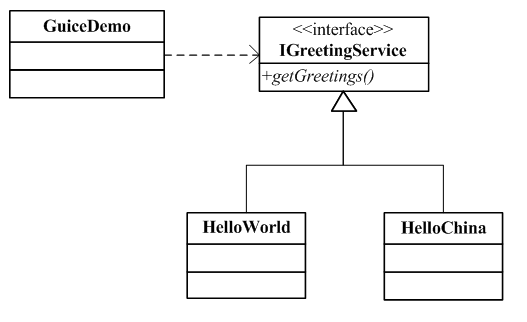
假定這個應用使用一個IGreetingService ,它有一個方法getGreeting() 返回一 個字符串,至於IGreetingService 如何實現,GuideDemo 不需要關心。
 面向Android應用程序的基於Parse雲的服務
Parse 移動 SDK 為 iOS、Android 和 Windows 應用程序提供了基於雲的 API 和服務。Parse SDK 還提供 了 JavaScript 和
 Android與iPhone的使用感受對比
注1:以下這些功能都是本人以MIUI ROM為例來講述的,如果你的Android沒有類似功能,可能是版本關系。部分功能需要安裝App來實現。注2:以下所述的優/缺點,全部
 Android開發入門(十二)列表控件 12.2 ListView的擴展功能
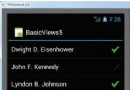
ListView是一個可以被深度擴展的視圖。在做項目的時候,擴展ListView去顯示數據是必不可免的。接下 來會展示如何在ListView中去選擇多個物件,以及如何使用
 Android測試教程(9):ApplicationTestCase示例
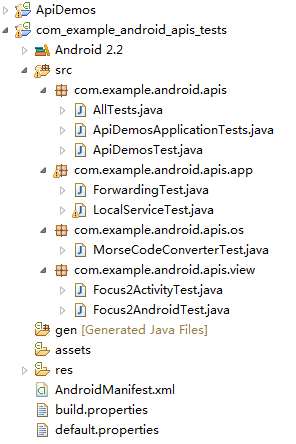
前面介紹了Android測試的一些理論知識,從本篇開始的幾篇將結合ApiDemoTest示例來介紹Android測試的實例。在此之前可 以參照Android測試教程(3)