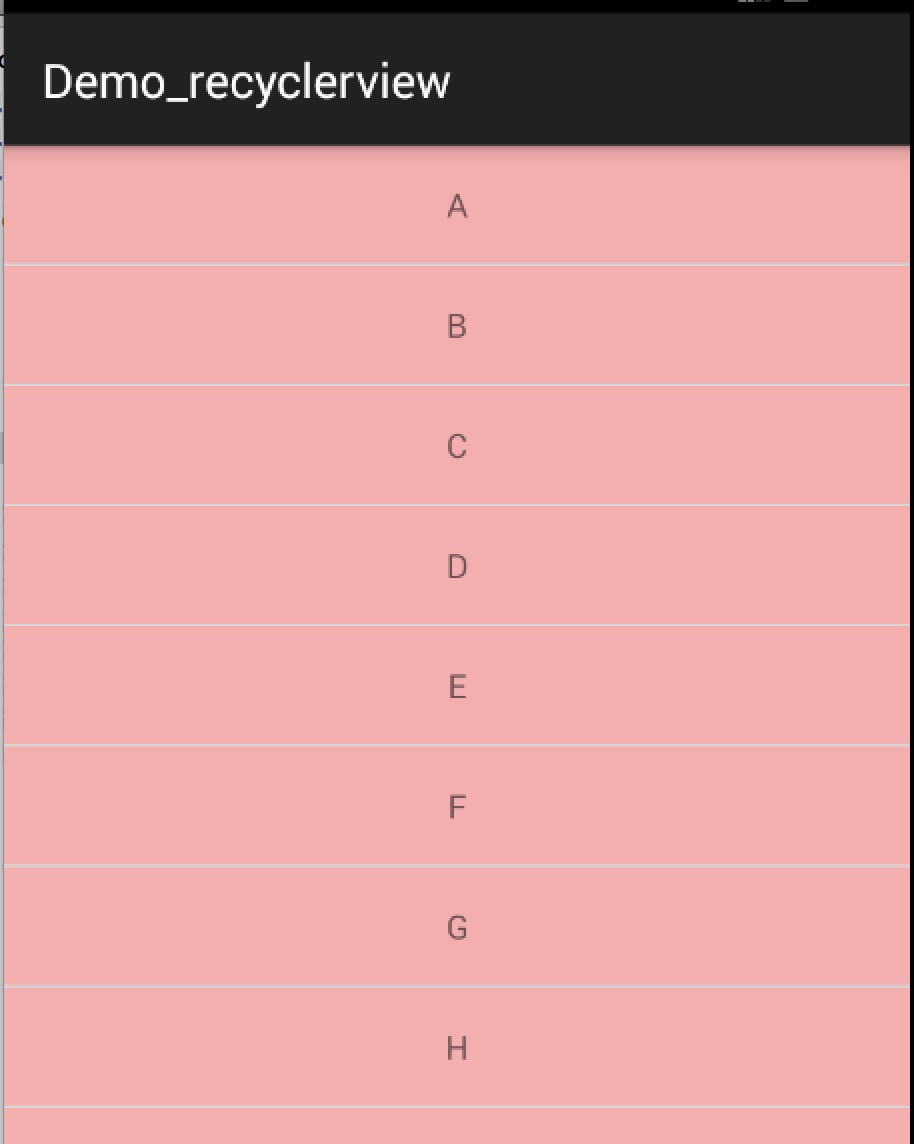
我之前寫了一篇關於google Zxing掃描二維碼的文章,效果是仿微信的效果,有興趣的朋友可以去看看基於google Zxing實現二維碼、條形碼掃描,仿微信二維碼掃描效果,有時候我們有這樣子的需求,需要掃描手機中有二維碼的的圖片,所以今天實現的就是對手機中的二維碼圖片進行掃描,我這裡是直接在原來的工程上面加的這個功能,下面就簡單介紹下這個小功能的實現,首先我在界面上加了一個ImageButton,圖片還是用的微信的圖片,下面是掃描界面的title
[html]
<?xml version="1.0" encoding="utf-8"?>
<RelativeLayout xmlns:android="http://schemas.android.com/apk/res/android"
android:layout_width="fill_parent"
android:layout_height="wrap_content"
android:background="@drawable/mmtitle_bg_alpha" >
<Button
android:id="@+id/button_back"
android:layout_width="75.0dip"
android:layout_height="wrap_content"
android:layout_alignParentLeft="true"
android:background="@drawable/mm_title_back_btn"
android:text="返回"
android:textColor="@android:color/white" />
<TextView
android:id="@+id/textview_title"
android:layout_width="wrap_content"
android:layout_height="wrap_content"
android:layout_centerHorizontal="true"
android:layout_centerVertical="true"
android:gravity="center_vertical"
android:text="二維碼掃描"
android:textColor="@android:color/white"
android:textSize="18sp" />
<ImageButton
android:id="@+id/button_function"
android:layout_width="wrap_content"
android:layout_height="wrap_content"
android:layout_alignParentRight="true"
android:layout_marginRight="2dip"
android:background="@drawable/mm_title_right_btn"
android:minWidth="70dip"
android:src="@drawable/mm_title_btn_menu_normal" />
</RelativeLayout>
在掃描界面MipcaActivityCapture對ImageButton對其點擊監聽,點擊ImageButton從手機中選擇圖片
[java]
//打開手機中的相冊
Intent innerIntent = new Intent(Intent.ACTION_GET_CONTENT); //"android.intent.action.GET_CONTENT"
innerIntent.setType("image/*");
Intent wrapperIntent = Intent.createChooser(innerIntent, "選擇二維碼圖片");
this.startActivityForResult(wrapperIntent, REQUEST_CODE);
在這裡使用了startActivityForResult來跳轉界面,當我們選中含有二維碼的圖片的時候會回調MipcaActivityCapture的onActivityResult方法,我們需要在onActivityResult方法裡面解析圖片中的二維碼
[java]
@Override
protected void onActivityResult(int requestCode, int resultCode, Intent data) {
super.onActivityResult(requestCode, resultCode, data);
if(resultCode == RESULT_OK){
switch(requestCode){
case REQUEST_CODE:
//獲取選中圖片的路徑
Cursor cursor = getContentResolver().query(data.getData(), null, null, null, null);
if (cursor.moveToFirst()) {
photo_path = cursor.getString(cursor.getColumnIndex(MediaStore.Images.Media.DATA));
}
cursor.close();
mProgress = new ProgressDialog(MipcaActivityCapture.this);
mProgress.setMessage("正在掃描...");
mProgress.setCancelable(false);
mProgress.show();
new Thread(new Runnable() {
@Override
public void run() {
Result result = scanningImage(photo_path);
if (result != null) {
Message m = mHandler.obtainMessage();
m.what = PARSE_BARCODE_SUC;
m.obj = result.getText();
mHandler.sendMessage(m);
} else {
Message m = mHandler.obtainMessage();
m.what = PARSE_BARCODE_FAIL;
m.obj = "Scan failed!";
mHandler.sendMessage(m);
}
}
}).start();
break;
}
}
}
我們先通過圖片的Uri獲取圖片的路徑,然後根據圖片的路徑掃描出圖片裡面的二維碼內容,這將解碼圖片放在了一個子線程中,主要是防止因為解析太久而出現ARN的情況
接下來看scanningImage(String path) 方法,zxing.jar中提供了對二維碼進行解析的類QRCodeReader.java,使用decode(BinaryBitmap image, Map<DecodeHintType, ?> hints)方法就能解析出圖片裡面的二維碼信息,下面是通過圖片的路徑解析出裡面的二維碼內容
[java]
/**
* 掃描二維碼圖片的方法
* @param path
* @return
*/
public Result scanningImage(String path) {
if(TextUtils.isEmpty(path)){
return null;
}
Hashtable<DecodeHintType, String> hints = new Hashtable<DecodeHintType, String>();
hints.put(DecodeHintType.CHARACTER_SET, "UTF8"); //設置二維碼內容的編碼
BitmapFactory.Options options = new BitmapFactory.Options();
options.inJustDecodeBounds = true; // 先獲取原大小
scanBitmap = BitmapFactory.decodeFile(path, options);
options.inJustDecodeBounds = false; // 獲取新的大小
int sampleSize = (int) (options.outHeight / (float) 200);
if (sampleSize <= 0)
sampleSize = 1;
options.inSampleSize = sampleSize;
scanBitmap = BitmapFactory.decodeFile(path, options);
RGBLuminanceSource source = new RGBLuminanceSource(scanBitmap);
BinaryBitmap bitmap1 = new BinaryBitmap(new HybridBinarizer(source));
QRCodeReader reader = new QRCodeReader();
try {
return reader.decode(bitmap1, hints);
} catch (NotFoundException e) {
e.printStackTrace();
} catch (ChecksumException e) {
e.printStackTrace();
} catch (FormatException e) {
e.printStackTrace();
}
return null;
}
 Android MarginDesign控件TabLayout導航欄使用詳解
 Android實現自制和播放錄音程序
 Android Service組件在新進程綁定(bindService)過程
 Android App開發的自動化測試框架UI Automator使用教程