編輯:關於Android編程
簡單的 Android 拍照並顯示以及獲取路徑後上傳
Activity 中的代碼,我只貼出重要的事件部分代碼
    public void doPhoto(View view)
    {
        destoryBimap();
        String state = Environment.getExternalStorageState();
        if (state.equals(Environment.MEDIA_MOUNTED)) {
            Intent intent = new Intent("android.media.action.IMAGE_CAPTURE");
            startActivityForResult(intent, 1);
        } else {
            Toast.makeText(MainActivity.this, "沒有SD卡", Toast.LENGTH_LONG).show();
        }
    }

    @Override
    protected void onActivityResult(int requestCode, int resultCode, Intent data)
    {
        Uri uri = data.getData();
        if (uri != null) {
            this.photo = BitmapFactory.decodeFile(uri.getPath());
        }
        if (this.photo == null) {
            Bundle bundle = data.getExtras();
            if (bundle != null) {
                this.photo = (Bitmap) bundle.get("data");
            } else {
                Toast.makeText(MainActivity.this, "拍照失敗", Toast.LENGTH_LONG).show();
                return;
            }
        }

        FileOutputStream fileOutputStream = null;
        try {
            // 獲取 SD 卡根目錄
            String saveDir = Environment.getExternalStorageDirectory() + "/meitian_photos";
            // 新建目錄
            File dir = new File(saveDir);
            if (! dir.exists()) dir.mkdir();
            // 生成文件名
            SimpleDateFormat t = new SimpleDateFormat("yyyyMMddssSSS");
            String filename = "MT" + (t.format(new Date())) + ".jpg";
            // 新建文件
            File file = new File(saveDir, filename);
            // 打開文件輸出流
            fileOutputStream = new FileOutputStream(file);
            // 生成圖片文件
            this.photo.compress(Bitmap.CompressFormat.JPEG, 100, fileOutputStream);
            // 相片的完整路徑
            this.picPath = file.getPath();
            ImageView imageView = (ImageView) findViewById(R.id.showPhoto);
            imageView.setImageBitmap(this.photo);
        } catch (Exception e) {
            e.printStackTrace();
        } finally {
            if (fileOutputStream != null) {
                try {
                    fileOutputStream.close();
                } catch (Exception e) {
                    e.printStackTrace();
                }
            }
        }
    }

    /**
     * 銷毀圖片文件
     */
    private void destoryBimap()
    {
        if (photo != null && ! photo.isRecycled()) {
            photo.recycle();
            photo = null;
        }
    }
Layout 布局頁面
http://blog.csdn.net/zhouzme/article/details/18952053
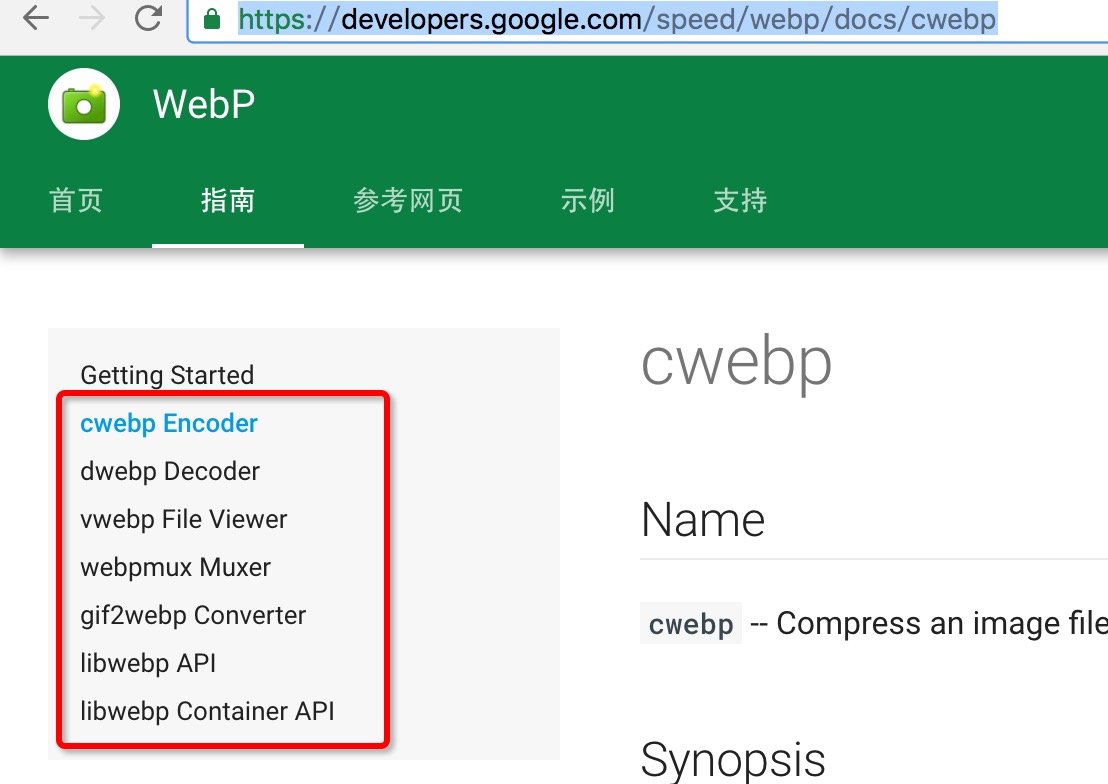 Android Webp 快來縮小apk的大小吧
一、概述最近項目准備嘗試使用webp來縮小包的體積,於是抽空對相關知識進行了調研和學習。至於什麼是webp,使用webp有什麼好處我就不贅述了,具體可以參考騰訊isux上
 Bluestacks安卓模擬器啟動慢運行卡怎麼辦
Bluestacks安卓模擬器啟動慢運行卡,近和朋友交流的時候也發現大家會遇到大問題,一是Bluestacks啟動很慢甚至會卡死,二是啟動後運行很卡,那麼我
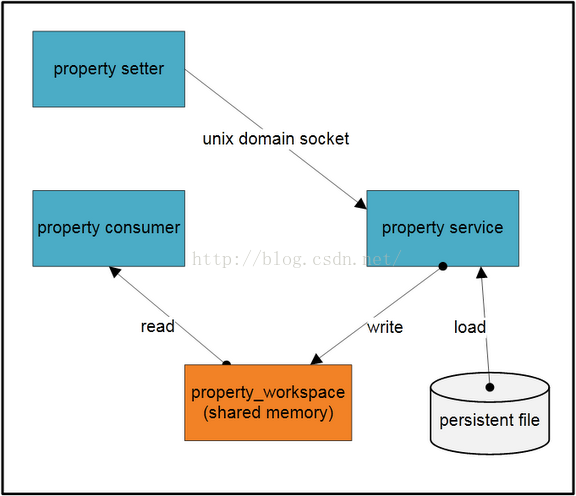 Android SystemProperties系統屬性詳解
Systemproperties類在android.os下,但這個類是隱藏的,上層程序開發無法直接使用,用Java的反射機制就可以了。Java代碼中創建與修改androi
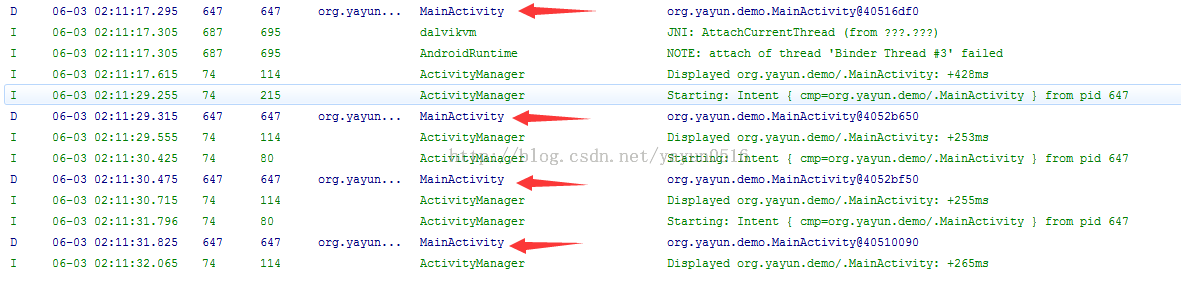 Activity啟動模式的探索(1)之 HelloWorld
本篇是Activity啟動模式篇的基礎篇,介紹Activity四種啟動模式的基本概念、Intent Flag設置啟動模式以及應用場景。在介紹四種啟動模式之前,先介紹一下