Action Bar、ActionBar、ActionBarCompat
Action Bar官方文檔如下描述:
The action bar is a window feature that identifies the user location, and provides user actions and navigation modes. Using the action bar offers your users a familiar interface across applications that the system gracefully adapts for different screen configurations.
ActionBar:
ActionBar是用來實現Action Bar的官方API
ActionBar API是在Android 3.0及其以後版本的Android系統中才有的,之前的版本是無法調用ActionBar API的。為了實現兼容,JakeWharton(一個非常帥的大牛,^_^)開源了他開發的ActionBarSherlock框架(可以在所有的Android版本上實現ActionBar的效果),此為背景。
ActionBarCompat:
此後為了方便開發者在Android 3.0以前版本的系統上開發含有Action Bar的應用,Google 在Google I/O 2013後發布了Support Library r18,這裡面就包含了在Android 3.0以下版本(一直到Android 2.1)中實現Action Bar的API。這個API實現了兼容>API7的ActionBar,所以叫ActionBarCompat (Compat是兼容性Compatibility的縮寫)。
准備工作
1、首先確保Android SDK包含最新的Support Library,具體如下:
Eclipse --> window --> Android SDK Manager --> Extras --> Android Support library
2、准備Library
File > Import > Android > Existing Android Code Into Workspace, 之後選擇目錄: Your ADT Bundle Path\sdk\extras\android\support\v7\appcompat,確定。
3、使用 Action Bar Style Generator 創建符合需求的樣式
Action Bar Style Generator工具的使用方法請自行Google 創建好之後,下載到本地,解壓,下面會用到
正式開始
1、創建項目
具體過程不再贅述
2、引入 ActionBar Compat Library
項目右鍵 --> Properties --> Android --> add --> 選擇appcompat --> 確定
3、替換資源
將准備工作第2步解壓後的res目錄替換上一步創建項目中的res目錄
4、修改AndroidManifest.xml文件
<application
android:allowBackup="true"
android:icon="@drawable/ic_launcher"
android:label="@string/app_name"
android:theme="@style/AppTheme" >
...
</application>
只需將上面代碼中的
android:theme="@style/AppTheme"
改為
android:theme="@style/Theme.AppCompat.Light"
5、修改菜單文件(默認menu -->activity_main.xml) 修改後如下:
<menu xmlns:android="http://schemas.android.com/apk/res/android"
xmlns:test="http://schemas.android.com/apk/res-auto" >
<item
android:id="@+id/phone"
android:icon="@drawable/ic_launcher"
test:showAsAction="ifRoom|withText"/>
</menu>
注意:
xmlns:test="http://schemas.android.com/apk/res-auto"
這行代碼是新加的,xmlns:test中的test為自定義前綴,需與showAsAction前的test保持一致。
6、修改MainActivity 將
public class MainActivity extends Activity
改為
public class MainActivity extends ActionBarActivity
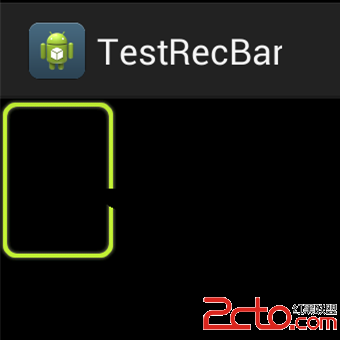
做到這一步,我們已經可以看到ActionBar的效果了,心急的同學可以先運行一下看看右上方有沒有一個機器人的圖標。 有的話,恭喜你,你已經成功一半了。如果沒有,檢查一下步驟是不是漏掉了什麼。
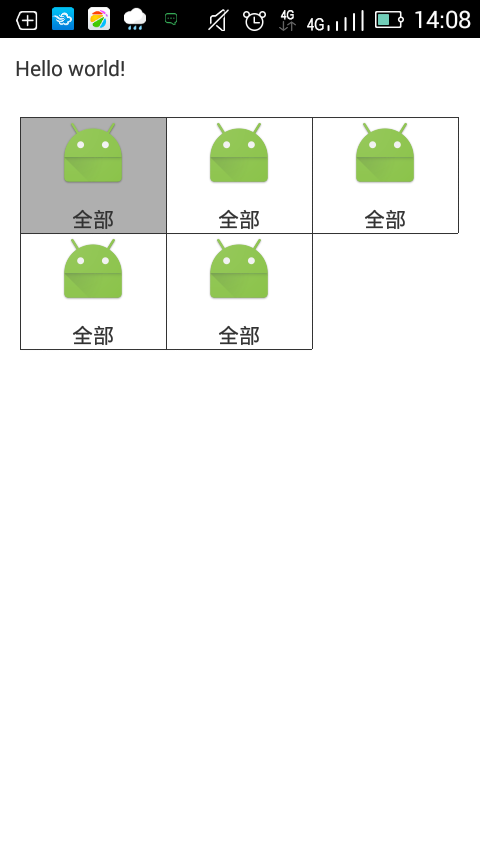 android gridview畫分割線
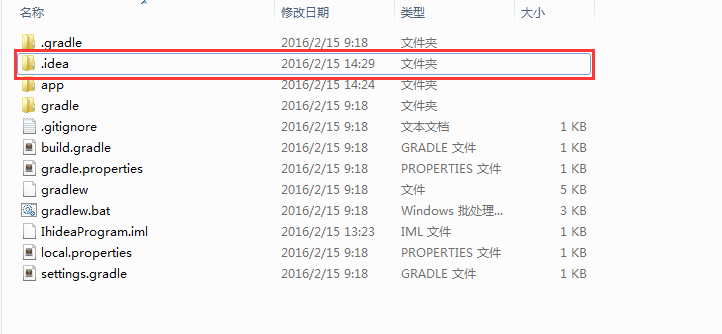 android studio中斷開SVN連接,並徹底清理項目中的.svn文件
 Android組件:Fragment實例
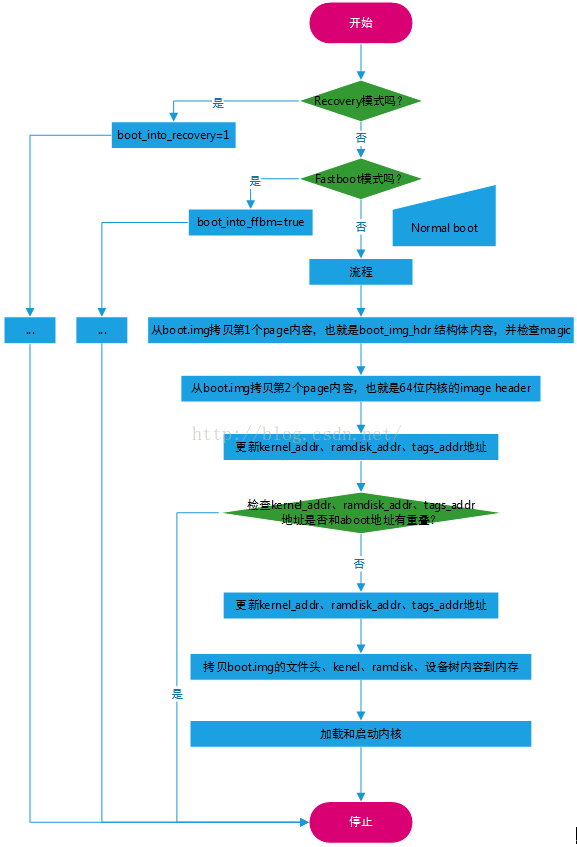 MSM8909+Android5.1.1啟動流程(7)---boot_linux_from_mmc()