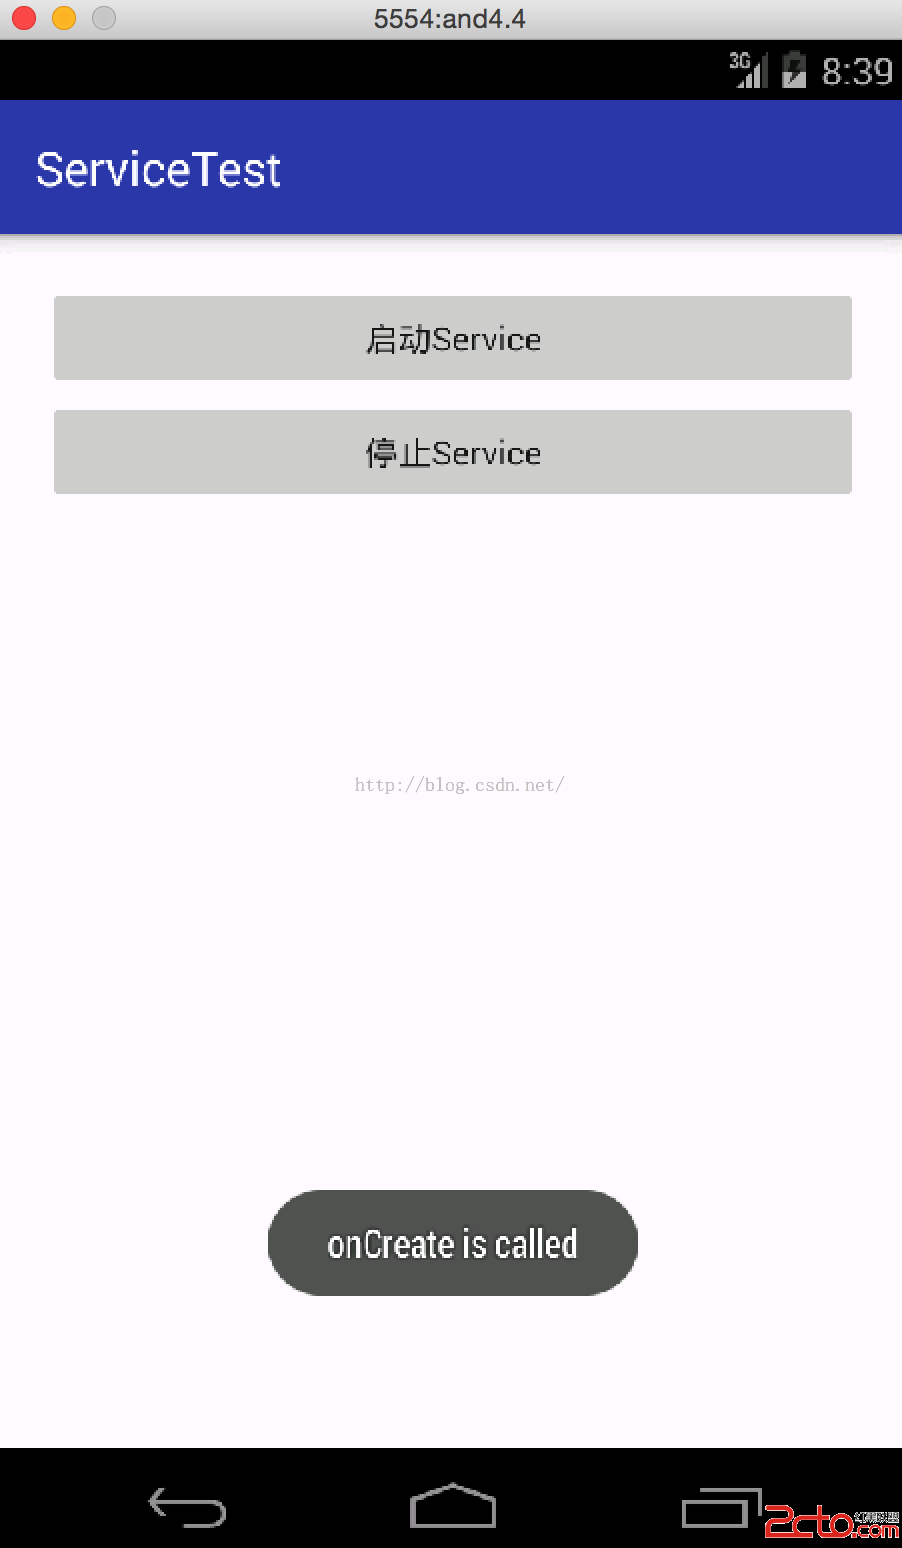
編輯:關於Android編程
今天要做一個任務,要求圖片做按鈕開關,點擊出發相應事件。點擊打開,圖片左邊顯示幾行字體,這幾行字體是延時顯示的。下面將主要代碼附上。以下是main.xml
延時處理要用到以下代碼
new Handler().postDelayed(new Runnable(){
    public void run() {
    //execute the task
    }
 }, delay);
java代碼MainActivity.java如下:
package com.example.vieweffect;
import android.app.Activity;
import android.app.ActionBar;
import android.app.Fragment;
import android.graphics.Bitmap;
import android.graphics.BitmapFactory;
import android.os.Bundle;
import android.os.Handler;
import android.view.LayoutInflater;
import android.view.Menu;
import android.view.MenuItem;
import android.view.View;
import android.view.View.OnClickListener;
import android.view.ViewGroup;
import android.widget.ImageButton;
import android.widget.ImageView;
import android.widget.TextView;
import android.os.Build;
public class MainActivity extends Activity {
TextView txtview01;
TextView txtview02;
TextView txtview03;
TextView txtview04;
TextView txtview05;
TextView txtview06;
private ImageView start =null;
protected boolean isBrewing = false; // 按鈕置換
@Override
protected void onCreate(Bundle savedInstanceState) {
super.onCreate(savedInstanceState);
setContentView(R.layout.main);
txtview01=(TextView)findViewById(R.id.txtView01);
txtview02=(TextView)findViewById(R.id.txtView02);
txtview03=(TextView)findViewById(R.id.txtView03);
txtview04=(TextView)findViewById(R.id.txtView04);
txtview05=(TextView)findViewById(R.id.txtView05);
txtview06=(TextView)findViewById(R.id.txtView06);
start=(ImageView)findViewById(R.id.start);
start.setOnClickListener((new OnClickListener() {
@Override
public void onClick(View v) {
// TODO Auto-generated method stub
if(v==start){
if(isBrewing)
stopView();
else
startView();
}
}
}));
}
//開始
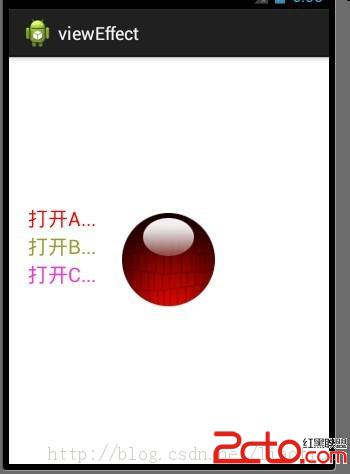
public void startView(){
Bitmap bmp=BitmapFactory.decodeResource(getResources(), R.drawable.stop);//打開資源圖片
start.setImageBitmap(bmp);
txtview01.setText(打開串口...);
new Handler().postDelayed(new Runnable(){
public void run() {
//execute the task
txtview02.setText(打開A...);
}
}, 500);
new Handler().postDelayed(new Runnable(){
public void run() {
//execute the task
txtview03.setText(打開B...);
}
}, 1000);
new Handler().postDelayed(new Runnable(){
public void run() {
//execute the task
txtview04.setText(打開C...);
}
}, 1500);
isBrewing = true;
}
//停止
public void stopView(){
Bitmap bmp=BitmapFactory.decodeResource(getResources(), R.drawable.blue);//打開資源圖片
start.setImageBitmap(bmp);
txtview01.setText();
txtview02.setText();
txtview03.setText();
txtview04.setText();
txtview05.setText();
txtview06.setText();
isBrewing = false;
}
}
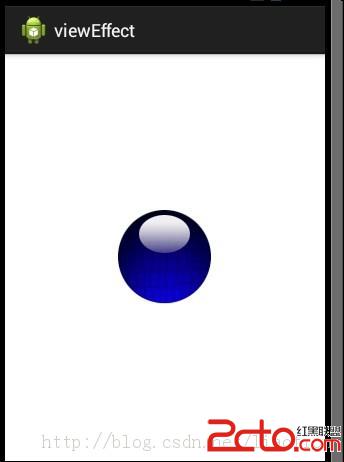 ,點擊該藍色圖片後
 ,
,
 android sqlite綁定城市三級聯(動態) 包含mysql數據源的sql語句
package com.icq.spinnercity; import java.util.ArrayList; import java.util.List; imp
 react native 實戰系列教程之Navigator實現頁面跳轉
主界面開發上一節,我們已經完成了首頁的開發,現在,我們繼續完成主界面的開發,就是添加底部‘首頁’和‘我的’兩個tabbar
 android 數據庫是否該關閉
關於android多線程數據讀寫請看博客: android 多線程數據庫讀寫 常常糾結於獲取了SQLiteDatabase每次操作完是否要關閉的問題,每次關閉又怕影
 Andriod 自定義控件之音頻條
今天我們實現一個直接繼承於View的全新控件。大家都知道音樂播放器吧,在點擊一首歌進行播放時,通常會有一塊區域用於顯示音頻條,我們今天就來學習下,播放器音頻條的實現。首先