1.首先,我們了解一下進入進入系統更新的操作步驟;設置-->關於手機-->系統更新
①設置界面進入系統更新的設置界面為設置模塊下DeviceInfoSettings.java類,所對應preference為Device_info_settings.xml中如下:
android:title=@string/system_update_settings_list_item_title
android:summary=@string/system_update_settings_list_item_summary>
②我們在DeviceInfoSettings.java中對該preference進行監聽,當用戶觸發點擊事件時發出廣播,XXX應用會接收該廣播並啟動XXX做出下一步處理。如下所示:
else if (preference.getKey().equals(KEY_DMSW_UPDATE)) {
// /M: for DMSW to broadcast @{
Intent i = new Intent();
i.setAction(com.mediatek.DMSWUPDATE);
getActivity().sendBroadcast(i);
// /@}
}
2.一般來說,由於Android原生態的系統更新體驗一般,我們手機中的系統更新應用都是廠商定制的,也就是說我們點擊系統更新時一般進入的都是廠商定制的系統更新應用,這裡我們先不贅述,隨後的博文中會針對原生中的系統更新應用進行一個分析。
①這裡我們跳過,只在廠商定制的應用中選擇本地升級,然後進入設置警告界面SystemUpgradeChooserActivity.java(升級過程中,請不要移除電池,SIM卡和存儲卡。。。。。。),然後我們通過點擊確定並進入升級提醒界面(升級將在兩到五分鐘完成。。。。。。),部分代碼如下:
case R.id.okButton: //是否掛在SDCard
if (!hasSDCard()) {
showToast(R.string.no_sd_card);
return;
} //更新包是否存在
if (file == null || !file.exists()) {
showToast(R.string.no_update_file);
return;
} //進入升級提醒界面
Intent intent = new Intent(SystemUpgradeChooserActivity.this,UpdateToStart.class);
startActivity(intent);
break;
②此時我們通過intent進入到升級提醒界面UpdateToStart.java,這裡我們點擊確定開始安裝更新包,詳細代碼如下:
buttonOkUp.setOnClickListener(new OnClickListener() {
@Override
public void onClick(View v) {
try { //是否掛在SDCard
if (!hasSDCard()) {
showToast(R.string.no_sd_card);
return;
} //更新文件是否存在 File file = new File(Environment.getExternalStorageDirectory() + /dload/update.zip);
if (file == null || !file.exists()) {
showToast(R.string.no_update_file);
return;
} //安裝更新包,這是上層系統新的關鍵
RecoverySystem.installPackage(getApplicationContext(), file);
}
catch (Exception e) {
//
}
}
});
3.上面我們了解了,通過調用RecoverySystem.installPackage()方法盡心安裝更新包。具體方法如下:
/**
*為了安裝更新包將會重啟設備,此外要調用該方法需要在清單文件中增加REBOOT權限
* 參數 context 上下文
* 參數 packageFile 封裝更新包路徑等信息的file對象.
*/
public static void installPackage(Context context, File packageFile)
throws IOException {
String filename = packageFile.getCanonicalPath();
Log.w(TAG, !!! REBOOTING TO INSTALL + filename + !!!);
//參數拼接,該參數最終會寫入BCB,也就是說設備重啟進入Recovery模式後,Recovery.cpp將會解析該參數,並且根據參數做出操作,它將會被傳入到bootcommand(context,arg)函數中去。 String arg = --update_package= + filename +
--locale= + Locale.getDefault().toString();
bootCommand(context, arg);
}
4.下面是對bootCommand進行分析。
private static void bootCommand(Context context, String arg) throws IOException {
RECOVERY_DIR.mkdirs(); // 創建/cache/recovery目錄
COMMAND_FILE.delete(); // 刪除command文件,進行初始化
LOG_FILE.delete();//刪除log文件,進行初始化
Log.d(TAG,Preapre to write command: + arg + );
WriteByFdSync(COMMAND_FILE,arg);//將參數寫入到command文件中
Log.d(TAG,Success to write command: + arg + );
Log.d(TAG,Current build type is: + Build.TYPE + );
ReadInAndPrint(COMMAND_FILE);//讀取command文件,並打印log
// Having written the command file, go ahead and reboot
PowerManager pm = (PowerManager) context.getSystemService(Context.POWER_SERVICE);//從系統服務中獲得PowerManager實例
pm.
reboot(recovery);//重啟
Log.d(TAG,!!! pm.reboot failed !!! );
throw new IOException(Reboot failed (no permissions?));
}
下面的方法調用流程為PowerManager:reboot(recovery)-->PowerManagerService:reboot(reason)
-->PowerManagerService:shtudownOrRebootInternal(false,confirm,reason,wait)
-->PowerManagerService:shutdownOrRebootInternal(...)
-->ShutdownThread:reboot(mContext, reason, confirm);
-->ShutdownThread:run():running()......
@Override // Binder call
public void
reboot(boolean confirm, String reason, boolean wait) {
mContext.enforceCallingOrSelfPermission(android.Manifest.permission.REBOOT, null);
Slog.i(TAG, reboot call pid: + Binder.getCallingPid() + uid: + Binder.getCallingUid());
final long ident = Binder.clearCallingIdentity();
try {
shutdownOrRebootInternal(false, confirm, reason, wait);
} finally {
Binder.restoreCallingIdentity(ident);
}
}
private void
shutdownOrRebootInternal(final boolean shutdown, final boolean confirm,
final String reason, boolean wait) {
if (mHandler == null || !mSystemReady) {
throw new IllegalStateException(Too early to call shutdown() or reboot());
}
Runnable runnable = new Runnable() {
@Override
public void run() {
synchronized (this) {
if (shutdown) {
ShutdownThread.shutdown(mContext, confirm);
} else {
ShutdownThread.reboot(mContext, reason, confirm);
}
}
}
};
// ShutdownThread must run on a looper capable of displaying the UI.
Message msg = Message.obtain(mHandler, runnable);
msg.setAsynchronous(true);
mHandler.sendMessage(msg);
// PowerManager.reboot() is documented not to return so just wait for the inevitable.
if (wait) {
synchronized (runnable) {
while (true) {
try {
runnable.wait();
} catch (InterruptedException e) {
}
}
}
}
}
public static void
reboot(final Context context, String reason, boolean confirm) {
mReboot = true;
mRebootSafeMode = false;
mRebootReason = reason;
Log.d(TAG, reboot);
if (mSpew) {
StackTraceElement[] stack = new Throwable().getStackTrace();
for (StackTraceElement element : stack)
{
Log.d(TAG, |---- + element.toString());
}
}
shutdownInner(context, confirm);
}
這裡在run方法下的,running方法中將重啟原因寫入系統屬性文件中去。
。。。。。。
{
String reason = (mReboot ? 1 : 0) + (mRebootReason != null ? mRebootReason : );
SystemProperties.set(SHUTDOWN_ACTION_PROPERTY, reason);
}
。。。。。。
 Adapter類控件使用之DrawerLayout(官方側滑菜單)的簡單使用
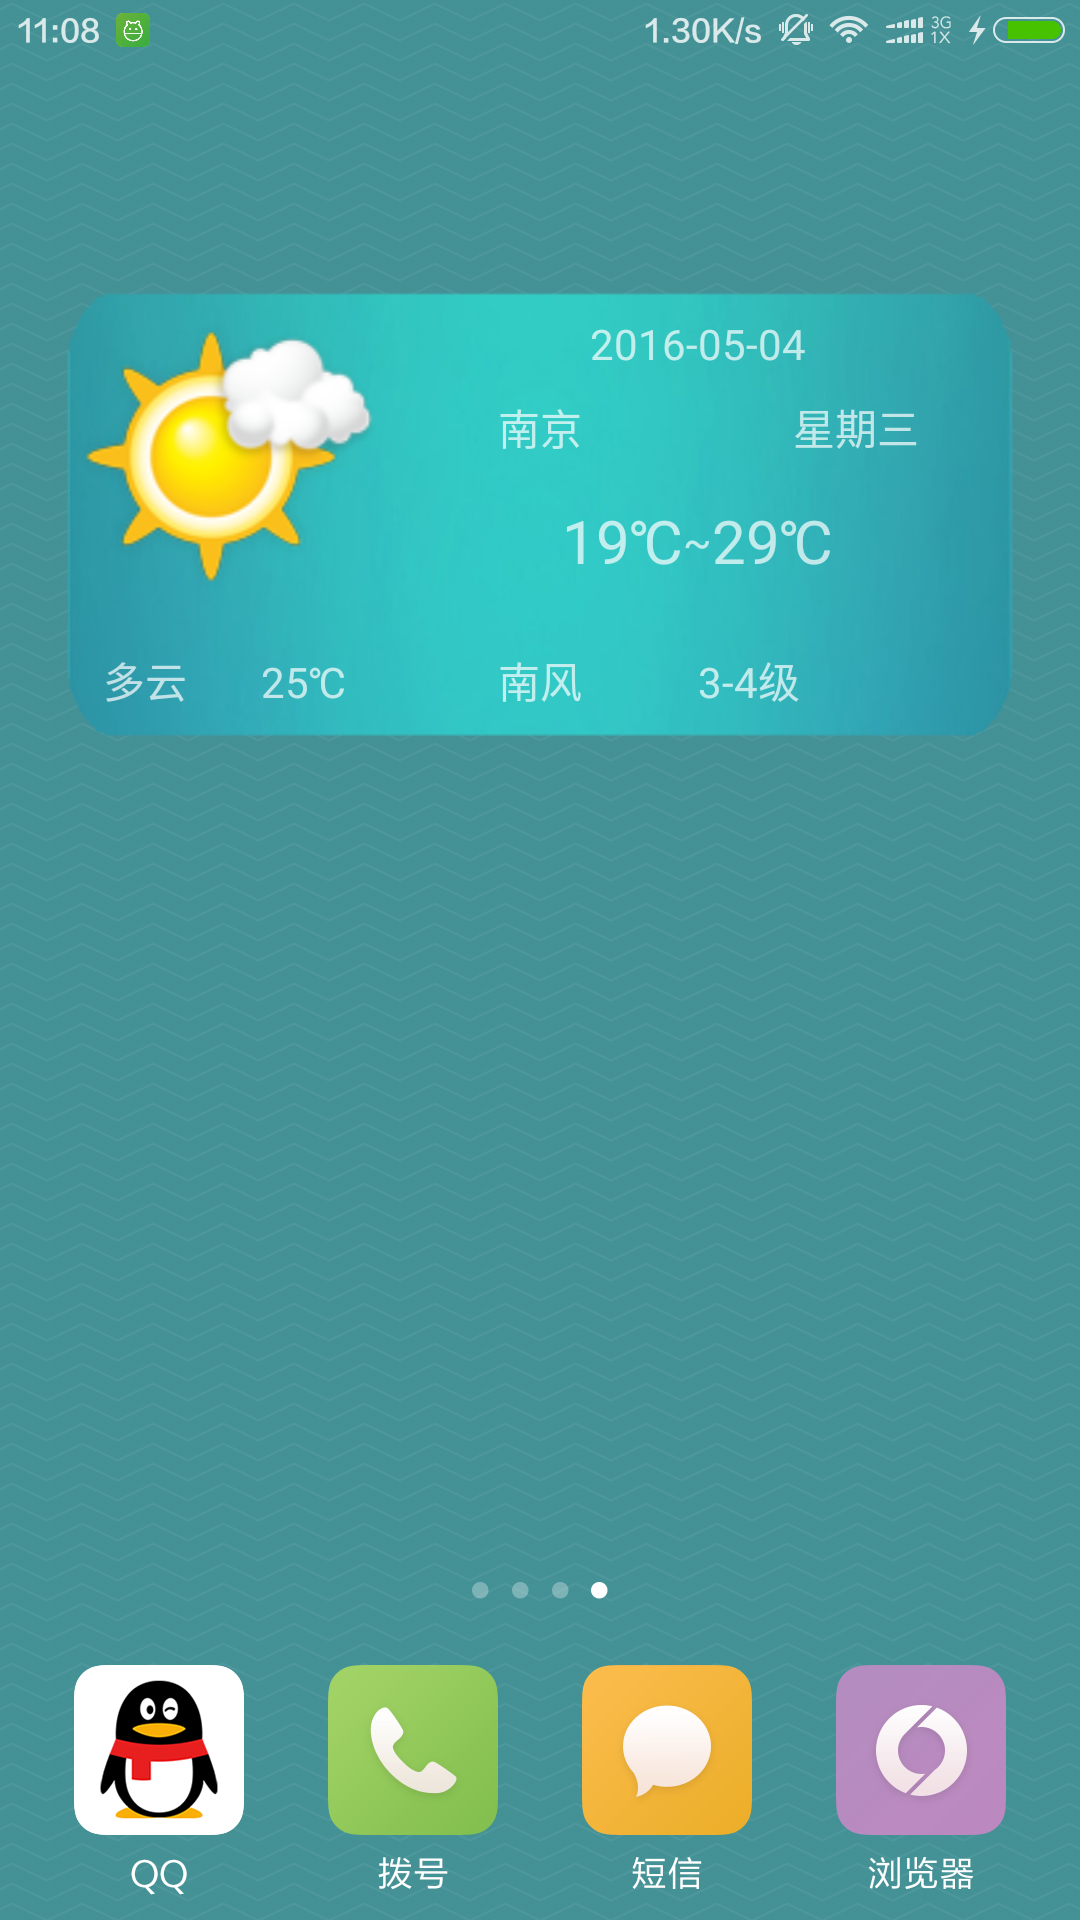 Android的Widget桌面應用學習
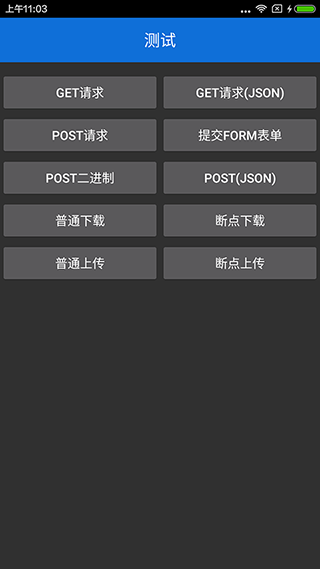 Android平台下輕量級http網絡傳輸庫
 Android視圖狀態及重繪流程分析,帶你一步步深入了解View(三)