編輯:關於Android編程
這是英文文檔的第三部分:THIRD PARTY LIBRARIES
By default, the image pipeline uses the HttpURLConnection networking library bundled with Android. Apps may have their own network layer they may wish to use instead.
OkHttp is a popular open-source networking library. The image pipeline has a backend that uses OkHttp instead of the Android default.
In order to use it, the dependencies section of your build.gradle file needs to be changed. Donot use the Gradle dependencies given on the download page. Use these instead:
dependencies {
  // your project's other dependencies
  compile "com.facebook.fresco:fresco:0.2.0+"
  compile "com.facebook.fresco:imagepipeline-okhttp:0.2.0+"
}
You must also configure the image pipeline a little differently. Instead of usingImagePipelineConfig.newBuilder, use OkHttpImagePipelineConfigFactory instead:
Context context;
OkHttpClient okHttpClient; // build on your own
ImagePipelineConfig config = OkHttpImagePipelineConfigFactory
    .newBuilder(context, okHttpClient)
    . // other setters
    . // setNetworkFetcher is already called for you
    .build();
Fresco.initialize(context, config);
For complete control on how the networking layer should behave, you can provide one for your app. You must subclass NetworkFetcher, which controls communications to the network. You can also optionally subclass FetchState, which is a data structure for request-specific information.
Our default implementation for HttpURLConnection can be used as an example. See its source code.
You must pass your network producer to the image pipeline when configuring it:
ImagePipelineConfig config = ImagePipelineConfig.newBuilder()
  .setNetworkFetcher(myNetworkFetcher);
  . // other setters
  .build();
Fresco.initialize(context, config);
Drawee is not tied to a particular image loading mechanism and can be used with other image loaders.
However, some of its features are only available on the Fresco image pipeline. Any feature in the preceding pages that required using an ImageRequest or configuration may not work with a different loader.
We have an backend for Drawee that allows Volley's ImageLoader to be used instead of Fresco's image pipeline.
We only recommend this for apps that already have a significant investment in Volley ImageLoader.
In order to use it, the dependencies section of your build.gradle file needs to be changed. Donot use the Gradle dependencies given on the download page. Use this instead:
dependencies {
  // your project's other dependencies
  compile: "com.facebook.fresco:drawee-volley:0.2.0+"
}
Do not call Fresco.initialize. You must do yourself for Volley what it does with the image pipeline:
Context context;
ImageLoader imageLoader; // build yourself
VolleyDraweeControllerBuilderSupplier mControllerBuilderSupplier
    = new VolleyDraweeControllerBuilderSupplier(context, imageLoader);
SimpleDraweeView.initialize(mControllerBuilderSupplier);
Do not let the VolleyDraweeControllerBuilderSupplier out of scope; you need it to build controllers, unless you always use SimpleDraweeView.setImageURI.
Instead of calling Fresco.newControllerBuilder, call
VolleyController controller = mControllerBuilderSupplier
    .newControllerBuilder()
    . // setters
    .build();
mSimpleDraweeView.setController(controller);
No other Drawee backends have been built yet, though it is possible to do so using the Volley example as a model.
You should only build from source if you need to modify Fresco code itself. Most applications should simply include Fresco in their project.
The following tools must be installed on your system in order to build Fresco:
You don't need to download Gradle itself; the build scripts or Android Studio will do that for you.
Fresco does not support source builds with Eclipse, Ant, or Maven. We do not plan to ever add such support. Maven projects can still include Fresco, and we hope to later add Eclipse and Ant support.
Both command-line and Android Studio users need to edit the gradle.properties file. This is normally located in your home directory, in a subdirectory called .gradle. If it is not already there, create it.
On Unix-like systems, including Mac OS X, add a line like this:
ndk.path=/path/to/android_ndk/r10d
On Windows systems, add a line like this:
ndk.path=C\:\\path\\to\\android_ndk\\r10d
Windows' backslashes and colons need to be escaped in order for Gradle to read them correctly.
git clone https://github.com/facebook/fresco.git
This will create a directory fresco where the code will live.
On Unix-like systems, cd to the directory containing Fresco. Run the following command:
./gradlew build
On Windows, open a Command Prompt, cd to the directory containing Fresco, and type in this command:
gradlew.bat build
From Android Studio's Quick Start dialog, click Import Project. Navigate to the directory containing Fresco and click on the build.gradle file.
Android Studio should build Fresco automatically.
The first time you build Fresco, your computer must be connected to the Internet. Incremental builds can use Gradle's --offline option.
Please see our CONTRIBUTING page.
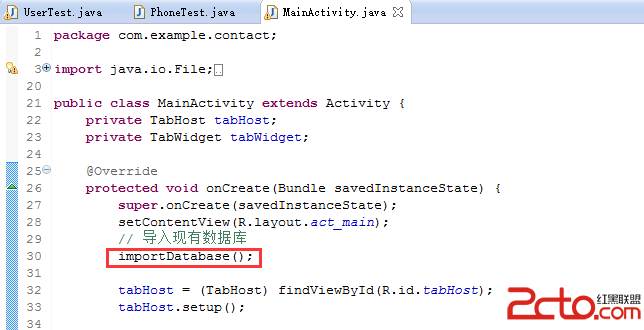
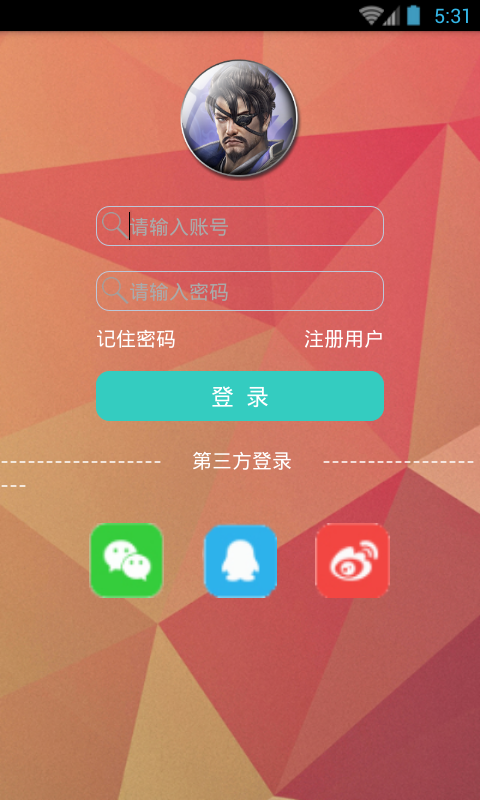 糖果機器人_0005_day2_頁面跳轉
MainActivity.java 主頁面activity_main.xml 主頁面布局zhuce_Activity.java 注冊頁面zhuce_layout.xml
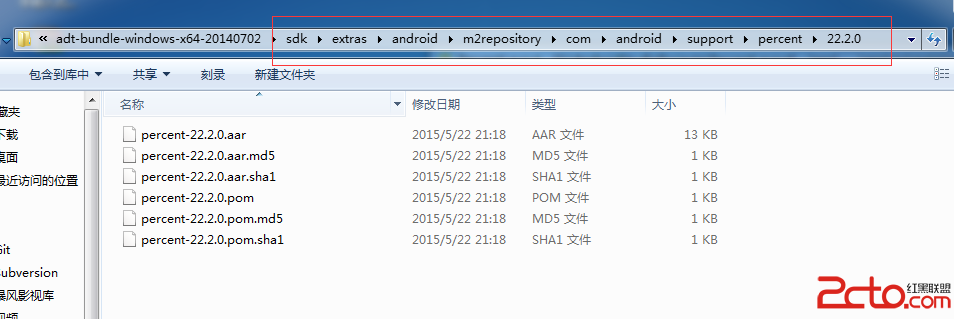 Android Support庫百分比布局
之前寫過一篇屏幕適配的文章Android 屏幕適配最佳實踐,裡面提到了類似百分比布局的東西,但是該方法缺點很明顯,就會增加很多無用的數據,導致apk包變大。而谷歌的sup
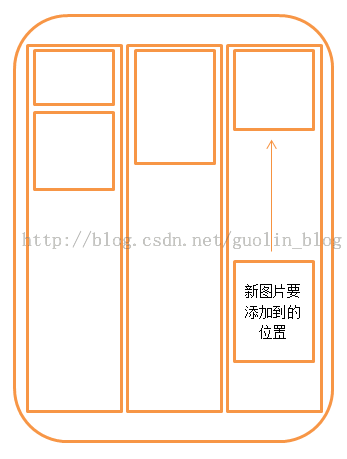
 Android 紋理定距離移動
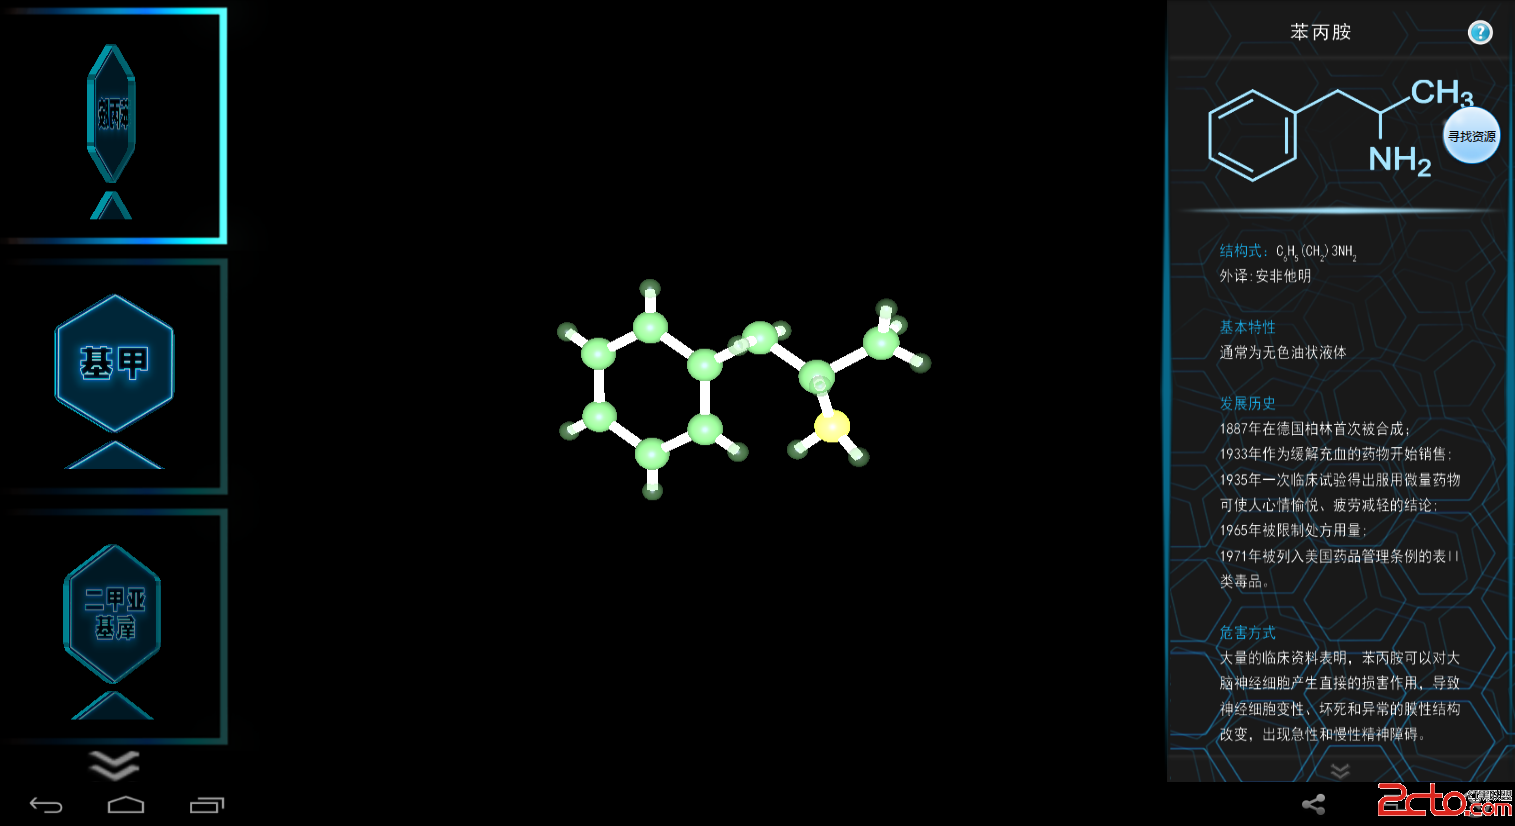
效果圖:右邊的文字欄上下移動,沒有文字會自動停止移動。這和之前我寫的紋理移動不同,之前的是循環移動,這次是定位移動。頂點著色器: uniform mat4 uM
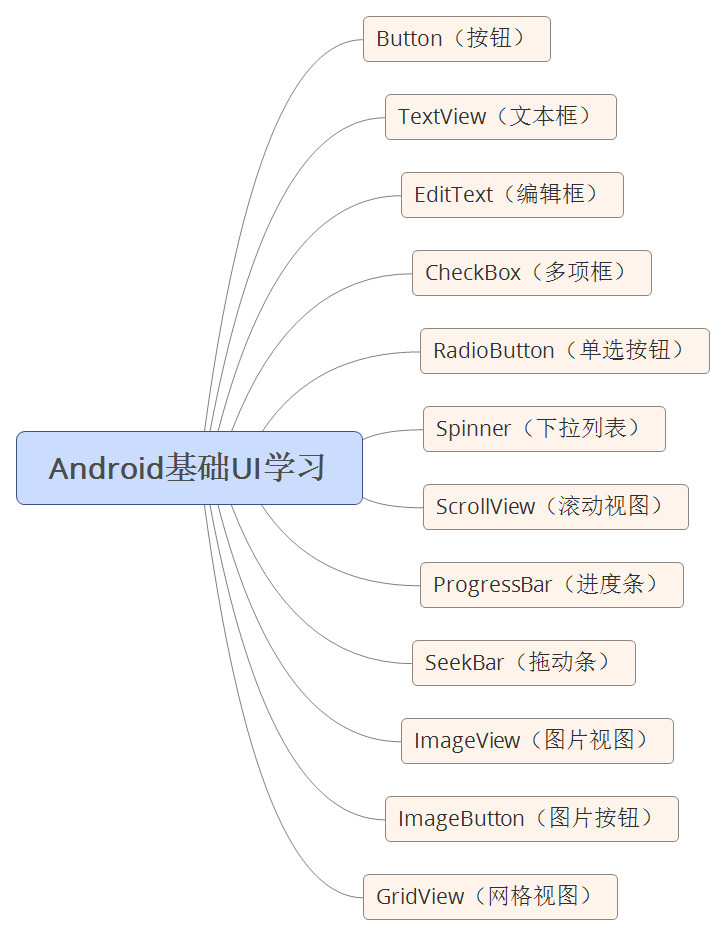 如何自學Android
1. Java知識儲備本知識點不做重點講解:對於有基礎的同學推薦看《Java編程思想》,鞏固基礎,查漏補全,了解並熟悉更多細節知識點。對於沒有基礎的同學推薦看一本Java