編輯:關於Android編程
項目中遇到了這樣一個需求:
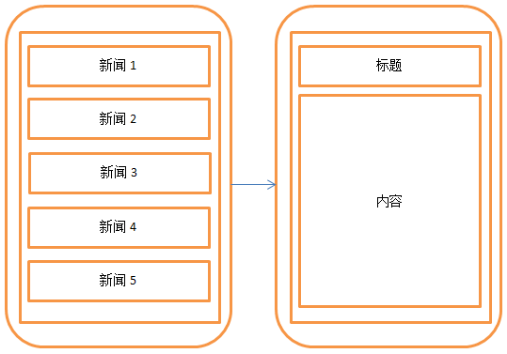
當某個條件滿足時就截取當前屏幕,並跳轉到另外一個頁面,同時將這個截屏圖片作為下一個頁面的背景圖片,同時背景圖片需要模糊處理
接下來就一步一步解決問題:
1、截取無狀態欄的當前屏幕圖片,請參考takeScreenShot方法
2、使圖片高斯模糊的方法請參考blurBitmap方法
注意:RenderScript是Android在API 11之後加入的,用於高效的圖片處理,包括模糊、混合、矩陣卷積計算等
public class ScreenShotUtil {

    // 獲取指定Activity的截屏,保存到png文件
    String filenameTemp = /mnt/sdcard/temp;

    /**
     * takeScreenShot:
     * TODO 截屏    去掉標題欄
     * @param activity
     */
    public static Bitmap takeScreenShot(Activity activity) {
        // View是你需要截圖的View
        View view = activity.getWindow().getDecorView();
        view.setDrawingCacheEnabled(true);
        view.buildDrawingCache();
        Bitmap b1 = view.getDrawingCache();

        // 獲取狀態欄高度
        Rect frame = new Rect();
        activity.getWindow().getDecorView().getWindowVisibleDisplayFrame(frame);
        int statusBarHeight = frame.top;
        LogHelper.i(TAG,  + statusBarHeight);

        // 獲取屏幕長和高
        int width = activity.getWindowManager().getDefaultDisplay().getWidth();
        int height = activity.getWindowManager().getDefaultDisplay().getHeight();
        // 去掉標題欄
        // Bitmap b = Bitmap.createBitmap(b1, 0, 25, 320, 455);
        Bitmap b = Bitmap.createBitmap(b1, 0, statusBarHeight, width, height - statusBarHeight);
        view.destroyDrawingCache();
        return b;
    }

    /**
     * TODO  用於高效的圖片處理,包括模糊、混合、矩陣卷積計算等
     * @param bitmap
     * @param context
     */
    @SuppressLint(NewApi)
    public static Bitmap blurBitmap(Bitmap bitmap, Context context) {

        // Let's create an empty bitmap with the same size of the bitmap we want
        // to blur
        Bitmap outBitmap = Bitmap.createBitmap(bitmap.getWidth(), bitmap.getHeight(),
                Config.ARGB_8888);

        // Instantiate a new Renderscript
        RenderScript rs = RenderScript.create(context);//RenderScript是Android在API 11之後加入的

        // Create an Intrinsic Blur Script using the Renderscript
        ScriptIntrinsicBlur blurScript = ScriptIntrinsicBlur.create(rs, Element.U8_4(rs));

        // Create the Allocations (in/out) with the Renderscript and the in/out
        // bitmaps
        Allocation allIn = Allocation.createFromBitmap(rs, bitmap);
        Allocation allOut = Allocation.createFromBitmap(rs, outBitmap);

        // Set the radius of the blur
        blurScript.setRadius(25.f);

        // Perform the Renderscript
        blurScript.setInput(allIn);
        blurScript.forEach(allOut);

        // Copy the final bitmap created by the out Allocation to the outBitmap
        allOut.copyTo(outBitmap);

        // recycle the original bitmap
        bitmap.recycle();

        // After finishing everything, we destroy the Renderscript.
        rs.destroy();

        return outBitmap;

    }
}
3、傳遞bitmap
剛開始我是這麼傳遞的
bundle.putParcelable(bitmap, ScreenShotUtil.takeScreenShot(theLayout.getActivity()));
繼續下面操作:就是將bitmap封裝到bundle中,然後封裝到intent中啟動下一個Activity
ActivityUtil.startActivity(theLayout.getActivity(), LiveEndActivity.class, bundle, false);
/**
     * 開啟另外一個activity
     *
     * @param activity
     * @param cls 另外的activity類
     * @param bundle 傳遞的bundle對象
     * @param isFinish true表示要關閉activity false表示不要關閉activity
     */
    public static void startActivity(Activity activity, Class cls, Bundle bundle, boolean isFinish) {
        Intent intent = new Intent(activity, cls);
        if (bundle != null) {
            intent.putExtras(bundle);
        }
        activity.startActivity(intent);
        if (isFinish) {
            activity.finish();
        }
        activity.overridePendingTransition(R.anim.push_left_in, R.anim.push_left_out);
    }
然後在LiveEndActivity中這麼解析
Bitmap bitmap = intent.getExtras().getParcelable(bitmap);結果:無法得到預期效果
關鍵是不報錯,debug的時候可以看到我們的確截屏成功,但是Bitmap對象就是沒有傳遞過去,而且不是啟動下一個Activity
然後去網上找方法調研
結論:不能直接傳遞大於40k的圖片
解決辦法:把bitmap存儲為byte數組,然後再繼續傳遞
       Bitmap bitmap = ScreenShotUtil.takeScreenShot(theLayout.getActivity());
       ByteArrayOutputStream baos=new ByteArrayOutputStream();
       bitmap.compress(Bitmap.CompressFormat.PNG, 100, baos);
       byte [] bitmapByte =baos.toByteArray();
       bundle.putByteArray(bitmap, bitmapByte);
       // bundle.putParcelable(bitmap, ScreenShotUtil.takeScreenShot(theLayout.getActivity()));

       ActivityUtil.startActivity(theLayout.getActivity(), LiveEndActivity.class, bundle, false);
然後在下一個Activity中這麼解析
 byte[] bis =intent.getExtras().getByteArray(bitmap);
            Bitmap bitmap=BitmapFactory.decodeByteArray(bis, 0, bis.length);
4、假如我們需要將這張圖片設置為我們當前Activity的背景圖片,我們可以這麼做
 if (bitmap != null) {
       bitmap = ScreenShotUtil.blurBitmap(bitmap,getApplicationContext());//高斯模糊處理
       getWindow().getDecorView().setBackgroundDrawable(new BitmapDrawable(bitmap));
 }
 Android簡易實戰教程--第十四話《模仿金山助手創建桌面Widget小部件》
打開谷歌api,對widget小部件做如下說明:App Widgets are miniature application views that can be embed
 Android安卓安全審計mobiseclab
關於安卓上的app分析,有很多的本地化軟件可以勝任, 不過,今天給大家介紹一款在線的安全審計,惡意軟件(android app)檢測和分析工具,mobiseclab,
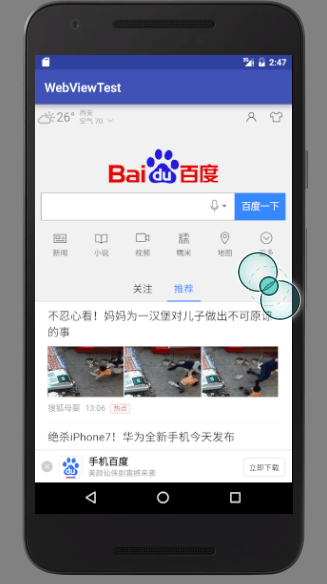
 Android在程序中浏覽網頁
本文是自己學習所做筆記,歡迎轉載,但請注明出處:http://blog.csdn.net/jesson20121020 有時需要在程序中浏覽一些網頁,
 【Android基礎知識】網絡操作:Json生成與解析
簡介這裡主要介紹Android生成一個Json格式的字符串,客戶端通過網絡獲取服務器端生成的Json字符串進行解析,根據解析出來的Url去網絡獲取圖片並顯示在ListVi