編輯:關於Android編程
本文實例講述了Android實現自定義帶文字和圖片Button的方法。分享給大家供大家參考。具體分析如下:
在Android開發中經常會需要用到帶文字和圖片的button,下面來講解一下常用的實現辦法。
一.用系統自帶的Button實現
最簡單的一種辦法就是利用系統自帶的Button來實現,這種方式代碼量最小。在Button的屬性中有一個是drawableLeft,這個屬性可以把圖片設置在文字的左邊,但是這種方式必須讓icon的背景色是透明的,如果icon的背景色不是透明的話,會導致點擊按鈕時icon部分的背景色不會發生變化。
主要代碼:
<Button
  android:id="@+id/bt3"
  android:layout_marginTop="4dp"
  android:layout_width="wrap_content"
  android:layout_height="wrap_content"
  android:text="火車"
  android:textSize="16sp"
  android:textColor="#000000"
  android:paddingLeft="5dp"
  android:paddingTop="5dp"
  android:paddingRight="5dp"
  android:paddingBottom="5dp"
  android:drawableLeft="@drawable/line_bus_icon"
  android:background="@drawable/button_bg">
</Button>
實現效果:

如果要讓文字在圖標下方,改成drawableTop即可。
二.繼承系統的Button然後進行重繪
package com.test;
import android.content.Context;
import android.graphics.Bitmap;
import android.graphics.BitmapFactory;
import android.graphics.Canvas;
import android.util.AttributeSet;
import android.widget.Button;
public class ImageTextButton2 extends Button {
  private int resourceId = 0;
  private Bitmap bitmap;
  public ImageTextButton2(Context context) {
    super(context,null);
  }
  public ImageTextButton2(Context context,AttributeSet attributeSet) {
    super(context, attributeSet);
    this.setClickable(true);
    resourceId = R.drawable.icon;
    bitmap = BitmapFactory.decodeResource(getResources(), resourceId);
  }
  public void setIcon(int resourceId)
  {
    this.bitmap = BitmapFactory.decodeResource(getResources(), resourceId);
    invalidate();
  }
  @Override
  protected void onDraw(Canvas canvas) {
    // TODO Auto-generated method stub
    // 圖片頂部居中顯示
    int x = (this.getMeasuredWidth() - bitmap.getWidth())/2;
    int y = 0;
    canvas.drawBitmap(bitmap, x, y, null);
    // 坐標需要轉換,因為默認情況下Button中的文字居中顯示
    // 這裡需要讓文字在底部顯示
    canvas.translate(0,(this.getMeasuredHeight()/2) - (int) this.getTextSize());
    super.onDraw(canvas);
  }
}
然後再布局文件中調用:
<com.test.ImageTextButton2
  android:id="@+id/bt2"
  android:layout_marginTop="10dp"
  android:text="hello"
  android:textSize="15dp"
  android:textColor="#000000"
  android:layout_width="60dp"
  android:layout_height="70dp"
  android:background="@drawable/button_bg"
/>
注意,在xml文件中調用時,對於layout_width和layout_height兩個屬性千萬不能用wrap_content,否則會導致按鈕顯示出來的只有文字部分。
三.繼承布局文件
分析發現一個帶文字和icon的button其實可以看成一個線性布局或相對布局,因此可以繼承布局來實現。
先實現一個button的布局文件img_text_bt.xml:
<?xml version="1.0" encoding="utf-8"?>
<RelativeLayout
 xmlns:android="http://schemas.android.com/apk/res/android"
 android:layout_width="wrap_content"
 android:layout_height="wrap_content">
 <ImageView
  android:id="@+id/imgview"
  android:layout_alignParentTop="true"
  android:layout_width="wrap_content"
  android:layout_height="wrap_content"
  android:layout_centerInParent="true"
  android:src="@drawable/icon">
 </ImageView>
 <TextView
  android:id="@+id/textview"
  android:layout_width="wrap_content"
  android:layout_height="wrap_content"
  android:layout_centerInParent="true"
  android:layout_below="@id/imgview">
 </TextView>
</RelativeLayout>
然後去繼承RelativeLayout布局:
package com.test;
import android.content.Context;
import android.util.AttributeSet;
import android.view.LayoutInflater;
import android.widget.ImageView;
import android.widget.RelativeLayout;
import android.widget.TextView;
public class ImageTextButton1 extends RelativeLayout {
  private ImageView imgView;
  private TextView textView;
  public ImageTextButton1(Context context) {
    super(context,null);
  }
  public ImageTextButton1(Context context,AttributeSet attributeSet) {
    super(context, attributeSet);
    LayoutInflater.from(context).inflate(R.layout.img_text_bt, this,true);
    this.imgView = (ImageView)findViewById(R.id.imgview);
    this.textView = (TextView)findViewById(R.id.textview);
    this.setClickable(true);
    this.setFocusable(true);
  }
  public void setImgResource(int resourceID) {
    this.imgView.setImageResource(resourceID);
  }
  public void setText(String text) {
    this.textView.setText(text);
  }
  public void setTextColor(int color) {
    this.textView.setTextColor(color);
  }
  public void setTextSize(float size) {
    this.textView.setTextSize(size);
  }
}
然後就可以在需要的xml文件中調用:
<com.test.ImageTextButton1
  android:id="@+id/bt1"
  android:layout_width="wrap_content"
  android:layout_height="wrap_content"
  android:background="@drawable/button_bg"
/>
再在Activity中使用:
bt1 = (ImageTextButton1)findViewById(R.id.bt1);
bt1.setText("icon");
bt1.setTextColor(Color.rgb(0, 0, 0));
bt1.setOnClickListener(new OnClickListener() {
  @Override
  public void onClick(View v) {
 // TODO Auto-generated method stub
 Toast.makeText(MainActivity.this, "bt1被點擊了", Toast.LENGTH_SHORT).show();
  }
});
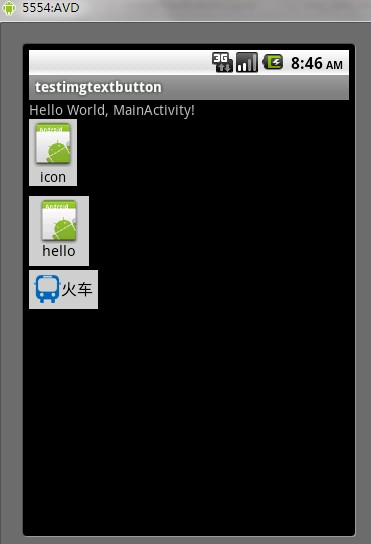
三種不同方法最後的運行效果:
完整實例代碼點擊此處本站下載。
希望本文所述對大家的Android程序設計有所幫助。
 努比亞 Z5S MiniROOT後可刪除的文件
努比亞 Z5S MiniROOT後哪些文件可以刪除的。很多時候,我們手機進行root就是為了減輕手機中的負擔,刪除一些不必要的文件,可很多時候,我們不知道專
 Android Studio老是提示重啟ADB解決!
有時候你把手機接到電腦上調試時,Android Studio總是提示你重啟ADB,但是你點重啟後,立馬又跳出那個提示重啟的對話框。會再跳出提示對話框是因為你ADB重啟沒有
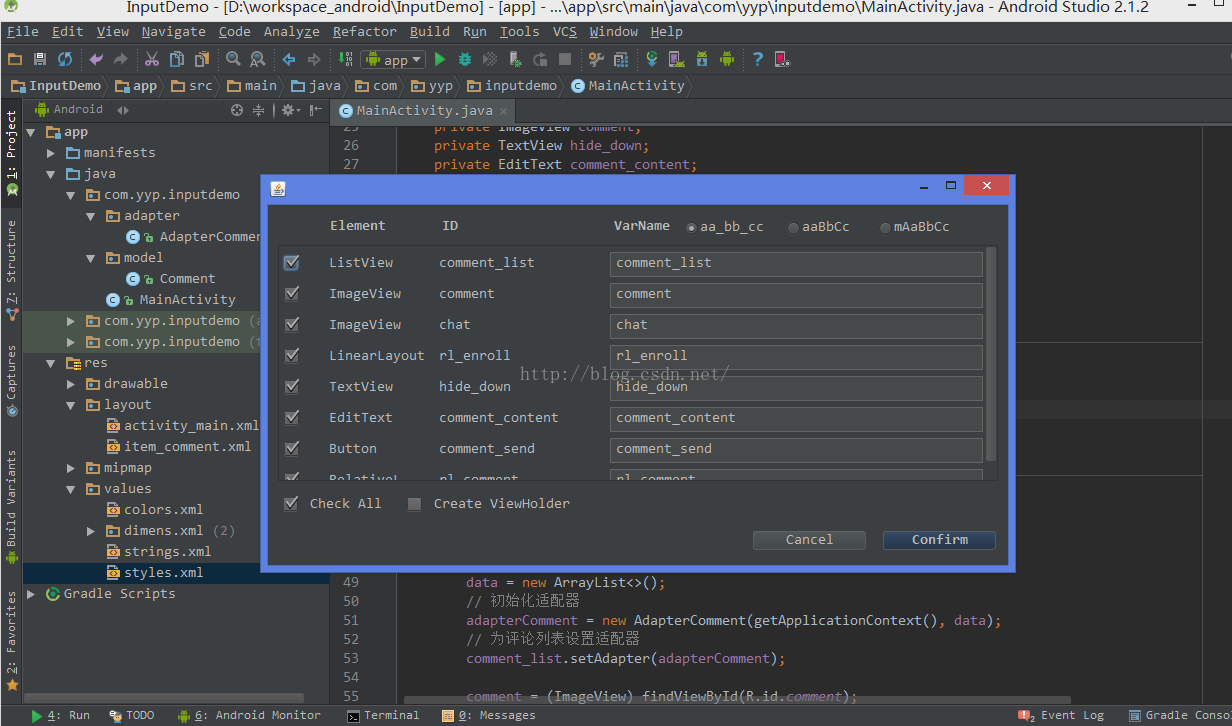 Android評論功能的實現過程
目前,各種App的社區或者用戶曬照片、發說說的地方,都提供了評論功能,為了更好地學習,自己把這個功能實現了一下,做了個小的Demo。首先推薦一款實用的插件LayoutCr
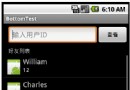 listview Button始終放在底部示例
android實現底部布局往往使用RelativeLayout的布局方式,並且設置android:layout_alignParentBottom=”true”,這樣很容