編輯:關於Android編程
本文實例講解了通知Notification使用方法,此知識點就是用作通知的顯示,包括振動、燈光、聲音等效果,分享給大家供大家參考,具體內容如下
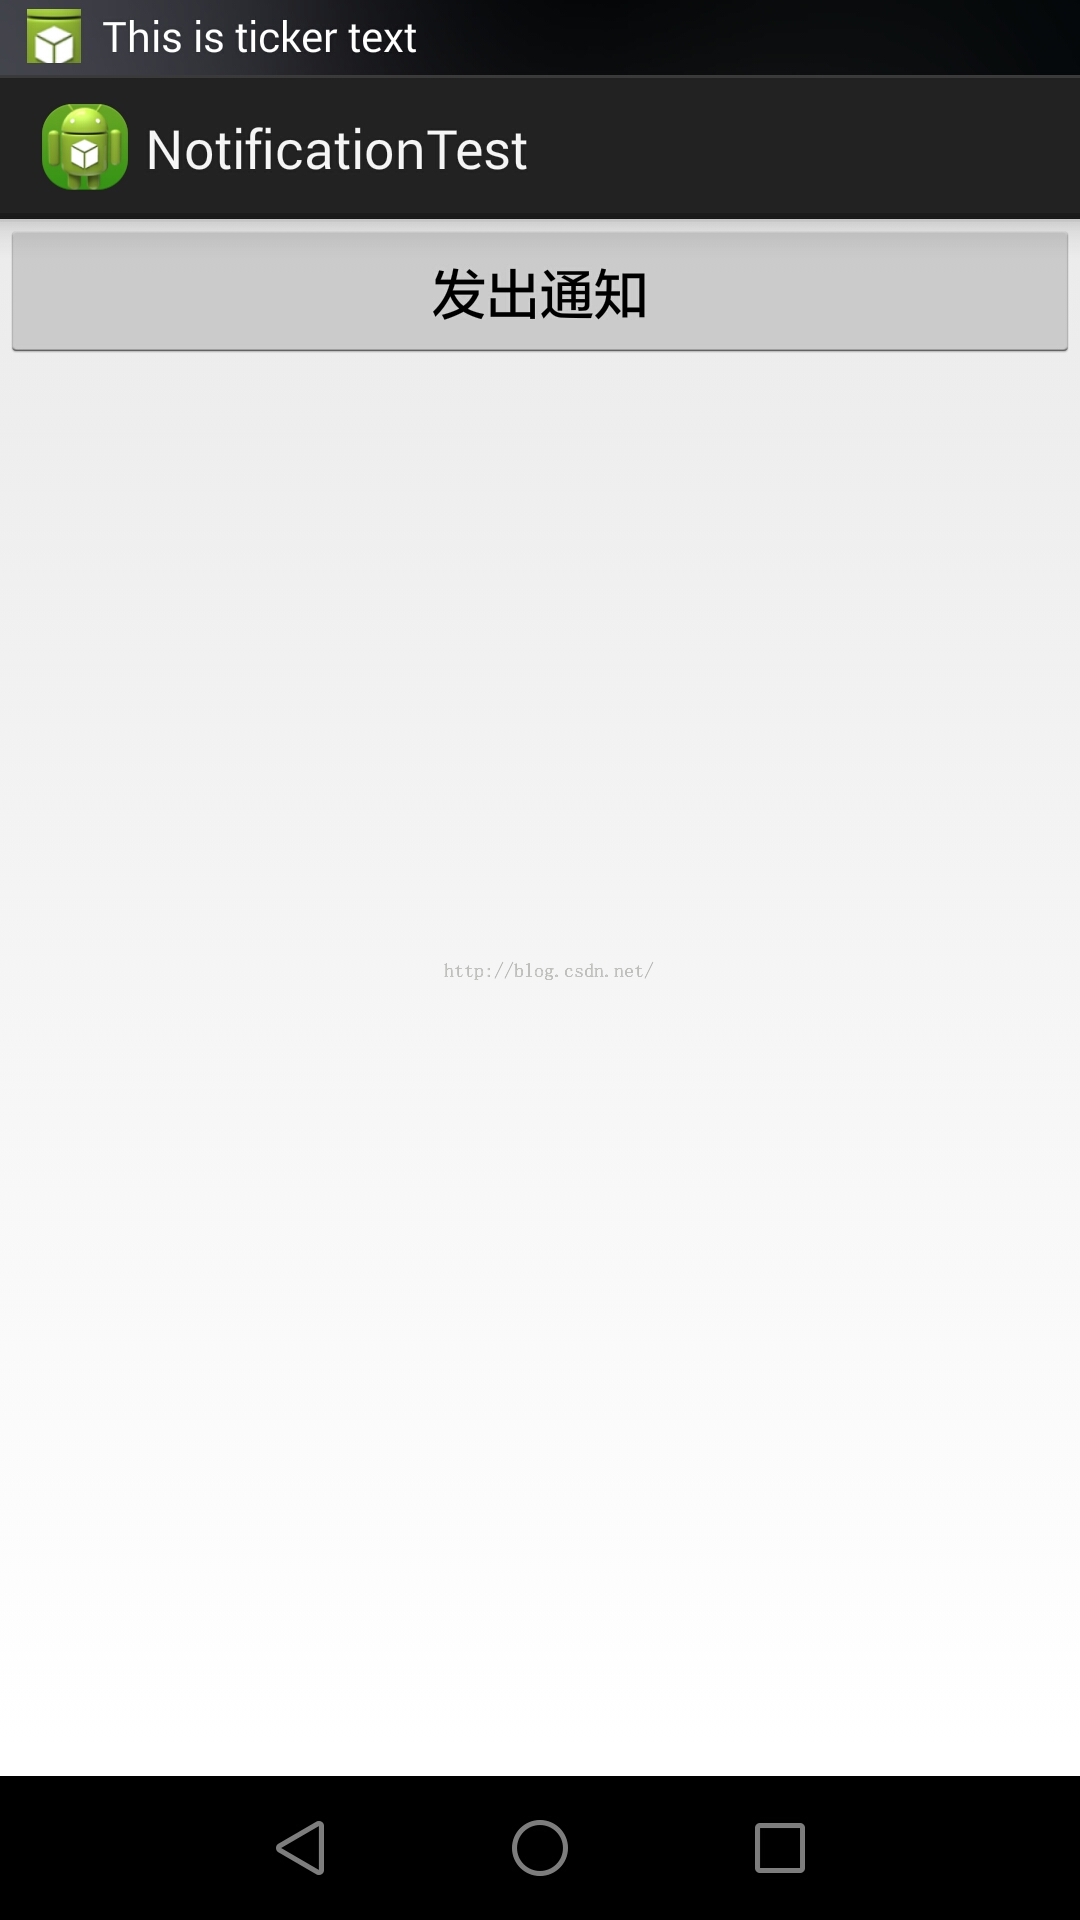
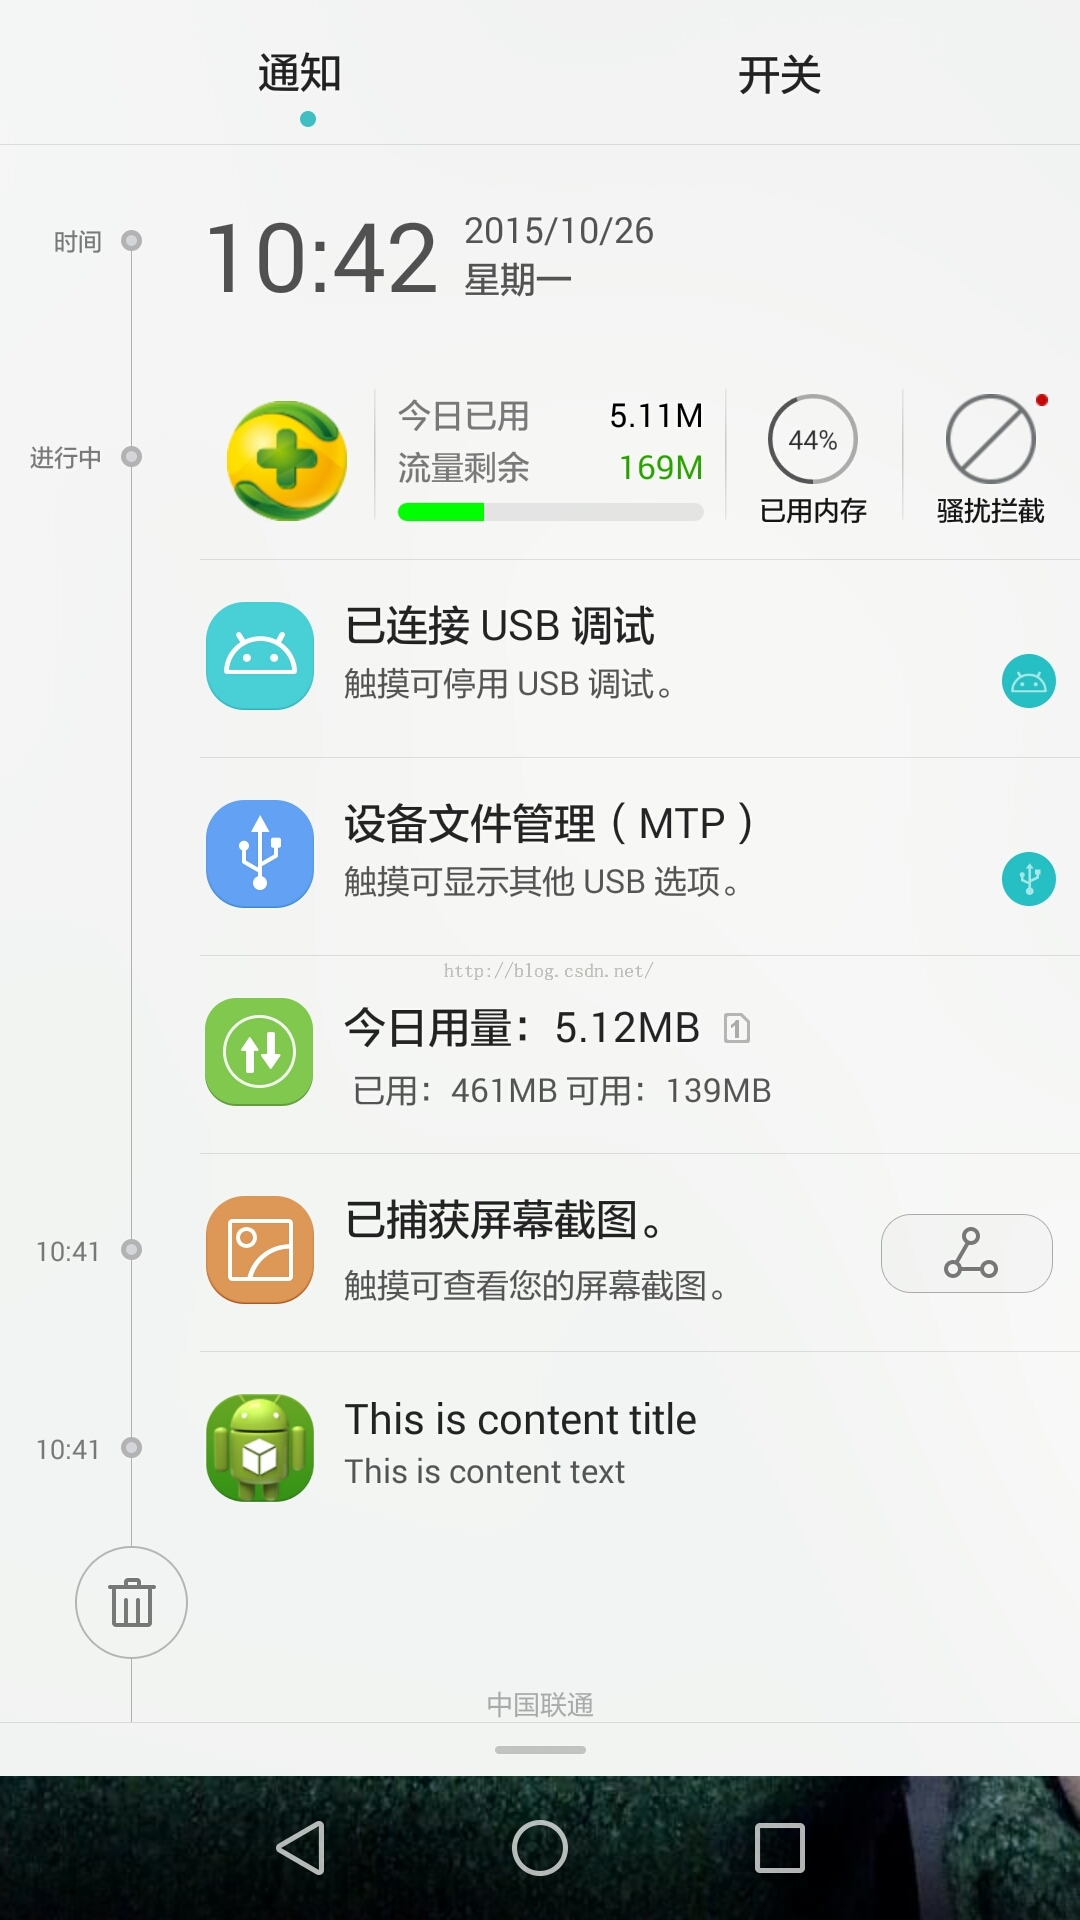
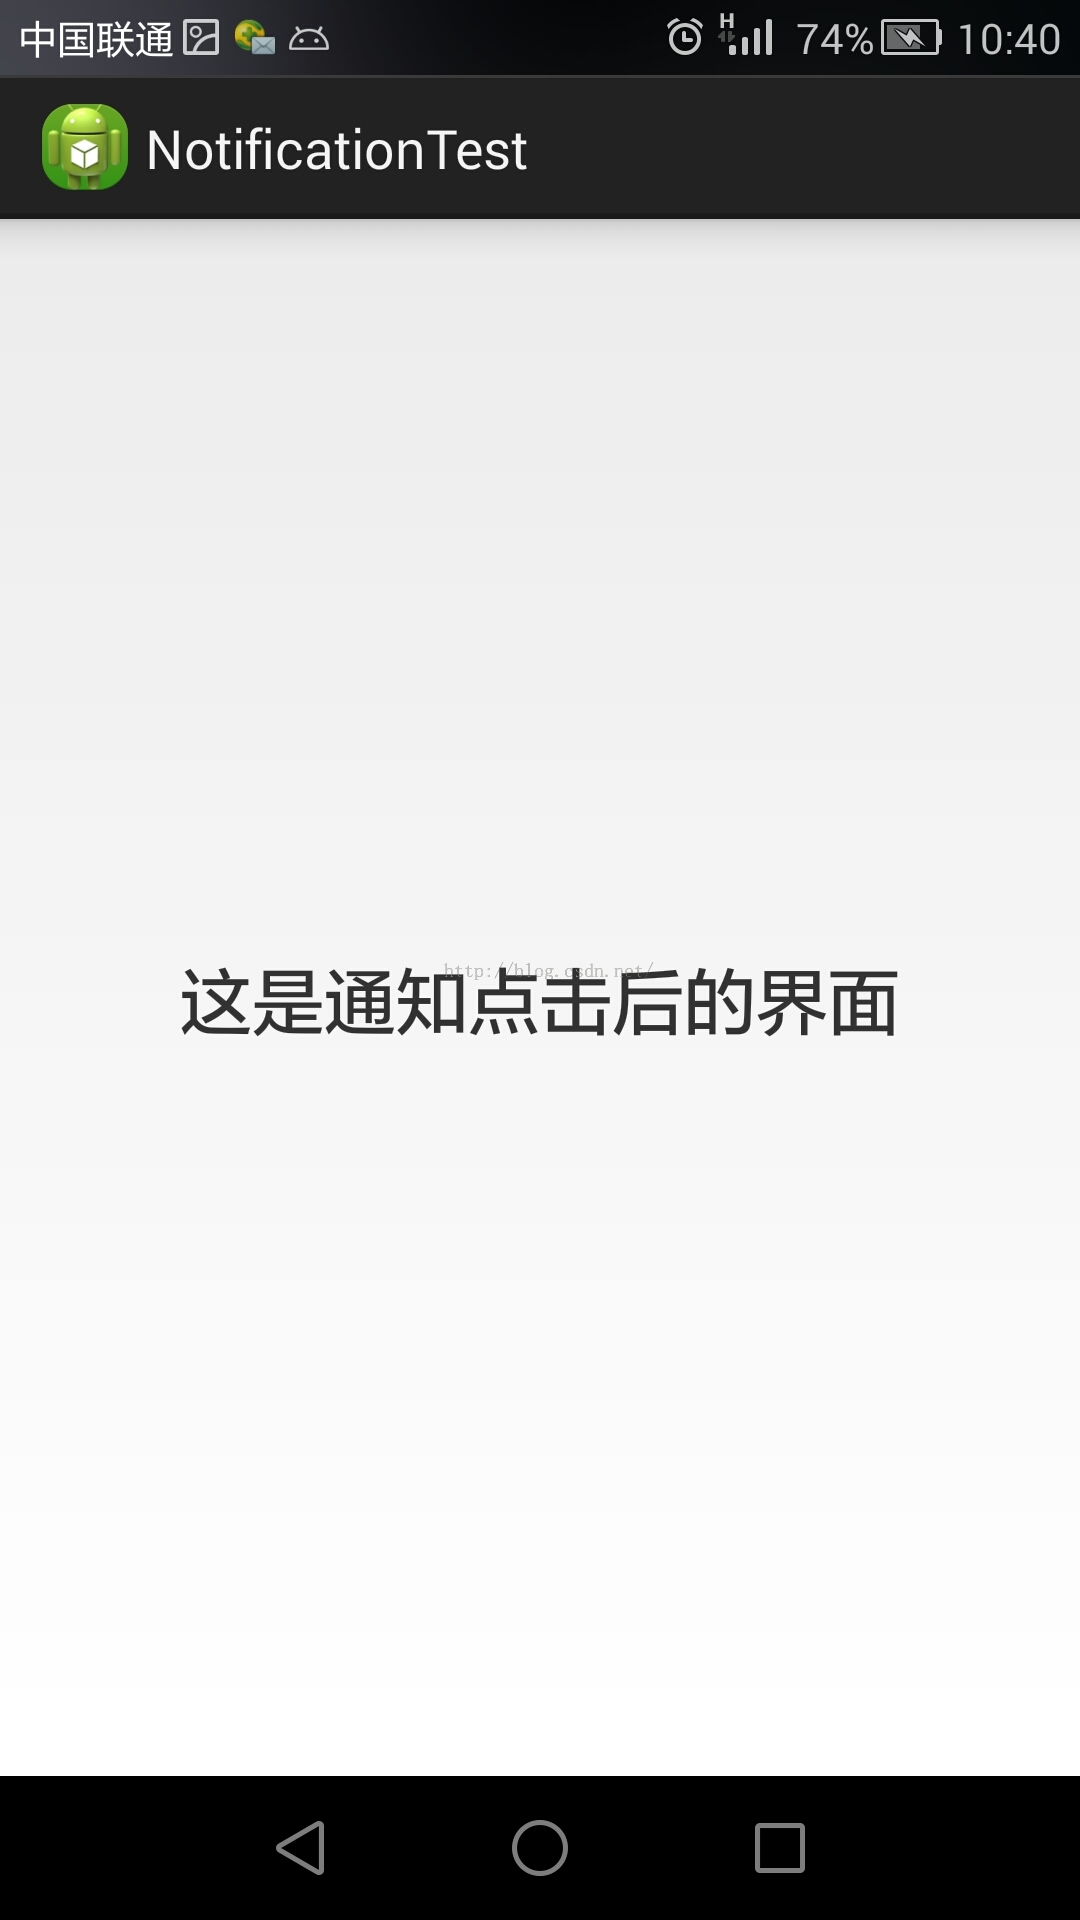
效果圖:


MainActivity:
import java.io.File;

import android.app.Activity;
import android.app.Notification;
import android.app.NotificationManager;
import android.app.PendingIntent;
import android.content.Intent;
import android.graphics.Color;
import android.net.Uri;
import android.os.Bundle;
import android.view.View;
import android.view.View.OnClickListener;
import android.widget.Button;

public class MainActivity extends Activity implements OnClickListener {

 private Button sendNotice;

 @Override
 protected void onCreate(Bundle savedInstanceState) {
  super.onCreate(savedInstanceState);
  setContentView(R.layout.activity_main);
  sendNotice = (Button) findViewById(R.id.send_notice);
  sendNotice.setOnClickListener(this);
 }

 @Override
 public void onClick(View v) {
  switch (v.getId()) {
  case R.id.send_notice:
   NotificationManager manager = (NotificationManager) getSystemService(NOTIFICATION_SERVICE);

   //創建notification對象來存儲通知所需的各種信息
   //第一個參數為圖標
   //第二個參數用於指定通知的ticker內容
   //第三個參數用於指定通知被創建的時間,以毫秒為單位
   Notification notification = new Notification(
     R.drawable.ic_launcher, "This is ticker text",
     System.currentTimeMillis());

   //此處設置點擊的activity的跳轉
   //第一個參數依舊是Context
   //第二個參數一般用不到,所以用0表示取默認值
   //第三個參數就是一個Intent對象
   //FLAG_CANCEL_CURRENT:如果當前系統中已經存在一個相同的PendingIntent對象,
   // 那麼就將先將已有的PendingIntent取消,然後重新生成一個PendingIntent對象。
   Intent intent = new Intent(this, NotificationActivity.class);
   PendingIntent pi = PendingIntent.getActivity(this, 0, intent,
     PendingIntent.FLAG_CANCEL_CURRENT);

   //設置通知的布局
   //第一個參數為Context
   //第二個參數用於指定通知的標題
   //第三個參數用於指定通知的征文內容
   //第四個參數用於傳入PendingIntent對象,用於設置點擊效果
   notification.setLatestEventInfo(this, "This is content title",
     "This is content text", pi);

//   //設置在通知發出的時候的音頻
//   Uri soundUri = Uri.fromFile(new File("/system/media/audio/ringtones/Basic_tone.ogg"));
//   notification.sound = soundUri;
//
//   //設置手機震動
//   //第一個,0表示手機靜止的時長,第二個,1000表示手機震動的時長
//   //第三個,1000表示手機震動的時長,第四個,1000表示手機震動的時長
//   //此處表示手機先震動1秒,然後靜止1秒,然後再震動1秒
//   long[] vibrates = {0, 1000, 1000, 1000};
//   notification.vibrate = vibrates;
//
//   //設置LED指示燈的閃爍
//   //ledARGB設置顏色
//   //ledOnMS指定LED燈亮起的時間
//   //ledOffMS指定LED燈暗去的時間
//   //flags用於指定通知的行為
//   notification.ledARGB = Color.GREEN;
//   notification.ledOnMS = 1000;
//   notification.ledOffMS = 1000;
//   notification.flags = Notification.FLAG_SHOW_LIGHTS;

   //如果不想進行那麼多繁雜的這只,可以直接使用通知的默認效果
   //默認設置了聲音,震動和燈光
   notification.defaults = Notification.DEFAULT_ALL;

   //使用notify將通知顯示出來
   //第一個參數是id,要爆炸為每個通知所指定的id是不同的
   //第二個參數就是Notification對象
   manager.notify(1, notification);
   break;
  default:
   break;
  }
 }

}
activity_main:
<LinearLayout xmlns:android="http://schemas.android.com/apk/res/android"
 xmlns:tools="http://schemas.android.com/tools"
 android:layout_width="match_parent"
 android:layout_height="match_parent"
 android:orientation="vertical" >

 <Button
  android:id="@+id/send_notice"
  android:layout_width="match_parent"
  android:layout_height="wrap_content"
  android:text="發出通知"
  />

</LinearLayout>
NotificationActivity:
import android.app.Activity;
import android.app.NotificationManager;
import android.os.Bundle;

public class NotificationActivity extends Activity {

 @Override
 protected void onCreate(Bundle savedInstanceState) {
  super.onCreate(savedInstanceState);
  setContentView(R.layout.notification_layout);

  //打開NotificationActivity這個Activity後把通知給關掉
  NotificationManager manager = (NotificationManager) getSystemService(NOTIFICATION_SERVICE);
  manager.cancel(1);
 }

}
notification_layout:
<?xml version="1.0" encoding="utf-8"?>
<RelativeLayout xmlns:android="http://schemas.android.com/apk/res/android"
 android:layout_width="match_parent"
 android:layout_height="match_parent" >

 <TextView
  android:layout_width="wrap_content"
  android:layout_height="wrap_content"
  android:layout_centerInParent="true"
  android:textSize="24sp"
  android:text="這是通知點擊後的界面"
  />

</RelativeLayout>
AndroidManifest:
<?xml version="1.0" encoding="utf-8"?>
<manifest xmlns:android="http://schemas.android.com/apk/res/android"
 package="com.example.notificationtest"
 android:versionCode="1"
 android:versionName="1.0" >

 <uses-sdk
  android:minSdkVersion="14"
  android:targetSdkVersion="19" />

 <application
  android:allowBackup="true"
  android:icon="@drawable/ic_launcher"
  android:label="@string/app_name"
  android:theme="@style/AppTheme" >
  <activity
   android:name="com.example.notificationtest.MainActivity"
   android:label="@string/app_name" >
   <intent-filter>
    <action android:name="android.intent.action.MAIN" />

    <category android:name="android.intent.category.LAUNCHER" />
   </intent-filter>
  </activity>
  <activity android:name=".NotificationActivity" >
  </activity>

 </application>

</manifest>
 Android人臉識別技術
Android人臉識別技術用到的底層庫:android/external/neven/,framework 層:frameworks/base/media/java/an
 Android ImageView的scaleType屬性與adjustViewBounds屬性
ImageView的scaleType的屬性有好幾種,分別是matrix(默認)、center、centerCrop、centerInside、fitCenter、fi
 android okhttp 使用方法
一、概述最近在群裡聽到各種討論okhttp的話題,可見okhttp的口碑相當好了。再加上Google貌似在6.0版本裡面刪除了HttpClient相關API,對於這個行為
 Android ORM框架之GreenDAO(一) 初識
做Android開發,避免不了要和SQLite打交道,如果不使用任何框架,直接使用它時,我們往往需要做許多額外的工作,像編寫 SQL 語句與解析查詢結果等,那麼是比較麻煩