編輯:關於Android編程
首先我們先看下效果圖

實現思路
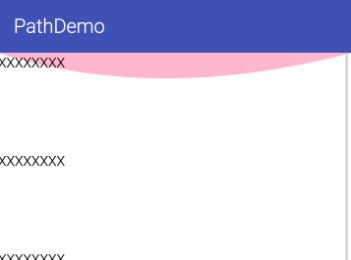
這是兩張前後對比圖,右邊第二張圖裡面的已搶光標簽圖片當已經沒有商品的時候就會顯示了,在每個圖片的中心位置,第一想法是在ImageView的外層再套一層RelativeLayout
實現方法
<RelativeLayout
 android:layout_width="match_parent"
 android:layout_height="wrap_content">
<SelectableRoundedImageView
 android:id="@+id/imageView"

 android:layout_width="match_parent"
 android:layout_height="0dp"
 android:layout_weight="1"
 android:background="@drawable/youxuan_bg_shape_normol"
 android:contentDescription="@string/app_name"
 android:padding="1dp"
 android:scaleType="centerCrop" />
<ImageView
 android:id="@+id/iv_empty_pic"
 android:layout_width="wrap_content"
 android:layout_height="wrap_content"
 android:layout_centerInParent="true" />
</RelativeLayout>
這樣當然是可以的,然而如果XML布局本身就很復雜,用這樣的寫法又給View Tree加了一層,不夠優雅,下面介紹另一種實現方式:自定義View
public class CenterImage extends ImageView {
private Paint paint;
private boolean isCenterImgShow;
private Bitmap bitmap;
public void setCenterImgShow(boolean centerImgShow) {
  isCenterImgShow = centerImgShow;
  if (isCenterImgShow) {
  bitmap = BitmapFactory.decodeResource(getResources(), R.mipmap.ic_launcher);
  invalidate();
  }
 }
 public CenterImage(Context context) {
  super(context);
  init();
 }
public CenterImage(Context context, AttributeSet attrs) {
  super(context, attrs);
  init();
 }
public CenterImage(Context context, AttributeSet attrs, int defStyleAttr) {
  super(context, attrs, defStyleAttr);
  init();
 }
private void init() {
  paint = new Paint();
 }
@Override
protected void onDraw(Canvas canvas) {
 super.onDraw(canvas);
 if (isCenterImgShow && bitmap != null) {
 canvas.drawBitmap(bitmap, getMeasuredWidth() / 2 - bitmap.getWidth() / 2, getMeasuredHeight() / 2 - bitmap.getHeight() / 2, paint);
 }
 }
}
XML中:
<com.henanjianye.soon.communityo2o.view.CenterImage
  android:id="@+id/goodsImage"
  android:layout_width="match_parent"
  android:layout_height="100dp"
  android:layout_alignParentEnd="true"
  android:layout_alignParentRight="true"
  android:contentDescription="@string/app_name"
  android:scaleType="centerCrop"
  android:src="@mipmap/yijia_default_bg" />
代碼中拿到CenterImage的對象:
CenterImage mGoodsImg =(CenterImage)findViewById(R.id.GoodsImage);
mGoodsImg.setCenterImgShow(true);
當setCenterImgShow()裡的invalidate()方法被調用後,CenterImage的onDraw()方法會重新被調用並重新繪制,這樣就可以愉快地在ImageView的上面新加一個圖層。
總結
以上就是這篇文章的全部內容了,希望本文的內容對大家的學習或者工作能帶來一定的幫助,如果有疑問大家可以留言交流。
 Android :ViewPager+Fragment 實現頂部導航滑動效果
我還不會gif,所以連圖表動態 可以滑動的 仔細看底下有滑動條的這是寒假做的一個APP的基本框架 將真啊 雖然效果都做出來了可是學長給了源碼啊 所以最近做第二遍!!希望每
 Android 命令:實現啟動一個apk
1、產生背景: 為了調試方便,常常希望通過知道apk的路徑,直接去啟動它,所以就寫了這個命令 2、使用方法: adb push launch /data/ adb pus
 android-調用系統的ContentPrivder獲取單張圖片實現剪切做頭像及源碼下載
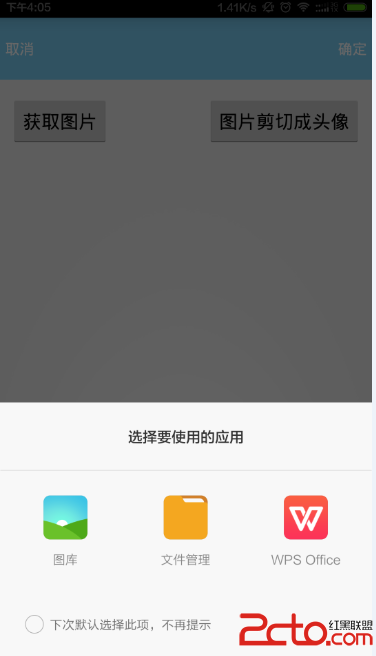
首先講述這個小項目的特色: 1、調用系統的相冊應用獲取單張圖片 2、對單張圖片進行剪切方便做成指定大小的頭像圖片 3、對獲取圖片的結果進行解析,使用三種方式進行。 首先看
 【Android 應用開發】 Application 使用分析
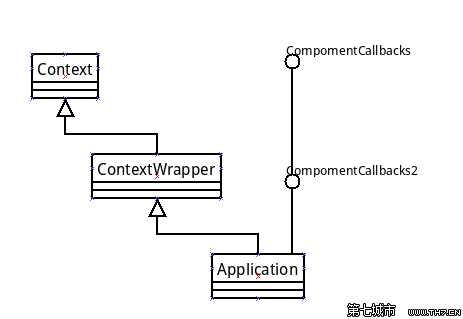
一. Application 分析1. Application 簡介(1) Application 概念Application 概念: Application 屬於組件范