編輯:關於Android編程
之前參加了一個課程,裡面有一節講到了用視頻作為啟動界面。講師用的是自定義VideoView,重寫onMeasure方法,因為原生的VideoView在那情況下不能實現全屏播放。當時沒有深入研究,現在補回來。
用的是36氪之前的視頻(608×1080)和Genymotion中的Google Nexus 5(1080×1920)。
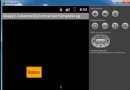
一、效果圖
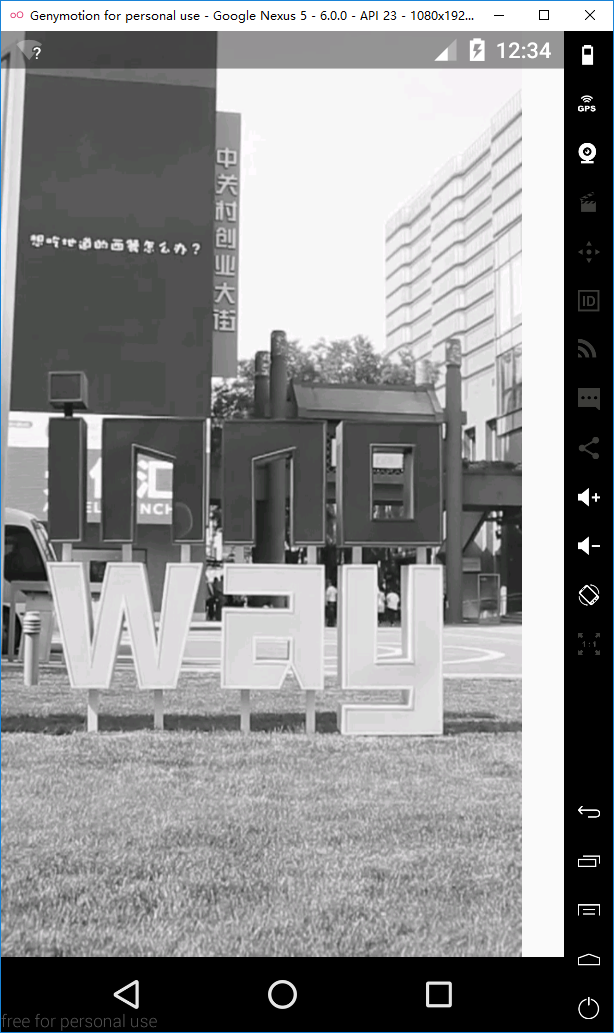
1、原生VideoView的效果,這裡沒有讓底部的導航欄也變透明。因為截圖上來很難看到差別,後面會解釋。
xml
<?xml version="1.0" encoding="utf-8"?>
<LinearLayout xmlns:android="http://schemas.android.com/apk/res/android"
    android:orientation="vertical"
    android:layout_width="match_parent"
    android:layout_height="match_parent">
 <VideoView
  android:id="@+id/video_view"
  android:layout_width="match_parent"
  android:layout_height="match_parent"
  android:clickable="false"
  android:focusable="false"
  android:focusableInTouchMode="false"/>
</LinearLayout>
java
 public class VideoViewActivity extends AppCompatActivity {
 private VideoView mVideoView;
 @Override
 protected void onCreate(@Nullable Bundle savedInstanceState) {
  super.onCreate(savedInstanceState);
  setContentView(R.layout.activity_video_view);
  if (Build.VERSION.SDK_INT >= Build.VERSION_CODES.KITKAT) {
   getWindow().addFlags(WindowManager.LayoutParams.FLAG_TRANSLUCENT_STATUS);
//   getWindow().addFlags(WindowManager.LayoutParams.FLAG_TRANSLUCENT_NAVIGATION);
  }
  mVideoView = (VideoView) findViewById(R.id.video_view);
  mVideoView.setVideoURI(Uri.parse("android.resource://" + getPackageName() + "/" + R.raw.kr36));
  mVideoView.start();
  mVideoView.setOnCompletionListener(new MediaPlayer.OnCompletionListener() {
   @Override
   public void onCompletion(MediaPlayer mp) {
    mVideoView.start();
   }
  });
 }
}
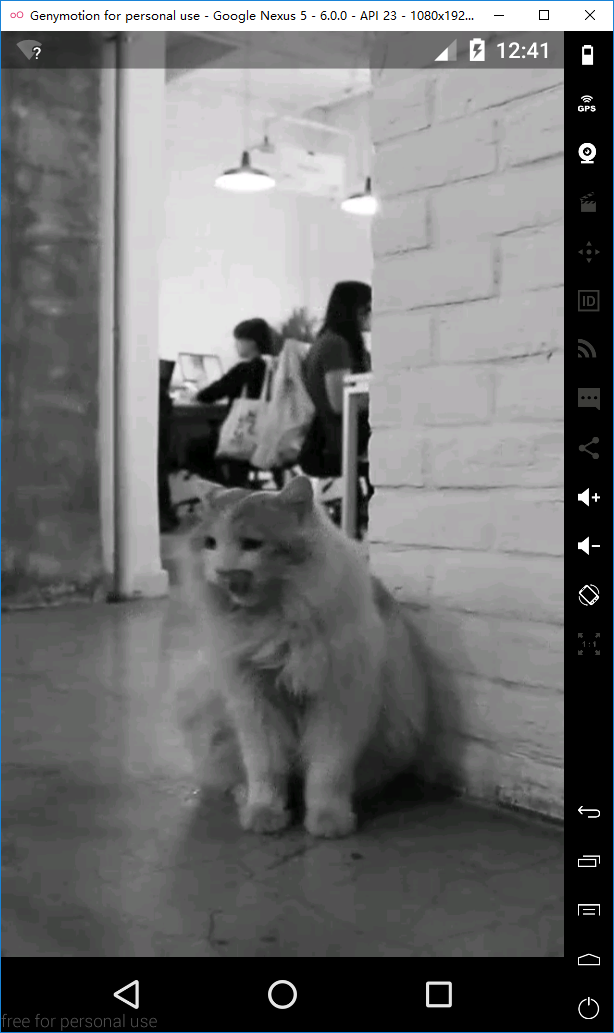
2、自定義的VideoView
布局文件基本同上,除了控件名和id
...
<com.example.test.test_fitstatusbar.CustomVideoView
  android:id="@+id/custom_video_view"
...
Activity.java也是基本同上。這裡是自定義VideoView的java代碼,只重寫了onMeasure方法。
public class CustomVideoView extends VideoView {
 public CustomVideoView(Context context) {
  super(context);
 }
 public CustomVideoView(Context context, AttributeSet attrs) {
  super(context, attrs);
 }
 public CustomVideoView(Context context, AttributeSet attrs, int defStyleAttr) {
  super(context, attrs, defStyleAttr);
 }
 @Override
 protected void onMeasure(int widthMeasureSpec, int heightMeasureSpec) {
  int width = getDefaultSize(0, widthMeasureSpec);
  int height = getDefaultSize(0, heightMeasureSpec);
  setMeasuredDimension(width, height);
 }
}
二、在對比原生VideoView的onMeasure方法之前,先了解一些事情。
1、這裡涉及到MeasureSpec類,這個類代碼不多,但很精妙。我也有很多地方沒弄懂。不過在這裡,只需了解它的三種mode就可以了。
/**
  * 1、UNSPECIFIED
  * 根據源碼的注釋,其大概意思是parent不對child做出限制.它想要什麼size就給什麼size.看了一些教程,都說用得很少,或者是系統內部才用得上.所以先不管了
  * 2、EXACTLY
  * 對應於match_parent和給出具體的數值
  * 3、AT_MOST
  * 對應於wrap_content
  */
 public static class MeasureSpec {
  private static final int MODE_SHIFT = 30;
  private static final int MODE_MASK = 0x3 << MODE_SHIFT;
  public static final int UNSPECIFIED = 0 << MODE_SHIFT;
  public static final int EXACTLY  = 1 << MODE_SHIFT;
  public static final int AT_MOST  = 2 << MODE_SHIFT;
     ......
  public static int getMode(int measureSpec) {
   return (measureSpec & MODE_MASK);
  }
  public static int getSize(int measureSpec) {
   return (measureSpec & ~MODE_MASK);
  }
     ......
 }
而這裡,我所有控件的width和height都是mach_parent,所以以下分析都是基於MeasureSpec.EXACTLY這個mode。
2、getDefaultSize
public static int getDefaultSize(int size, int measureSpec) {
  int result = size;
  int specMode = MeasureSpec.getMode(measureSpec);
  int specSize = MeasureSpec.getSize(measureSpec);
  switch (specMode) {
  case MeasureSpec.UNSPECIFIED:
   result = size;
   break;
  case MeasureSpec.AT_MOST:
  case MeasureSpec.EXACTLY:
   result = specSize;
   break;
  }
  return result;
 }
因為都是MeasureSpec.EXACTLY,所以最終返回的結果是MeasureSpec.getSize(measureSpec),與size,也就是第一個參數無關。
3、setMeasuredDimension
protected final void setMeasuredDimension(int measuredWidth, int measuredHeight) {
  boolean optical = isLayoutModeOptical(this);
  if (optical != isLayoutModeOptical(mParent)) {
   Insets insets = getOpticalInsets();
   int opticalWidth = insets.left + insets.right;
   int opticalHeight = insets.top + insets.bottom;
   measuredWidth += optical ? opticalWidth : -opticalWidth;
   measuredHeight += optical ? opticalHeight : -opticalHeight;
  }
  setMeasuredDimensionRaw(measuredWidth, measuredHeight);
 }
中間的判斷語句,涉及到ViewGroup的LayoutMode,它有兩個值,一個是默認值clipBounds,效果就是保留子view之間的空白,因為有些控件看上去要比實際的小,但它仍然是占了給定的大小,只是系統讓它的一部分邊緣變成留白,這樣的話,不至於子view真的是連接在一起;另一個是opticalBounds,它就是用來消除clipBounds的效果。一般情況下,都不會進入判斷語句塊裡。
而這裡要關注的其實是最後一句代碼,setMeasuredDimensionRaw。
4、setMeasuredDimensionRaw
private void setMeasuredDimensionRaw(int measuredWidth, int measuredHeight) {
  mMeasuredWidth = measuredWidth;
  mMeasuredHeight = measuredHeight;
  mPrivateFlags |= PFLAG_MEASURED_DIMENSION_SET;
 }
這個方法就是將最終的測量結果賦值給對應的view的全局變量,意味著measure部分結束。
三、對比原生VideoView的onMeasure方法
@Override
 protected void onMeasure(int widthMeasureSpec, int heightMeasureSpec) {
//  Log.i("@@@@", "onMeasure(" + MeasureSpec.toString(widthMeasureSpec) + ", "
//    + MeasureSpec.toString(heightMeasureSpec) + ")");
  int width = getDefaultSize(mVideoWidth, widthMeasureSpec);
  int height = getDefaultSize(mVideoHeight, heightMeasureSpec);
     if (mVideoWidth > 0 && mVideoHeight > 0) {
   int widthSpecMode = MeasureSpec.getMode(widthMeasureSpec);
   int widthSpecSize = MeasureSpec.getSize(widthMeasureSpec);
   int heightSpecMode = MeasureSpec.getMode(heightMeasureSpec);
   int heightSpecSize = MeasureSpec.getSize(heightMeasureSpec);
       if (widthSpecMode == MeasureSpec.EXACTLY && heightSpecMode == MeasureSpec.EXACTLY) {
    // the size is fixed
    width = widthSpecSize;
    height = heightSpecSize;
    // for compatibility, we adjust size based on aspect ratio
    if ( mVideoWidth * height < width * mVideoHeight ) {
     //Log.i("@@@", "image too wide, correcting");
     width = height * mVideoWidth / mVideoHeight;
    } else if ( mVideoWidth * height > width * mVideoHeight ) {
     //Log.i("@@@", "image too tall, correcting");
     height = width * mVideoHeight / mVideoWidth;
    }
   } else if (widthSpecMode == MeasureSpec.EXACTLY) {
         ......
   } else if (heightSpecMode == MeasureSpec.EXACTLY) {
         ......
   } else {
         ......
   }
  } else {
   // no size yet, just adopt the given spec sizes
  }
  setMeasuredDimension(width, height);
 }
為了方便對比,再貼出onMeasure方法。我在這個方法中,打印過width和height的值,它們的值就是屏幕顯示部分的分辨率。意思是說,按這裡的情況來講,當狀態欄和底部的導航欄都是透明時,width是1080,height是1920,正好是Google Nexus 5的分辨率。
當底部的導航欄不是透明時,height就是1776。
@Override
 protected void onMeasure(int widthMeasureSpec, int heightMeasureSpec) {
     int width = getDefaultSize(0, widthMeasureSpec);
  int height = getDefaultSize(0, heightMeasureSpec);
  setMeasuredDimension(width, height);
 }
現在對比原生的onMeasure方法來分析。
首先是通過getDefaultSize來得到width和height。上面說過,在我這個例子中,getDefaultSize的返回值只與第二個參數有關,即widthMeasureSpec和heightMeasureSpec,而這兩個參數都是從相同的ViewGroup傳進來的,所以無論是原生還是重寫,其從getDefaultSize中得到的值都是一樣的。然後進入第一層判斷語句塊,在這裡通過MeasureSpec.getMode()和getSize(),再次取得控件的mode和size。其實這在getDefaultSize裡也有實現,所以外層的width和widthSpecSize的值是相同的,height也是這種情況。
根據之前的說明,可以知道進入的是第一個判斷語句塊,而其它情況也被我省略了。
再到下面的判斷語句,比較乘積之後,就修改width或height,對比重寫的方法可以判斷,導致效果不同的地方就是這裡。代碼的邏輯很清晰簡單。這裡直接取具體值來分析。這裡的視頻資源的幀寬度是608,幀高度是1080。用來測試的Google Nexus 5是1080×1920。
mVideoWidth * height = 608 × 1920 = 1,167,360,mVideoHeight * width= 1080 × 1080 = 1,166,400,所以修改的是height,等於1,918.4。所以開頭說不讓底部的導航欄變透明,因為只差兩個像素左右,截圖看不清。而當底部導航欄不是透明的時候,height是1776。這時候修改的就是width,等於999.8,所以如上面的截圖,差別就比較明顯了。這麼看來,這部分代碼就是把VideoView的寬或高給修改了,因為我是指定match_parent的,也就應該是屏幕顯示部分的大小。而重寫的方法就是跳過了這部分,讓VideoView的寬高仍然是match_parent。
以上就是本文的全部內容,希望本文的內容對大家的學習或者工作能帶來一定的幫助,同時也希望多多支持本站!
 android動畫-拖動
先上圖看效果 實質上說是動畫有點不妥,確切的說應該是手勢的處理,廢話不多說看代碼public class SimpleDragSample extends Activ
 [Android 之美] 那些你不知道的APK 瘦身,讓你的APK更小
讓你的apk文件盡可能小,應該使移除未使用的代碼和資源文件。那麼本章節介紹了如何做到讓APK更小,性能更好,下載轉化率會更高,以及如何指定在構建APK過程中保留或移除的代
 android matrix 詳解與進階(一)
1 概述這裡我們會詳細講解matrix的各個方法,以及它的用法。matrix叫做矩陣,在前面講解 ColorFilter 的文章中,我們講解了ColorMatrix,他是
 Android中解析Json數據
一、原理分析 package com.njupt.action; import java.io.IOException; import java.io.Pr