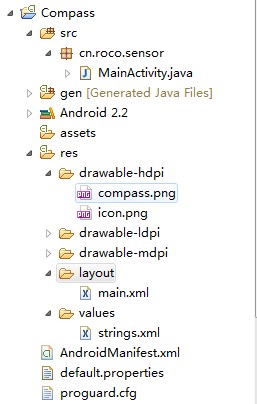
step1:新建一個項目Compass,並將一張指南針圖片導入到res/drawable-hdpi目錄中
 step2:
設計應用的UI界面,main.xml
代碼如下:
<SPAN ><STRONG><?xml version="1.0" encoding="utf-8"?>
<LinearLayout xmlns:android="http://schemas.android.com/apk/res/android"
android:orientation="vertical"
android:layout_width="fill_parent"
android:layout_height="fill_parent"
android:gravity="center"
>
<ImageView
android:layout_width="wrap_content"
android:layout_height="wrap_content"
android:src="@drawable/compass"
android:id="@+id/imageView"
/>
</LinearLayout></STRONG></SPAN>
step3:MainActivity.java
代碼如下:
import android.app.Activity;
import android.content.Context;
import android.hardware.Sensor;
import android.hardware.SensorEvent;
import android.hardware.SensorEventListener;
import android.hardware.SensorManager;
import android.os.Bundle;
import android.view.animation.Animation;
import android.view.animation.RotateAnimation;
import android.widget.ImageView;
public class MainActivity extends Activity {
private ImageView imageView;
/** 傳感器管理器 */
private SensorManager manager;
private SensorListener listener = new SensorListener();
@Override
public void onCreate(Bundle savedInstanceState) {
super.onCreate(savedInstanceState);
setContentView(R.layout.main);
imageView = (ImageView) this.findViewById(R.id.imageView);
imageView.setKeepScreenOn(true);//屏幕高亮
//獲取系統服務(SENSOR_SERVICE)返回一個SensorManager 對象
manager = (SensorManager) getSystemService(Context.SENSOR_SERVICE);
}
@Override
protected void onResume() {
/**
* 獲取方向傳感器
* 通過SensorManager對象獲取相應的Sensor類型的對象
*/
Sensor sensor = manager.getDefaultSensor(Sensor.TYPE_ORIENTATION);
//應用在前台時候注冊監聽器
manager.registerListener(listener, sensor,
SensorManager.SENSOR_DELAY_GAME);
super.onResume();
}
@Override
protected void onPause() {
//應用不在前台時候銷毀掉監聽器
manager.unregisterListener(listener);
super.onPause();
}
private final class SensorListener implements SensorEventListener {
private float predegree = 0;
@Override
public void onSensorChanged(SensorEvent event) {
/**
* values[0]: x-axis 方向加速度
values[1]: y-axis 方向加速度
values[2]: z-axis 方向加速度
*/
float degree = event.values[0];// 存放了方向值
/**動畫效果*/
RotateAnimation animation = new RotateAnimation(predegree, degree,
Animation.RELATIVE_TO_SELF,0.5f,Animation.RELATIVE_TO_SELF,0.5f);
animation.setDuration(200);
imageView.startAnimation(animation);
predegree=-degree;
/**
float x=event.values[SensorManager.DATA_X];
float y=event.values[SensorManager.DATA_Y];
float z=event.values[SensorManager.DATA_Z];
Log.i("XYZ", "x="+(int)x+",y="+(int)y+",z="+(int)z);
*/
}
@Override
public void onAccuracyChanged(Sensor sensor, int accuracy) {
}
}
}
step4:AndroidManifest.xml
代碼如下:
<SPAN ><STRONG><?xml version="1.0" encoding="utf-8"?>
<manifest xmlns:android="http://schemas.android.com/apk/res/android"
package="cn.roco.sensor"
android:versionCode="1"
android:versionName="1.0">
<uses-sdk android:minSdkVersion="8" />
<application android:icon="@drawable/icon" android:label="@string/app_name">
<activity android:name="MainActivity"
android:label="@string/app_name">
<intent-filter>
<action android:name="android.intent.action.MAIN" />
<category android:name="android.intent.category.LAUNCHER" />
</intent-filter>
</activity>
</application>
</manifest></STRONG></SPAN>
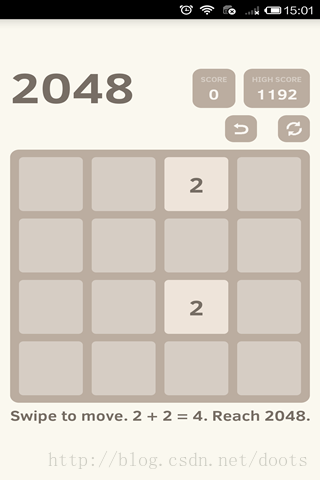 Android游戲源碼分享之2048
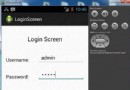 Android登錄實例
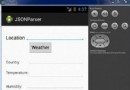 Android JSON解析器
 Android MediaPlayer(多媒體播放)