編輯:關於Android編程
1、Android系統默認支持三種字體,分別為:“sans”, “serif”, “monospace
2、在Android中可以引入其他字體 。
復制代碼 代碼如下:
<?xml version="1.0" encoding="utf-8"?>
<TableLayout xmlns:Android="http://schemas.android.com/apk/res/android"
Android:layout_width="fill_parent"
Android:layout_height="fill_parent" >
<TableRow>
<TextView
Android:layout_marginRight="4px"
Android:text="sans:"
Android:textSize="20sp" >
</TextView>
<!-- 使用默認的sans字體 -->
<TextView
Android:id="@+id/sans"
Android:text="Hello,World"
Android:textSize="20sp"
Android:typeface="sans" >
</TextView>
</TableRow>
<TableRow>
<TextView
Android:layout_marginRight="4px"
Android:text="serif:"
Android:textSize="20sp" >
</TextView>
<!-- 使用默認的serifs字體 -->
<TextView
Android:id="@+id/serif"
Android:text="Hello,World"
Android:textSize="20sp"
Android:typeface="serif" >
</TextView>
</TableRow>
<TableRow>
<TextView
Android:layout_marginRight="4px"
Android:text="monospace:"
Android:textSize="20sp" >
</TextView>
<!-- 使用默認的monospace字體 -->
<TextView
Android:id="@+id/monospace"
Android:text="Hello,World"
Android:textSize="20sp"
Android:typeface="monospace" >
</TextView>
</TableRow>
<!-- 這裡沒有設定字體,我們將在Java代碼中設定 -->
<TableRow>
<TextView
Android:layout_marginRight="4px"
Android:text="custom:"
Android:textSize="20sp" >
</TextView>
<TextView
Android:id="@+id/custom"
Android:text="Hello,World"
Android:textSize="20sp" >
</TextView>
</TableRow>
</TableLayout>
復制代碼 代碼如下:
// 得到TextView控件對象
TextView textView = (TextView) findViewById(R.id.custom);
// 將字體文件保存在assets/fonts/目錄下,www.linuxidc.com創建Typeface對象
Typeface typeFace = Typeface.createFromAsset(getAssets(),"fonts/DroidSansThai.ttf");
// 應用字體
textView.setTypeface(typeFace);
如果想對整個界面的所有控件都應用自定義字體,可以:
復制代碼 代碼如下:
package arui.blog.csdn.net;
import android.app.Activity;
import android.graphics.Typeface;
import android.view.View;
import android.view.ViewGroup;
import android.widget.Button;
import android.widget.EditText;
import android.widget.TextView;
public class FontManager {
public static void changeFonts(ViewGroup root, Activity act) {
Typeface tf = Typeface.createFromAsset(act.getAssets(),
"fonts/xxx.ttf");
for (int i = 0; i < root.getChildCount(); i++) {
View v = root.getChildAt(i);
if (v instanceof TextView) {
((TextView) v).setTypeface(tf);
} else if (v instanceof Button) {
((Button) v).setTypeface(tf);
} else if (v instanceof EditText) {
((EditText) v).setTypeface(tf);
} else if (v instanceof ViewGroup) {
changeFonts((ViewGroup) v, act);
}
}
}
}
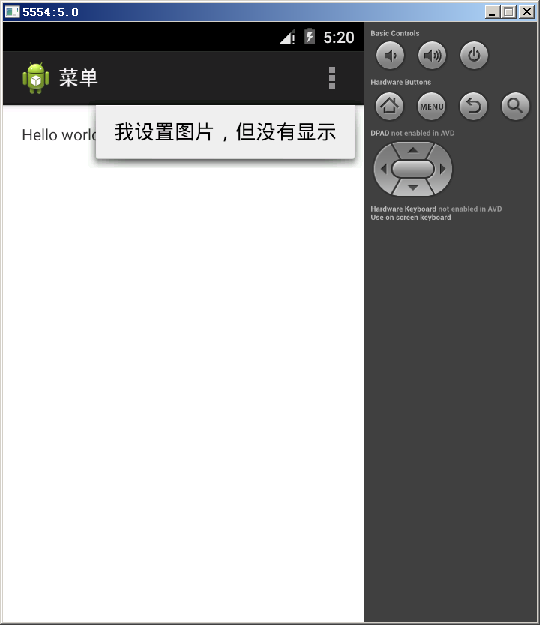
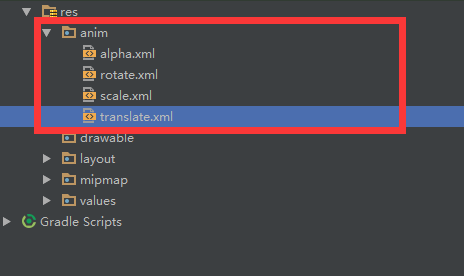 Android動畫----Translate
引言關於動畫的學習,這是第四篇啦,都是最基礎的幾種動畫,梳理一番,對知識的了解就更加清晰啦,轉入正題,介紹今天的主角Translate。Translate動畫顧名思義,T
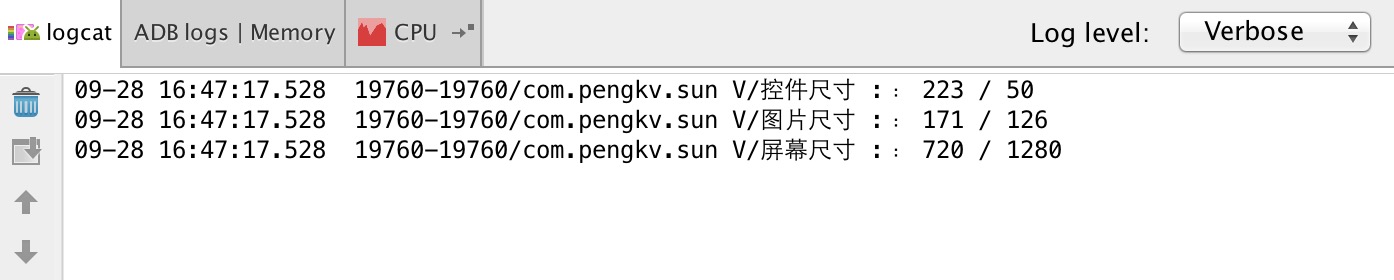 Android常見尺寸的獲取
代碼: //獲取控件尺寸(控件尺寸只有在事件裡面可以獲取到) TextView mTV = (TextView
 簡單學習Android Socket的使用方法
這方面的知識不是孤立的,其中有關於,Socket編程,多線程的操作,以及I/O流的操作。當然,實現方法不止一種,這只是其中一種,給同是新手一點點思路。如果有什麼推薦的話,
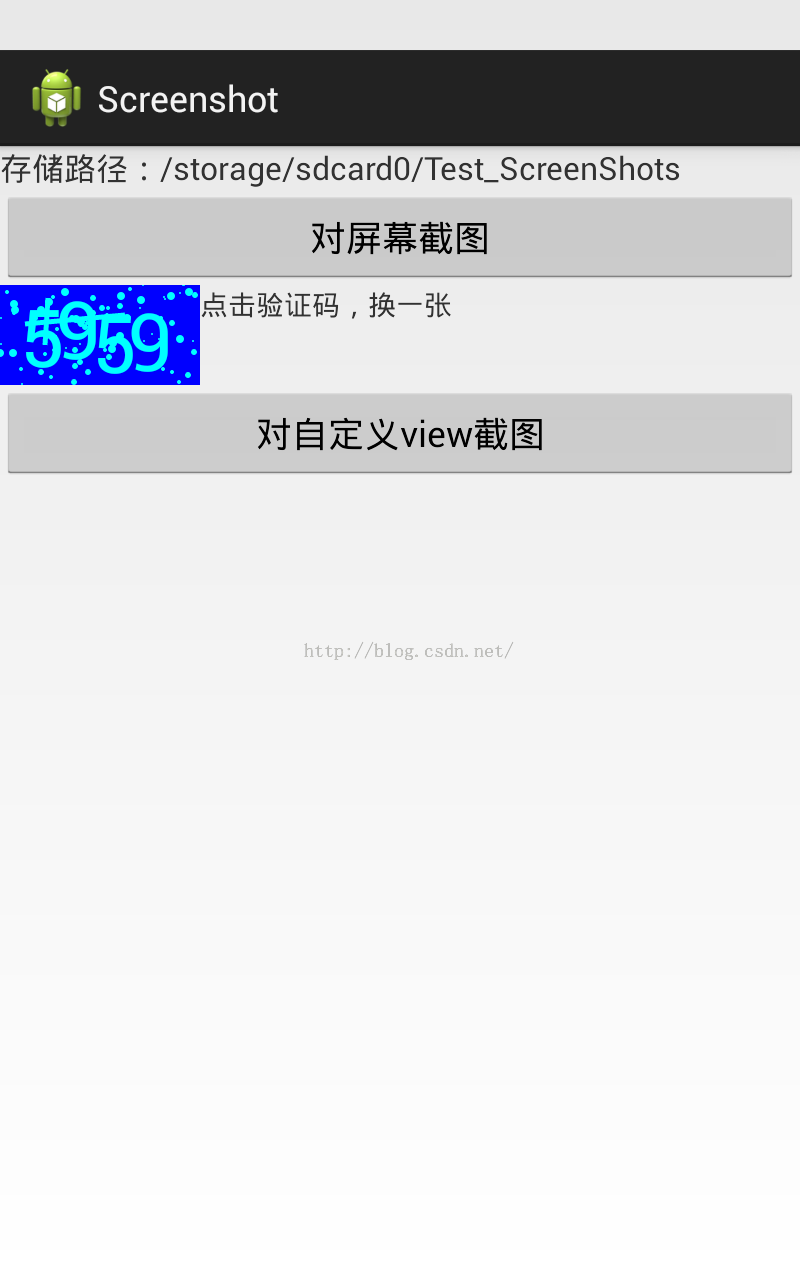 Android 屏幕截屏方法匯總
1、直接使用getWindow().getDecorView().getRootView()直接使用getWindow().getDecorView().getRootV
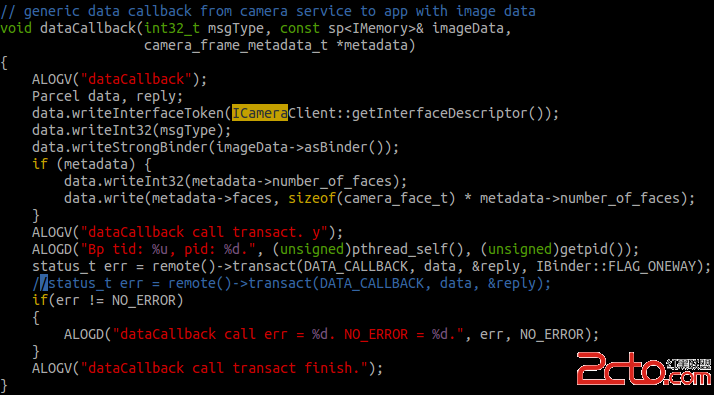 Android Native層Binder.transact()函數調用 Binder.onTransact() 函數失敗分析
Q:Android Native層Binder.transact()函數