編輯:關於Android編程
 Android應用中制作選中後圖標變大浮動效果的代碼分享
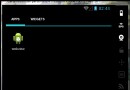
最近在玩3g體育門戶客戶端的時候,看到這樣個效果: 輕觸賽事圖標,會有一個圖標變大浮出的效果.,蠻有意思的.於是就把仿照它做了一個. 這個是原圖:
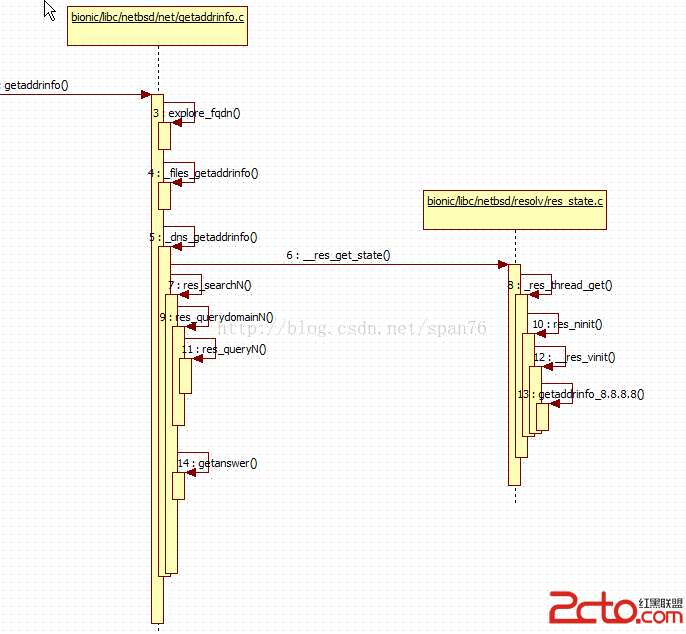 Android DNS 代碼分析
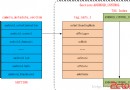
Android DNS 代碼都在bionic/libc/netbsd中 (雖然netbsd 是個廢棄的項目,但dns功能部分代碼被 Android用上了) netbsd
 android:webview實現簡單的浏覽器
實現了浏覽器的返回 前進 主頁 退出 輸入網址的功能注釋的很清楚啦 就不多說了首先是布局文件 <linearlayout xmlns:android=&q
 Android Camera API2中采用CameraMetadata用於從APP到HAL的參數交互
前沿:在全新的Camera API2架構下,常常會有人疑問再也看不到熟悉的SetParameter/Paramters等相關的身影,取而代之的是一