編輯:關於Android編程
Qt qml listview下拉刷新和上拉分頁主要根據contentY來判斷。但要加上頂部下拉指示器、滾動條,並封裝成可簡單調用的組件,著實花了我不少精力:)
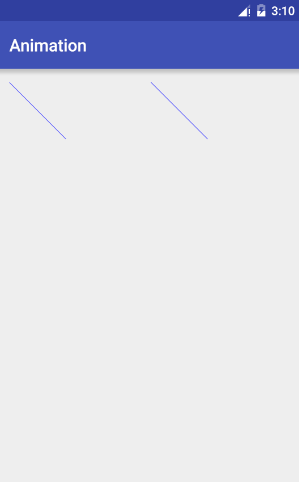
先給大家展示下效果圖:
【功能】
下拉刷新和上拉分頁邏輯
/下拉刷新
/上拉更多
/滾動欄
/工具欄半拉顯隱
Author: surfsky.cnblogs.com
Lisence: MIT 請保留此文檔聲明
History:
init. surfsky.cnblogs.com, 2015-01
add initPosition property. 2015-01
【調用】
控件使用非常簡單,只要實現 onLoad 和 onLoadMore 事件即可,其他的和標准的ListView差不多。
/**
新聞示例
下拉刷新
上拉分頁
滾動軸
頂部工具欄
頂部工具欄自動吸附
當前行高亮
Author: surfsky.cnblogs.com 2015-01
*/
ListViewEx{
id: view
width: 500
height: 800
pageSize: 50
snapHeader: true
initPosition: 'header'
// 頂部新聞圖片欄
headerComponent: Component{
PageView{
id: pv
width: view.width
height: 100
clip: true
Rectangle{width:pv.width; height:pv.height; color: 'green'}
Rectangle{width:pv.width; height:pv.height; color: 'yellow'}
Rectangle{width:pv.width; height:pv.height; color: 'blue'}
}
}
// 行UI代理
delegate: Text {
id: wrapper;
width: parent.width;
height: 32;
font.pointSize: 15;
verticalAlignment: Text.AlignVCenter;
horizontalAlignment: Text.AlignHCenter;
text: content;
//color: ListView.view.currentIndex == index ? "white" : "#505050";
MouseArea {
anchors.fill: parent;
onClicked: wrapper.ListView.view.currentIndex = index;
}
}
//-----------------------------------------
// 數據加載事件
//-----------------------------------------
onLoad:{
for (var i = 0 ; i < pageSize ; ++i)
model.append({"index": i, "content": "Item " + i})
}
onLoadMore:{
for (var i = pageSize*page ; i < pageSize*(page+1); ++i)
model.append({"index": i, "content": "Item " + i})
}
}
【核心代碼】
實在太長了,截取ContentY處理部分,其他的下載了看吧
//-------------------------------------
// 下拉刷新和上拉分頁邏輯
//-------------------------------------
onMovementEnded: {
//console.log("movementEnded: originY:" + originY + ", contentY:" + contentY + ", reflesh:" + needReflesh + ", more:" + needLoadMore);
// 刷新數據
if (needReflesh){
lv.headerItem.goState('load');
model.reflesh();
needReflesh = false;
}
// 加載新數據
else if (needLoadMore){
model.loadMore();
needLoadMore = false;
}
else {
var h1 = lv.headerItem.loader.height;
var h2 = lv.headerItem.indicator.height;
// 頭部區自動顯隱(拖動過小隱藏頭部,反之顯示)
if (snapHeader){
if (contentY >= -h1/3 && contentY < 0)
moveToFirst();
if (contentY >= -h1 && contentY < -h1/3)
moveToHeader();
}
// 刷新區自動顯隱
if (contentY >=-(h1+h2) && contentY < -h1)
moveToHeader();
}
}
onContentYChanged: {
// 下拉刷新判斷邏輯:已經到頭了,還下拉一定距離
if (contentY < originY){
var dy = contentY - originY;
if (dy < -10){
lv.headerItem.goState('ready');
needReflesh = true;
}
else {
if (pressed){
//console.log(pressed);
//needReflesh = false; // 如何判斷當前鼠標是否按下?如果是按下狀態才能取消刷新
lv.headerItem.goState('');
}
}
}
// 上拉加載判斷邏輯:已經到底了,還上拉一定距離
if (contentHeight>height && contentY-originY > contentHeight-height){
var dy = (contentY-originY) - (contentHeight-height);
//console.log("y: " + contentY + ", dy: " + dy);
if (dy > 40){
needLoadMore = true;
//console.log("originY:" + originY + ", contentY:" + contentY + ", height:" + height + ", contentheight:" + contentHeight);
}
}
}
以上所述是小編給大家介紹的Qt qml中listview 列表視圖控件(下拉刷新、上拉分頁、滾動軸),希望對大家有所幫助,如果大家有任何疑問請給我留言,小編會及時回復大家的。在此也非常感謝大家對本站網站的支持!
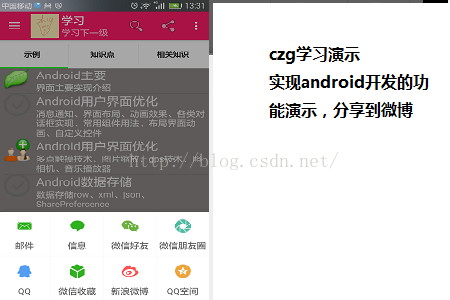 Android studio下使用ShareSDK實現一鍵分享
首先新建了一個項目用來演示集成ShareSDK 下載好了ShareSDK之後,解壓sharesd
 20行Android代碼寫一個CircleImageView
一提到弄一個圓形的頭像,很多人馬上會想到用CircleIamgeView,但其實自己寫一個也並不難自己寫的部分也就20行代碼,主要是用到PoterDuffXfermode
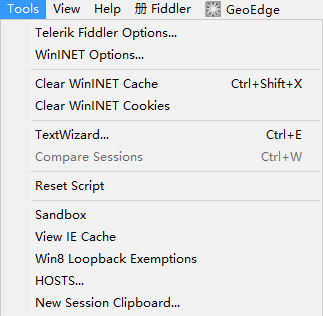 如何使用Fiddler對Android應用進行抓包
1.場景還原之FliddlerFiddler是一款抓包神器,近日,由於項目中要嵌入H5頁面,公司又沒專門的UI設計師,所以你懂得,這個任務就要給我喽!可憐的我並沒有藝術細
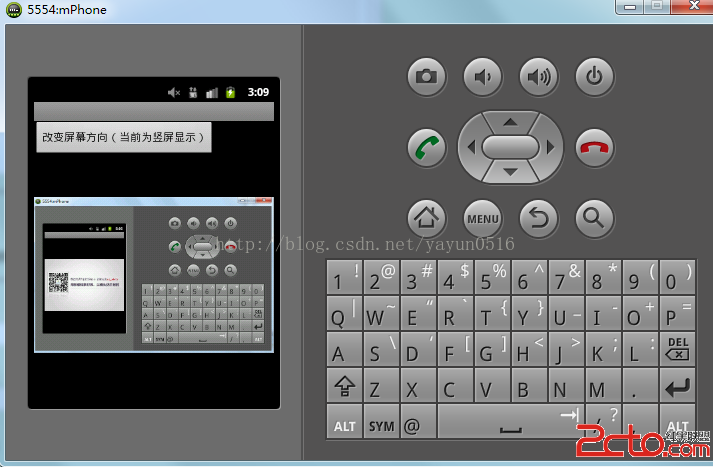 Android--切換屏幕方向
main.xml代碼: .java代碼如下: package org.lxh.demo; import android.app.Acti