編輯:關於Android編程
Android UI:ListView -- SimpleAdapter
SimpleAdapter是擴展性最好的適配器,可以定義各種你想要的布局,而且使用很方便。
layout :
<?xml version="1.0" encoding="utf-8"?>
<LinearLayout xmlns:android="http://schemas.android.com/apk/res/android"
  android:layout_width="match_parent"
  android:layout_height="match_parent"
  android:orientation="horizontal">
    <ListView
      android:layout_width="match_parent"
      android:layout_height="wrap_content"
      android:divider="#7f00"    //分割線
      android:dividerHeight="2dp"
      android:id="@+id/listview_sample"/>
</LinearLayout>
header layout:
<?xml version="1.0" encoding="utf-8"?>
<LinearLayout xmlns:android="http://schemas.android.com/apk/res/android"
android:orientation="vertical" android:layout_width="match_parent"
android:layout_height="match_parent">
<ImageView
  android:layout_width="match_parent"
  android:layout_height="wrap_content"
  android:src="@mipmap/ic_launcher"/>
</LinearLayout>
自定義布局 item:
<?xml version="1.0" encoding="utf-8"?>
<LinearLayout xmlns:android="http://schemas.android.com/apk/res/android"
  android:layout_width="match_parent"
  android:layout_height="match_parent"
  android:orientation="horizontal">
  <ImageView
    android:layout_width="wrap_content"
    android:layout_height="wrap_content"
    android:layout_margin="3px"
    android:id="@+id/img"/>
  <LinearLayout
    android:layout_width="match_parent"
    android:layout_height="wrap_content"
    android:orientation="vertical">
    <TextView
      android:layout_width="match_parent"
      android:layout_height="wrap_content"
      android:textSize="16sp"
      android:id="@+id/title"/>
    <TextView
      android:layout_width="match_parent"
      android:layout_height="wrap_content"
      android:id="@+id/info"
      android:textSize="16sp"/>
  </LinearLayout>

</LinearLayout>
Java 代碼:
public class SampleAdapterActivity extends Activity {

  private ListView mListview;
  @Override
  protected void onCreate(Bundle savedInstanceState) {
    super.onCreate(savedInstanceState);
    setContentView(R.layout.sampleadapter_layout);
    mListview = (ListView) findViewById(R.id.listview_sample);
    SimpleAdapter adapter = new SimpleAdapter(this,
        getData(), //數據來源
        R.layout.item_listview, //對應item view
        new String[]{"img","title","info"}, //data 中對應值
        new int[]{R.id.img,R.id.title,R.id.info}); //填充layout位置
    mListview.setHeaderDividersEnabled(true);   //是否顯示頭view 的分割線
    View header = View.inflate(this,R.layout.listview_header,null);
    View footer = View.inflate(this,R.layout.listview_header,null);
    mListview.addHeaderView(header);  //添加頭部view
    mListview.addFooterView(footer);   //添加底部view
    mListview.setAdapter(adapter);
  }

  @Override
  protected void onResume() {
    super.onResume();
  }
  private List<? extends Map<String,?>> getData() {
    List<Map<String,Object>> items = new ArrayList<Map<String, Object>>();
    for (int i = 0; i < 5; i++) {
      Map<String,Object> item = new HashMap<String,Object>();
      item.put("img",R.mipmap.ic_launcher);
      item.put("title","title -- " + i );
      item.put("info","info -- " + i );
      items.add(item);
    }
    return items;
  }
}
顯示效果
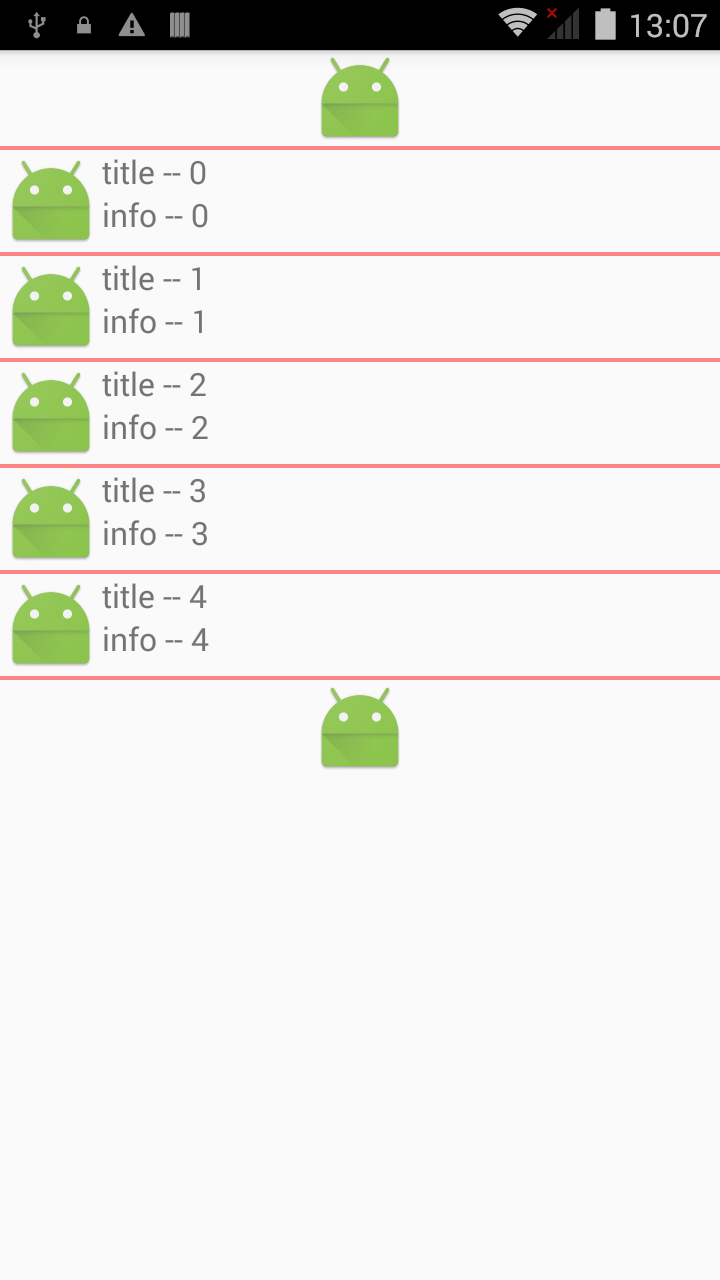
感謝閱讀,希望能幫助到大家,謝謝大家對本站的支持!
 全面解析Android中對EditText輸入實現監聽的方法
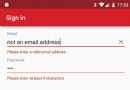
在 Android design support 包中提供了一種在輸入不合適字符時一直顯示的提示方式來顯示,現在已經開始在更多的應用上被使用了;這些 Android ap
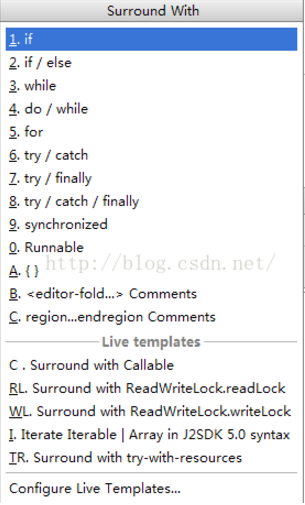 Android studio中快速try catch的快捷鍵
選擇要包裹的代碼塊,然後按下ctrl + alt + t
 Android SwipeRefreshLayout下拉刷新源碼解析
本文實例為大家分享了SwipeRefreshLayout下拉刷新源碼,供大家參考,具體內容如下1.SwipeRefreshLayout是Google在support v4
 Android網絡圖片異步加載
前言 其實很幸運,入職一周之後就能跟著兩個師兄做android開發,師兄都是大神,身為小白的我只能多多學習,多多努力。最近一段時間都忙的沒機會總結,今天剛完成了andro