編輯:關於Android編程
前面寫過了使用ViewFlipper和ViewPager實現屏幕中視圖切換的效果(ViewPager未實現輪播)附鏈接:
ANDROID中使用VIEWFLIPPER類實現屏幕切換(關於坐標軸的問題已補充更改)
Android 中使用 ViewPager實現屏幕頁面切換和頁面輪播效果
今天我們在換一種實現方式ImageViewSwitcher。
ImageSwitcher是Android中控制圖片展示效果的一個控件,如:幻燈片效果
ImageSwitcher粗略的理解就是ImageView的選擇器。
ImageSwitcher的原理:ImageSwitcher有兩個子View:ImageView,當左右滑動的時候,就在這兩個ImageView之間來回切換來顯示圖片。
既然有兩個子ImageView,那麼我們要創建兩個ImageView給ImageSwitcher。創建ImageViewSwitcher中的ImageView是通過ViewFactory工廠來實現的。
下面我們展示下本次實現效果(可以輪播哦):

好了,廢話不多說,開始撸代碼:
第一步:Layout中建立主布局(FrameLayout)文件activity_main.xml(包含導航原點的LinearLayout布局)
<?xml version="1.0" encoding="utf-8"?>
<FrameLayout xmlns:android="http://schemas.android.com/apk/res/android"
xmlns:tools="http://schemas.android.com/tools"
android:id="@+id/activity_main"
android:layout_width="match_parent"
android:layout_height="match_parent"
tools:context="com.example.administrator.switcher.MainActivity">
<ImageSwitcher
android:layout_width="match_parent"
android:layout_height="match_parent"
android:id="@+id/is">
</ImageSwitcher>
<LinearLayout
android:id="@+id/point_layout"
android:layout_width="match_parent"
android:layout_height="wrap_content"
android:layout_gravity="bottom"
android:orientation="horizontal">
<ImageView
android:layout_width="wrap_content"
android:layout_height="wrap_content"
android:layout_weight="1"
android:src="@mipmap/default_holo"/>
<ImageView
android:layout_width="wrap_content"
android:layout_height="wrap_content"
android:layout_weight="1"
android:src="@mipmap/default_holo"/>
<ImageView
android:layout_width="wrap_content"
android:layout_height="wrap_content"
android:layout_weight="1"
android:src="@mipmap/default_holo"/>
<ImageView
android:layout_width="wrap_content"
android:layout_height="wrap_content"
android:layout_weight="1"
android:src="@mipmap/default_holo"/>
</LinearLayout>
</FrameLayout>
這裡大家也可以通過配置文件來布局下面的導航圓點,不必寫死在布局文件中。
第二步:Java中功能實現代碼MainActivity.java
import android.support.v7.app.AppCompatActivity;
import android.os.Bundle;
import android.view.MotionEvent;
import android.view.View;
import android.widget.ImageSwitcher;
import android.widget.ImageView;
import android.widget.LinearLayout;
import android.widget.ViewSwitcher;
import java.util.ArrayList;
/**
* Created by panchengjia on 2016/12/04.
*/
public class MainActivity extends AppCompatActivity implements ViewSwitcher.ViewFactory,View.OnTouchListener{
private ImageSwitcher is;//聲明ImageSwitcher布局
private LinearLayout point_layout;//聲明導航圓點的布局
//圖片id數組
int[] images={R.mipmap.a1,R.mipmap.a2,R.mipmap.a3,R.mipmap.a4};
//實例化存儲導航圓點的集合
ArrayList<ImageView> points = new ArrayList<>();
int index;//聲明index,記錄圖片id數組下標
float startX;//手指接觸屏幕時X的坐標(演示左右滑動)
float endX;//手指離開屏幕時的坐標(演示左右滑動)
@Override
protected void onCreate(Bundle savedInstanceState) {
super.onCreate(savedInstanceState);
setContentView(R.layout.activity_main);
is = (ImageSwitcher) findViewById(R.id.is);
is.setFactory(this);//通過工廠實現ImageSwitcher
initpoint();
is.setOnTouchListener(this);//設置觸摸事件
}
//初始化導航圓點的方法
private void initpoint() {
point_layout= (LinearLayout) findViewById(R.id.point_layout);
int count = point_layout.getChildCount();//獲取布局中圓點數量
for(int i =0;i<count;i++){
//將布局中的圓點加入到圓點集合中
points.add((ImageView) point_layout.getChildAt(i));
}
//設置第一張圖片(也就是圖片數組的0下標)的圓點狀態為觸摸實心狀態
points.get(0).setImageResource(R.mipmap.touched_holo);
}
//設選中圖片對應的導航原點的狀態
public void setImageBackground(int selectImage) {
for(int i=0;i<points.size();i++){
//如果選中圖片的下標等於圓點集合中下標的id,則改變圓點狀態
if(i==selectImage){
points.get(i).setImageResource(R.mipmap.touched_holo);
}else{
points.get(i).setImageResource(R.mipmap.default_holo);
}
}
}
//實現ViewFactory的方法實例化imageView(這裡未設置ImageView的屬性)
@Override
public View makeView() {
//實例化一個用於切換的ImageView視圖
ImageView iv = new ImageView(this);
//默認展示的第一個視圖為images[0]
iv.setImageResource(images[0]);
return iv;
}
@Override
public boolean onTouch(View v, MotionEvent event) {
//按下屏幕
if(event.getAction()==MotionEvent.ACTION_DOWN){
startX=event.getX();//獲取按下屏幕時X軸的坐標
//手指抬起
}else if (event.getAction()==MotionEvent.ACTION_UP){
endX=event.getX();
//判斷結束坐標大於起始坐標則為下一張(為避免誤操作,設置30的判斷區間)
if(startX-endX>30){
//三目運算判斷當前圖片已經為最後一張,則從頭開始
index = index+1<images.length?++index:0;
//使用系統自帶的切換出入動畫效果(也可以向ViewFlipper中一樣自定義動畫效果)
is.setInAnimation(this,android.R.anim.fade_in);
is.setOutAnimation(this,android.R.anim.fade_out);
//判斷結束坐標小於於起始坐標則為上一張(為避免誤操作,設置30的判斷區間)
}else if(endX-startX>30){
//三目運算判斷當前圖片已經為第一張,則上一張為數組內最後一張圖片
index = index-1>=0?--index:images.length-1;
is.setInAnimation(this,android.R.anim.fade_in);
is.setOutAnimation(this,android.R.anim.fade_out);
}
//設置ImageSwitcher的圖片資源
is.setImageResource(images[index]);
//調用方法設置圓點對應狀態
setImageBackground(index);
}
return true;
}
}
個人感覺,就圖片切換輪播來講,ImageViewSwitcher相對於ViewFlipper和ViewPager實現起來,還是簡單了很多。
以上所述是小編給大家介紹的Android中使用imageviewswitcher 實現圖片切換輪播導航的方法,希望對大家有所幫助,如果大家有任何疑問請給我留言,小編會及時回復大家的。在此也非常感謝大家對本站網站的支持!
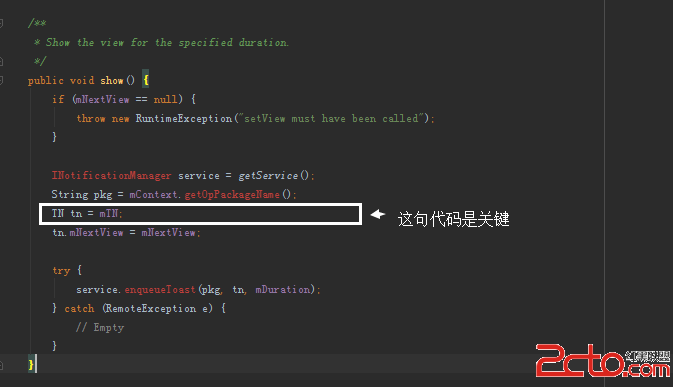 Android藍牙開發,報BluetoothAdapter﹕ Can't create handler inside thread that has not called Looper.prepare
這個錯誤翻譯的意思是:不能在沒有Looper.prepare的線程裡面創建handler。起初我很疑惑,我根本沒有用到工作線程,也沒有創建handler。報錯的代碼如下:
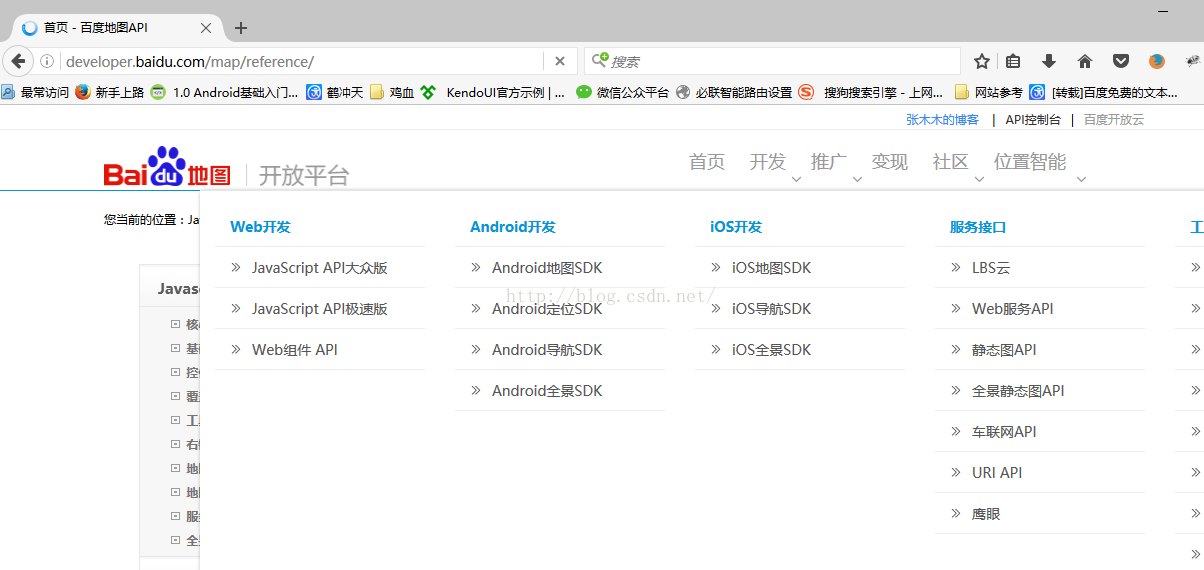 Xamarin android如何調用百度地圖入門示例(一)
在Xamarin android如何調用百度地圖呢?首先我們要區分清楚,百度地圖這是一個廣泛的概念,很多剛剛接觸這個名詞”百度地圖api”,的確是
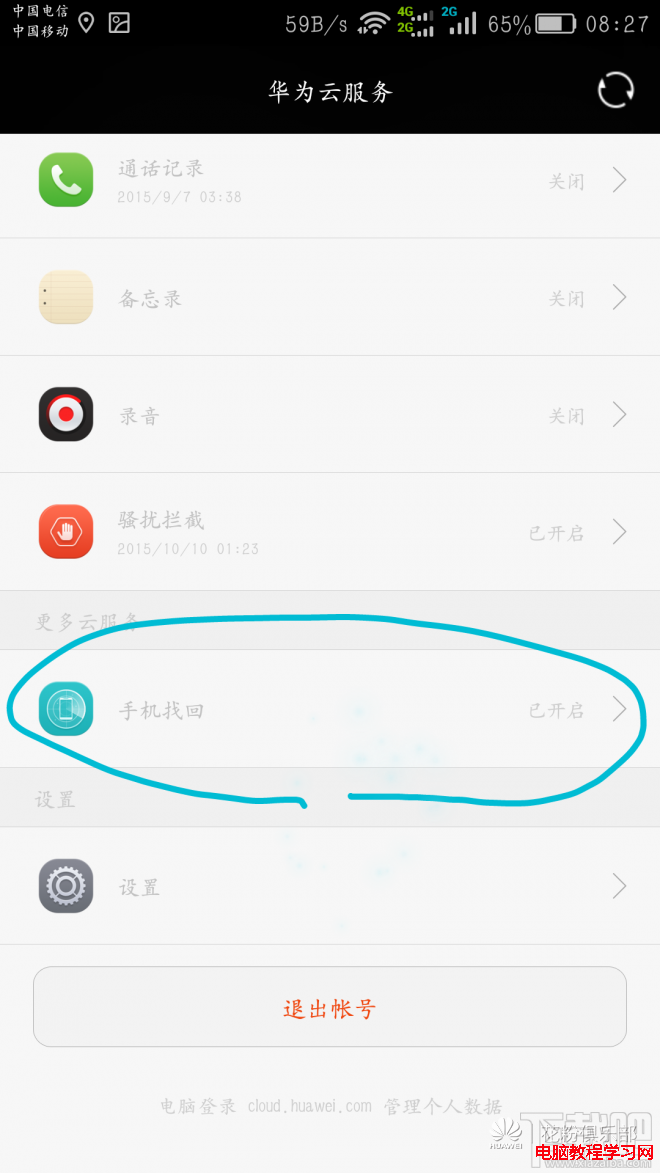 華為手機鎖屏密碼忘記了怎麼辦 不丟失數據恢復鎖屏密碼
華為、榮耀很多款機型都配備了指紋識別模塊,長期用指紋來解鎖,恐怕鎖屏密碼都忘記了吧?那麼要怎麼才能不用雙清、不用還原系統,不丟失任何數據的情況下修改鎖屏密碼
 Android實現評論欄隨Recyclerview滑動左右移動
最近在玩一個叫“約會吧”的應用,也是在看直播app,默認下載安裝的,安裝點進去看這個應用做的不錯,就留下來了。然後看他們動態詳情頁底部有一個效果:Recyclerview