本文將實現標題欄下面的textview中的文字跑馬燈的效果,就是將一行文字水平循環滾動,效果如下:

實現代碼如下:
XML/HTML代碼
- <!-- android:ellipsize="end"添加省略點的所在位置 -->
- <!-- 想讓文字出現跑馬燈效果,必須讓其獲取焦點 -->
- <!-- android:marqueeRepeatLimit="marquee_forever"一直滾動屬性 -->
- <!-- 自定義控件達到滾動效果(其實就是重新原有的TextView,讓其一直能夠獲取焦點即可) -->
- <TextView
- android:text="這是一個跑馬燈,這是一個跑馬燈,這是一個跑馬燈,這是一個跑馬燈,這是一個跑馬燈,"
- android:layout_width="match_parent"
- android:layout_height="wrap_content"
- android:ellipsize="marquee"
- android:focusable="true"
- android:focusableInTouchMode="true"
- android:marqueeRepeatLimit="marquee_forever"
- android:padding="5dp"
- android:textColor="#000"
- android:singleLine="true"
- />
如果其他地方也需要這樣的跑馬燈效果,復制代碼比較麻煩。這裡使用自定義控件來實現滾動效果(其實就是重新原有的TextView,讓其一直能夠獲取焦點即可)
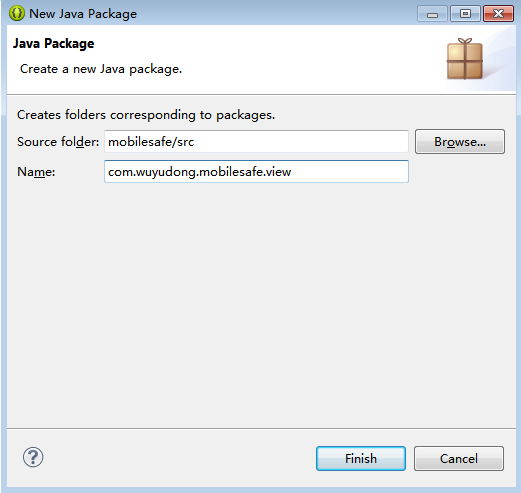
新建一個包view,專門放自定義控件文件
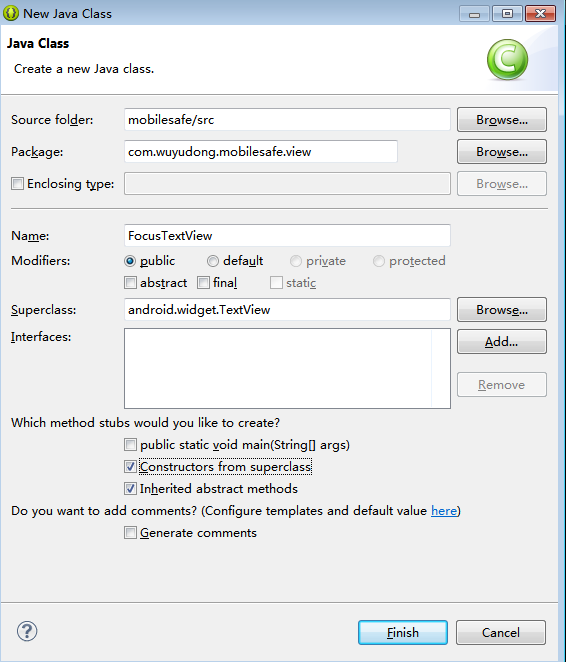
新建FocusTextView類
添加代碼:
Java代碼
- package com.wuyudong.mobilesafe.view;
-
- import android.content.Context;
- import android.util.AttributeSet;
- import android.widget.TextView;
-
- /**
- * @author wuyudong
- * 能夠獲取焦點的自定義TextView
- *
- */
- public class FocusTextView extends TextView {
-
- // 使用在通過java代碼創建控件
- public FocusTextView(Context context) {
-
- super(context);
- }
-
- // 由系統調用(帶屬性+上下文環境構造方法)
- public FocusTextView(Context context, AttributeSet attrs) {
-
- super(context, attrs);
- }
-
- // 由系統調用(帶屬性+上下文環境構造方法+布局文件中定義樣式文件構造方法)
- public FocusTextView(Context context, AttributeSet attrs, int defStyle) {
- super(context, attrs, defStyle);
- }
-
- // 重寫獲取焦點的方法
- @Override
- public boolean isFocused() {
- // return super.isFocused();
- return true;
- }
- }
布局代碼替換為:
XML/HTML代碼
- <?xml version="1.0" encoding="utf-8"?>
- <LinearLayout xmlns:android="http://schemas.android.com/apk/res/android"
- android:layout_width="match_parent"
- android:layout_height="match_parent"
- android:orientation="vertical" >
-
- <TextView
- style="@style/TitleStyle"
- android:text="功能列表" />
-
- <!-- android:ellipsize="end"添加省略點的所在位置 -->
- <!-- 想讓文字出現跑馬燈效果,必須讓其獲取焦點 -->
- <!-- android:marqueeRepeatLimit="marquee_forever"一直滾動屬性 -->
- <!-- 自定義控件達到滾動效果(其實就是重新原有的TextView,讓其一直能夠獲取焦點即可) -->
- <!--
- <TextView
- android:text="這是一個跑馬燈,這是一個跑馬燈,這是一個跑馬燈,這是一個跑馬燈,這是一個跑馬燈,"
- android:layout_width="match_parent"
- android:layout_height="wrap_content"
- android:ellipsize="marquee"
- android:focusable="true"
- android:focusableInTouchMode="true"
- android:marqueeRepeatLimit="marquee_forever"
- android:padding="5dp"
- android:textColor="#000"
- android:singleLine="true"/> -->
-
- <com.wuyudong.mobilesafe.view.FocusTextView
- android:text="這是一個跑馬燈,這是一個跑馬燈,這是一個跑馬燈,這是一個跑馬燈,這是一個跑馬燈,"
- android:layout_width="match_parent"
- android:layout_height="wrap_content"
- android:ellipsize="marquee"
- android:marqueeRepeatLimit="marquee_forever"
- android:padding="5dp"
- android:textColor="#000"
- android:singleLine="true">
- </com.wuyudong.mobilesafe.view.FocusTextView>
-
- </LinearLayout>
總結一下自定義控件
自定義控件編寫流程
創建一個默認就能獲取焦點的TextView
1、創建一個類繼承至TextView,FocusTextView
2、重寫其構造方法
Java代碼
- public class FocusTextView extends TextView {
-
- // 使用在通過java代碼創建控件
- public FocusTextView(Context context) {
-
- super(context);
- }
-
- // 由系統調用(帶屬性+上下文環境構造方法)
- public FocusTextView(Context context, AttributeSet attrs) {
-
- super(context, attrs);
- }
-
- // 由系統調用(帶屬性+上下文環境構造方法+布局文件中定義樣式文件構造方法)
- public FocusTextView(Context context, AttributeSet attrs, int defStyle) {
- super(context, attrs, defStyle);
- }
-
- // 重寫獲取焦點的方法
- @Override
- public boolean isFocused() {
- // return super.isFocused();
- return true;
- }
- }
3、將原有TextView上的isFocus方法默認修改為,能夠獲取焦點
Java代碼
- // 重寫獲取焦點的方法
- @Override
- public boolean isFocused() {
- // return super.isFocused();
- return true;
- }
4.使用過程
獲取當前類的全路徑名稱,作為xml中的標簽存在,其余屬性的使用方式和TextView一致
 Android編程之View簡單學習示例
 android中選中菜單的顯示跳轉和隱式跳轉的實例介紹
 Android本地化
 Android手機衛士(一):實現splash