編輯:關於android開發
來自:http://blog.csdn.net/jianghuiquan/article/details/8641283
Android手機上,我們常用ImageView顯示圖片,我們本章獲取網絡圖片並顯示在ImageView中。
一、設計界面
1、布局文件
打開res/layout/activity_main.xml文件。
輸入以下代碼:
二、程序文件
打開“src/com.genwoxue.networkphoto/MainActivity.java”文件。
然後輸入以下代碼:
三、配置文件
打開“AndroidManifest.xml”文件。
然後輸入以下代碼:
[html] view plain copy
注意:需要在AndroidManifest.xml文件中添加權限:
<uses-permission android:name="android.permission.INTERNET" />
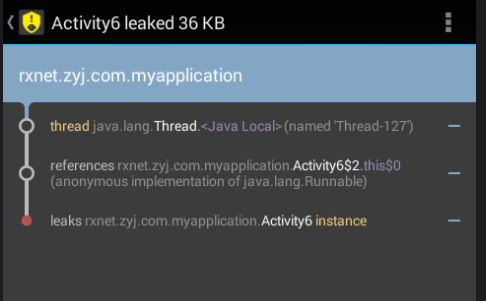 Android 如何有效的解決內存洩漏的問題,android洩漏
Android 如何有效的解決內存洩漏的問題,android洩漏前言:最近在研究Handler的知識,其中涉及到一個問題,如何避免Handler帶來的內存溢出問題。在網上
 了解Activity
了解Activity 依照郭霖老師的《第一行代碼Android》,今天我要來學習Activity,首先來初步了解Activity,基本上就是照葫蘆畫瓢的模式,有點回到當初
 《Android源碼設計模式解析與實戰》讀書筆記(二十六)
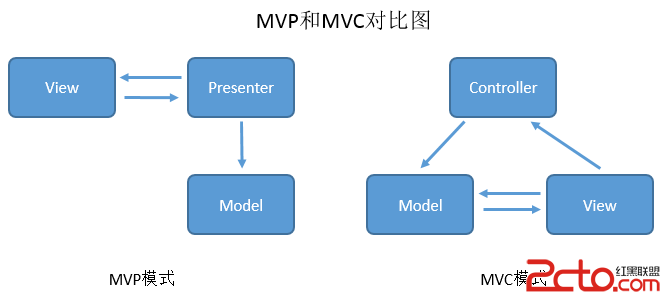
《Android源碼設計模式解析與實戰》讀書筆記(二十六) 第二十六章、MVP應用構架模式 1.MVP介紹 MVP模式是MVC模式的一個演化版本,MVP全稱Model-
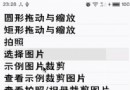
 android開發游記:SpringView 下拉刷新的高效解決方案,定制你自己風格的拖拽頁面
android開發游記:SpringView 下拉刷新的高效解決方案,定制你自己風格的拖拽頁面 關於下拉刷新/上拉加載更多的解決方案網上已經有很多了,浏覽了目前主流的下拉