編輯:關於android開發
1. 線性布局(LinearLayout)
線性布局的形式可以分為兩種,第一種橫向線性布局 第二種縱向線性布局,總而言之都是以線性的形式 一個個排列出來的,純線性布局的缺點是很不方便修改控件的顯示位置,所以開發中經常會 以 線性布局與相對布局嵌套的形式設置布局。
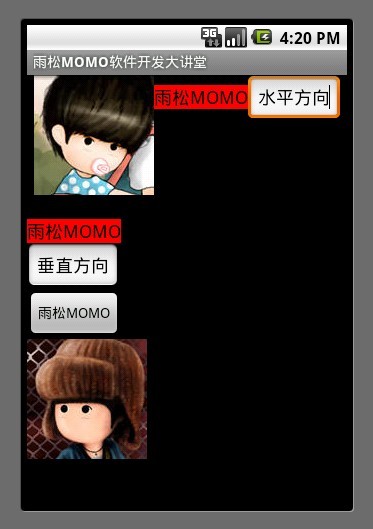
如圖所示 使用了線性布局的水平方向與垂直方向,從圖中可以清晰的看出來所有控件都是按照線性的排列方式顯示出來的,這就是線性布局的特點。設置線性布局為水平方向
android:orientation=”horizontal”
設置線性布局為垂直方向
android:orientation=”vertical”
設置正比例分配控件范圍
android:layout_weight=”1″
設置控件顯示位置,這裡為水平居中
android:gravity=”center_horizontal”在xml中我使用了LinearLayout 嵌套的方式 配置了2個線性布局 一個水平顯示 一個垂直顯示。
XML/HTML代碼2. 相對布局(RelativeLayout)
相對布局是android布局中最為強大的,首先它可以設置的屬性是最多了,其次它可以做的事情也是最多的。android手機屏幕的分辨率五花八門所以為了考慮屏幕自適應的情況所以在開發中建議大家都去使用相對布局 它的坐標取值范圍都是相對的所以使用它來做自適應屏幕是正確的。
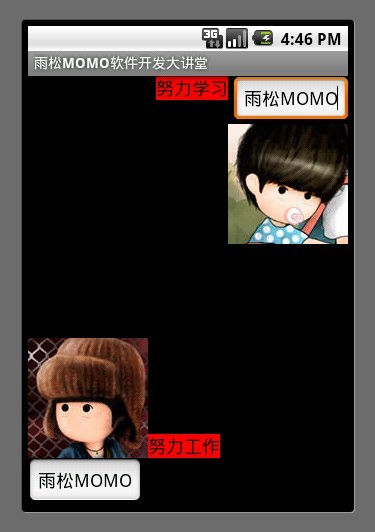
設置距父元素右對齊
android:layout_alignParentRight=”true”
設置該控件在id為re_edit_0控件的下方
android:layout_below=”@id/re_edit_0″
設置該控件在id為re_image_0控件的左邊
android:layout_toLeftOf=”@id/re_iamge_0″
設置當前控件與id為name控件的上方對齊
android:layout_alignTop=”@id/name”
設置偏移的像素值
android:layout_marginRight=”30dip”
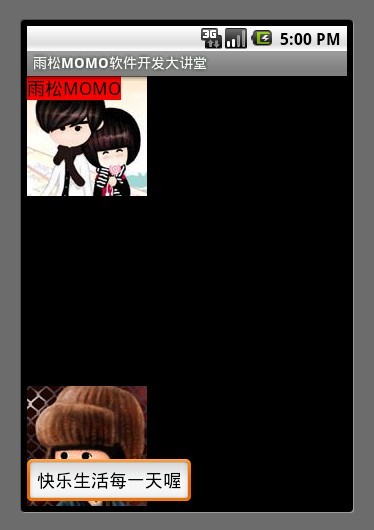
XML/HTML代碼3. 幀布局(FrameLayout)
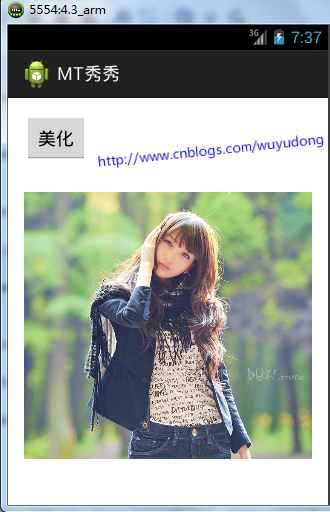
原理是在控件中繪制任何一個控件都可以被後繪制的控件覆蓋,最後繪制的控件會蓋住之前的控件。如圖所示界面中先繪制的ImageView 然後在繪制的TextView和EditView 所以後者就覆蓋在了前者上面。
4. 絕對布局(AbsoluteLayout)
使用絕對布局可以設置任意控件的 在屏幕中 X Y 坐標點,和幀布局一樣後繪制的控件會覆蓋住之前繪制的控件,筆者不建議大家使用絕對布局還是那句話因為android的手機分辨率五花八門所以使用絕對布局的話在其它分辨率的手機上就無法正常的顯示了。
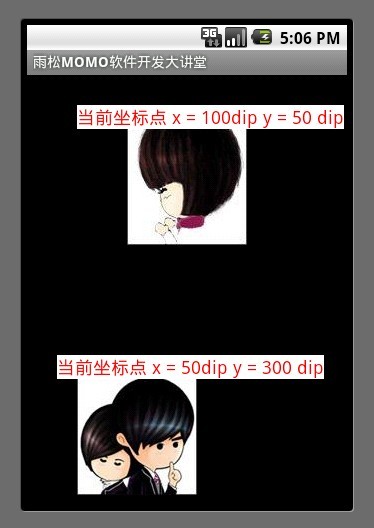
設置控件的坐標
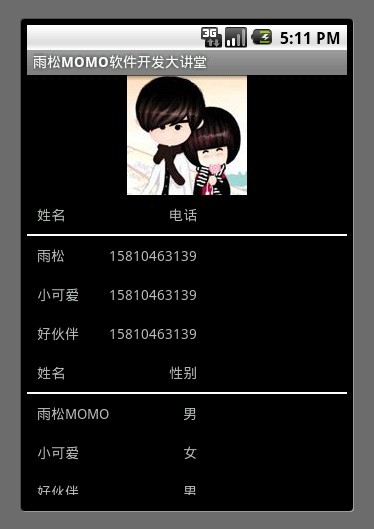
XML/HTML代碼5. 表格布局(TableLayout)
在表格布局中可以設置TableRow 可以設置 表格中每一行顯示的內容 以及位置 ,可以設置顯示的縮進,對齊的方式。
Android五大布局的基本使用方法已經介紹完,最後筆者在這裡強調一下在開發與學習中建議大家使用相對布局,首先它的方法屬性是最強大的其次它基本可以實現其它4大布局的效果,當然這裡說的不是全部 有時候還是須要使用其他布局, 所以筆者建議大家開發中以實際情況定奪,以上五種布局可以使用布局嵌套的方式可以做出更好看的更美觀的布局。
源碼下載地址:http://vdisk.weibo.com/s/aa2C2
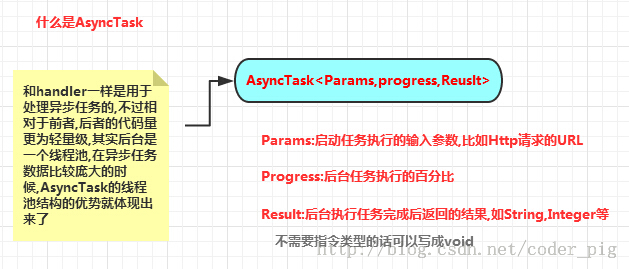 android AsynTask處理返回數據和AsynTask使用get,post請求,androidasyntask
android AsynTask處理返回數據和AsynTask使用get,post請求,androidasyntaskAndroid是一個單線程模型,Android界面(
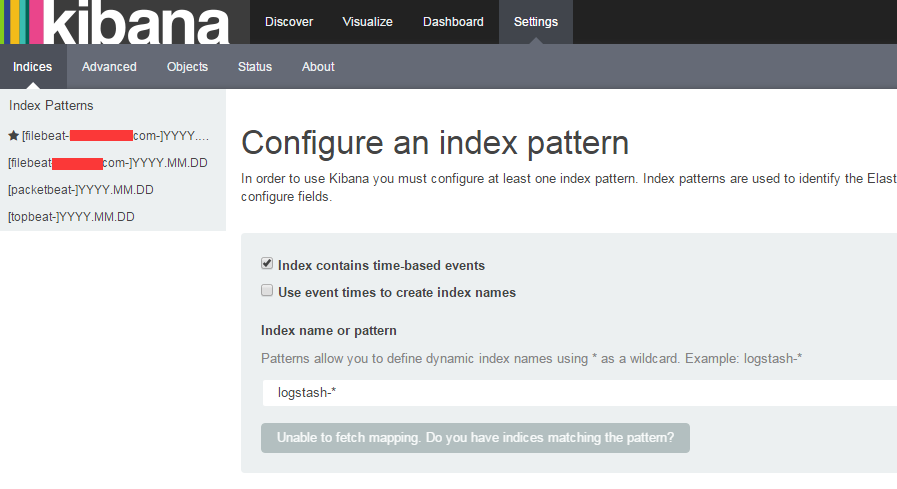 ELK Stack最新版本測試二配置篇
ELK Stack最新版本測試二配置篇閱讀本文前請浏覽詳細配置如下:http://blog.chinaunix.net/uid-25057421-id-5567766.h
 Android Studio分類整理res/Layout中的布局文件(創建子目錄),androidlayout
Android Studio分類整理res/Layout中的布局文件(創建子目錄),androidlayoutres/layout中的布局文件太雜,沒有層次感,受不了的我
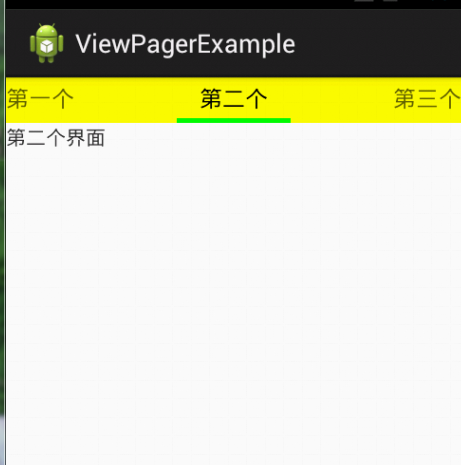 我的android學習經歷26,android學習經歷26
我的android學習經歷26,android學習經歷26ViewPager的使用 ViewPager就想微信或者qq的頂部的導航欄一樣,滑動可以改變到不同的View或者